Table of Contents
Advertisement
Advertisement
Table of Contents

Related Manuals for Beko DSC85W


Summary of Contents for Beko DSC85W
- Page 1 Condenser Sensor Dryer DSC85W...
- Page 2 Read this manual prior to initial operation of the product! Dear Customer, We hope that your product, which has been manufactured in modern facilities and passed through a strict quality control procedure, will give you very good results. We advise you to read through this manual carefully before using your product and keep it for future reference.
-
Page 3: Table Of Contents
TABLE OF CONTENTS 6 Selecting a Programme and Operating 1 Your Dryer Your Machine Overview ............4 Control panel ..........13 Technical Specifications ........5 Preparing the machine ........14 2 Important safety instructions Programme selection ........14 Programme selection and consumption table ..16 General safety ..........6 Auxiliary function ..........17 Intended use ...........7 Warning indicators ........17... -
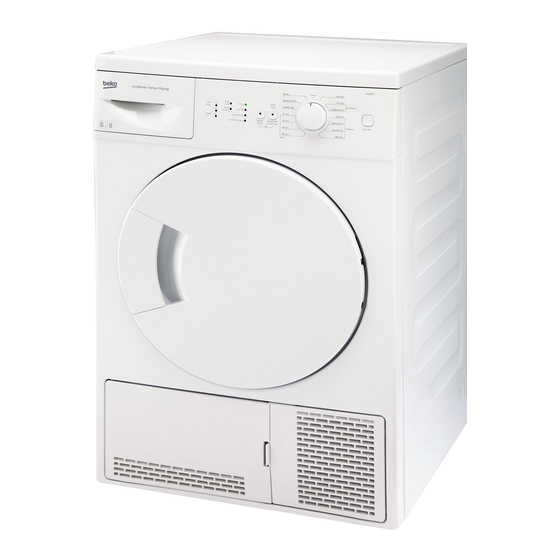
Page 4: Your Dryer
Overview 1- Control panel 5- Rating plate 2- Kick plate opening tab 6- Fluff filter 3-Adjustable feet 7- Power cord 4-Kick plate 4 EN... -
Page 5: Technical Specifications
Technical Specifications Height (adjustable) 84,6 cm Width 59,5 cm Depth 59,8 cm Capacity (max.) 8 kg Weight (net) 38 kg Voltage Rated power input See rating plate Model code Type label is located behind the loading door. Specifications of this appliance may change without notice to improve the quality of the product. Figures in this manual are schematic and may not match your product exactly. -
Page 6: Important Safety Instructions
Important safety instructions This section includes safety information that will • Items cleaned or washed with gasoil/fuel oil, help protection from risks of personal injuries or dry-laundry solvents and other combustible damages. Failure to follow these instructions shall or explosive materials as well as the items cause any warranty to become void. -
Page 7: Intended Use
Intended use of the product can cause electric shock. If you have any suspect about the grounding • This product has been designed for domestic connection, have it checked by a qualified use. It should not be used for other purposes. electrician, service representative or service •... -
Page 8: Installation
Installation Prior to installation, visually check if the product has any defects on it. If so, do not have it installed. Damaged products will cause risks for your safety. Appropriate installation location • Install the product in an environment which has no risk of freezing and is in a stable and level position. -
Page 9: Adjusting The Feet
Never unscrew the adjustable feet from their housings. First use • To have the product ready for operation before calling the authorised service agent, make sure that its location and power supply installations are appropriate. If they are not, call a qualified electrician to have any necessary arrangements 1. -
Page 10: Electrical Connection
Electrical Connection Make sure that you have an earthed power outlet A Important socket rated at 13 amps (minimum). Fitting a different plug Attention! As the colours of the wires in the mains lead When installed, the socket must be reachable of this appliance may not correspond with the after installation, or a separate switch (which can coloured markings identifying the terminals on... -
Page 11: Initial Preparations For Drying Things To Be Done For Energy Saving
Initial preparations for drying Things to be done for energy saving: A B C • Make sure that you operate the product at its full capacity but pay attention to not exceeding • Spin your laundry at the highest speed possible when washing them. -
Page 12: Preparing Laundry For Drying
• Do not dry items cleaned with industrial Consider the information in the “Programme chemicals in the dryer. Selection Table”. Always start the programme in • Do not dry your unwashed laundry in the dryer. accordance with the maximum load capacity. •... -
Page 13: Selecting A Programme And Operating Your Machine Control Panel
Selecting a Programme and Operating Your Machine Control panel 1. Filter cleaning warning light 5. Programme selection knob Warning light turns on when the filter is full. Used to select a programme. 2. Programme follow-up indicator 6. Start/Pause/Cancel button Used to follow-up the progress of the current Used to start, pause or cancel the programme. -
Page 14: Preparing The Machine
Preparing the machine Do not dry curtains and lace in your machine. Anti-creasing 1. Plug in your machine. 2. Place the laundry in the machine. A 2-hour anti creasing programme to prevent laundry from creasing will be activated if you do not 3. - Page 15 •Timer programmes You can select one of the 10 min., 20 min., 40 min. and 60 min. timer programmes to achieve the desired final drying level at low temperatures. Programme dries at the selected time regardless of the drying temperature. 15 EN...
-
Page 16: Programme Selection And Consumption Table
Programme selection and consumption table Approximate Spin speed in washing Drying time Programmes Capacity (kg) amount of machine (rpm) (minutes) remaining humidity Cottons / Coloreds Cupboard dry 1000 % 60 Normal dry 1000 % 60 Iron dry 1000 % 60 Xpress 35’... -
Page 17: Auxiliary Function
Auxiliary function During the time delay period, laundry is rotated Cancel audio warning for 4 seconds in every 10 minutes to prevent Your dryer will give an audio warning when the creasing. programme comes to an end. If you do not want Canceling the time delay to hear the audio warning, press “Cancel Audio If you want to cancel the time delay countdown and... -
Page 18: Changing The Programme After It Has Started
Changing the programme after it has Laundry may be added or taken out as much started as desired during a drying process, but this You can use this feature to dry your clothes under process will extend the programme duration higher or lower temperatures after your dryer has and increase energy consumption since started. -
Page 19: Finishing By Canceling The Programme
its previous position, the programme will be terminated since the position of the programme selection knob is changed. The drying light turns on and the machine remains on hold until a new programme is selected and the “Start/ Pause/Cancel” button is pressed. Finishing by canceling the programme To cancel any selected programme: Press “Start/Pause/Cancel”... -
Page 20: Maintenance And Cleaning Filter Cartridge / Door Inner Surface
Maintenance and cleaning Filter Cartridge / Door Inner Surface Lint and fibres released from the laundry to the air during the drying cycle are collected in the “Filter Cartridge”. Such fibre and lint are generally formed during wearing and washing. Sensor Always clean the filter and the inner surfaces of the cover after each drying process. -
Page 21: Water Tank
Water tank; For the condenser The moisture in the damp laundry is taken from the Hot and humid air in the condenser is cooled with laundry and condensed. Drain the water tank after the cold air from the room. Thus, the humid air each drying cycle or during drying when “Water circulating in your dryer is condensed and then tank”... - Page 22 4. Clean the condenser by applying pressurized water with a shower head and wait until the water drains. 5. Place the condenser in its housing. Fasten the 2 locks and make sure that they are seated securely. 6. Close the kick plate cover. 22 EN...
-
Page 23: 8Suggested Solutions For Problems
Suggested solutions for problems Drying process takes too much time • Meshes of the filter may be clogged. Wash with water Laundry comes out wet at the end of drying. • Meshes of the filter may be clogged. Wash with water. •... -
Page 24: Guarantee
Guarantee Important notes Your new product is guaranteed against the cost of breakdown repairs for twelve months from the date • Your product is designed and built for domestic of the original purchase. household use only. What is covered? • The guarantee will be void if the product •... -
Page 25: Service
Service Service once the manufacturers Please keep your purchase receipt or other proof of purchase in a safe place; you will need to have guarantee has expired. it should the product require attention under If you have purchased an extended guarantee guarantee.