Philips HP8668 - Hair Dryer Manual
- User manual (2 pages) ,
- Quick start manual (2 pages)
Advertisement
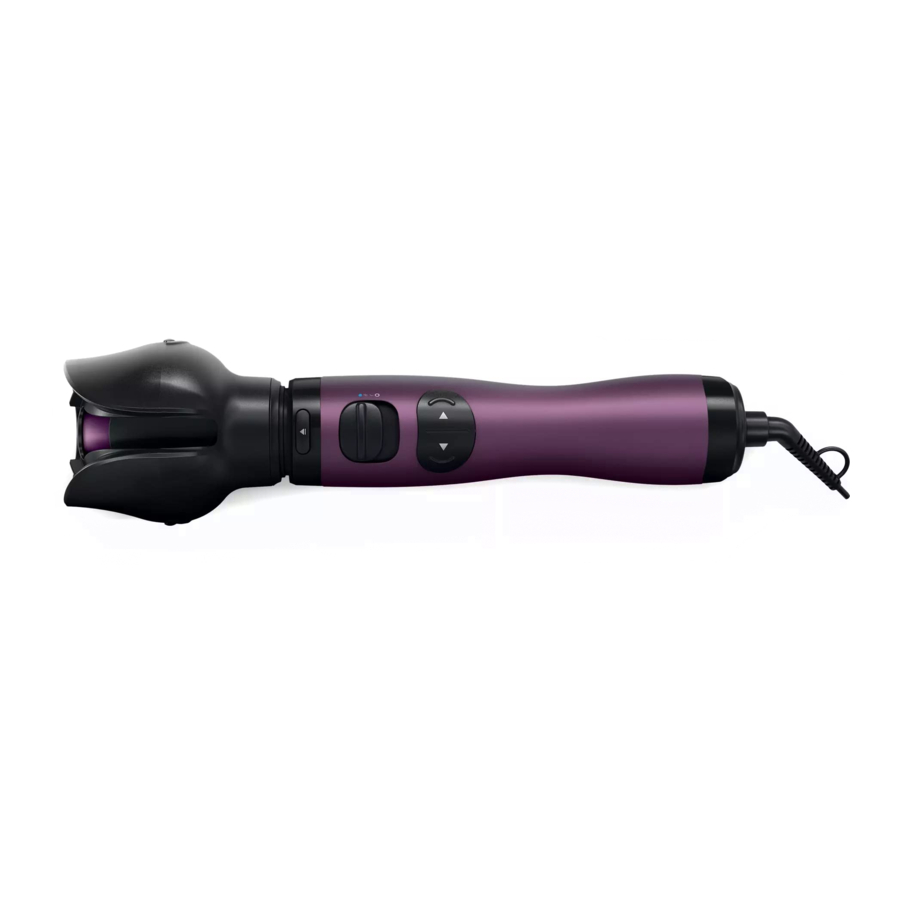
Overview

Before styling your hair
Note: Always let the appliance and attachments cool down before you connect or disconnect the attachments.
Remarks: Depending on the dampness of the hair, the duration for each strand would differ. A longer duration is needed if hair is damper than recommended.
- Select your desired attachment (
![]() ) and fix it onto the handle (
) and fix it onto the handle (![]() ) of the styler.
) of the styler. - Press the release button (
![]() ) to remove the attachment when it cools down.
) to remove the attachment when it cools down.
- Press the release button (
- Connect the plug to a power supply socket.
- Slide the airflow switch (
![]() ) to strong and warm airflow
) to strong and warm airflow ![]() for fast drying, warm airflow
for fast drying, warm airflow ![]() for gentle drying and styling to prevent your hair from overheating, and cool airflow
for gentle drying and styling to prevent your hair from overheating, and cool airflow ![]() for fixing your style.
for fixing your style.
 ) and fix it onto
  ) of the styler.
  ) to remove the attachment
  ) to strong and warm airflow


How to style your hair
We recommend that you practice using the appliance two or three times so you can get used to how it works.
- Nozzle attachment (
![]() )
) - Select the nozzle (
![]() ) and fix it onto the handle (
) and fix it onto the handle (![]() ).
). - ( Fig. 5-A ) Dry your hair with suitable settings (
![]() ).
).

- Select the nozzle (
- Air curl attachment (
![]() )
)
 )
) 
 ).
).
 )
)Tips and Tricks
Refer to the Quick Start Guide for detailed usage instructions.
- ( Fig.2 ) There are different points where the curling attachment can be fixed. For your convenience, you can change the position according to the way you hold the appliance

- Pre-dry your hair, including the roots, before using the product. For optimal results, hair should be 80%–90% dry
- Comb hair thoroughly and ensure that there are no tangles
- Separate hair into sections. Keep all unused hair away from the opening. Make sure that there are no stray or loose strands near the opening
- Start curling from the back of the head
- ( Fig. 3 ) Before inserting the hair, check that the opening is clear. Press the rotating button to make sure there is nothing blocking the opening

- Twist the hair once to make it easier to put into the opening
- Use the contours or the marked arrows to guide hair into the chamber
- Place the opening on your hair where you want the curls to start. Do not place too close to the roots
- Hold the hair strands taut when putting into the opening
- Do not immediately release the rotation button when the hair can no longer be seen at the opening. Allow the rotation to continue for another 10 seconds to ensure that the hair is completely inside the chamber
- Check that the ends of the hair strands remain enclosed within the chamber and no stray hair is sticking out
- ( Fig. 4 ) If hair becomes trapped, switch off the device. Gently remove any trapped hair in thin strands, section by section, until all of the hair is freed. Alternatively, you can press the side buttons (
![]() ) of the air curl attachment to remove the top cover of the attachment and release trapped hair
) of the air curl attachment to remove the top cover of the attachment and release trapped hair


 ) of the air curl attachment
- Brush attachment (
![]() )
)
Remove the protection cap from the brush (![]() ) before using.
) before using. - Make waves/volume in the hair ( Fig.5-B )

- Place the brush (
![]() ) at the hair tips, and use the rotational button (
) at the hair tips, and use the rotational button (![]() ) to roll up the strand from the ends to the roots.
) to roll up the strand from the ends to the roots. - Keep the brush at the hair roots until the hair is completely dry.
- Remove the brush from the hair by using the opposite rotation direction. To avoid tangles, remember to move the brush away from your hair as you do so.
- To style the rest of your hair, repeat steps 1-3.
- Style the hair tips (Fig. 5-C)

- Make waves/volume in the hair ( Fig.5-B )
 )
)  )
) 

 ) to roll up the strand from the ends
- Insert the brush (
![]() ) at the hair tips.
) at the hair tips. - Choose the rotation direction for the desired results ( inwards flicks or outwards flicks ).
- Activate the rotation, allowing the brush to rotate at the hair tips until the hair is completely dry and properly shaped.
- To style the rest of your hair, repeat steps 1-3.

- Straighten the hair (Fig.5-D)


- Insert the brush under your hair, at the roots.
- Pull the brush down the length of the hair from the roots to the ends, without using the rotation.
After use
Remarks: Only apply hairspray and other fixation styling products after styling.
- Switch off the appliance and unplug it.
- Place it on a heat-resistant surface until it cools down.
- Clean the appliance and attachments by damp cloth.
- Always use the protection cap (
![]() ) to store the brush attachment.
) to store the brush attachment. - Keep it in a safe and dry place, free of dust. You can also hang it with the hanging loop (
![]() ).
).


Guarantee & service
If you need information e.g. about replacement of an attachment or if you have a problem, please visit the Philips website at www.philips.com/support or contact the Philips Customer Care Centre in your country (you will find its phone number in the worldwide guarantee leaflet). If there is no Consumer Care Centre in your country, go to your local Philips dealer.

Documents / Resources
References
Download manual
Here you can download full pdf version of manual, it may contain additional safety instructions, warranty information, FCC rules, etc.
Advertisement
Thank you! Your question has been received!


Need Assistance?
Do you have a question about the HP8668 that isn't answered in the manual? Leave your question here.