Advertisement
Mounting
- Mounting is possible on handlebar bracket (Position A) or stem (Position B)

- Change bracket mounting orientation from Position A to Position B. Remove the protective tape Place the handle bar and fasten it with the cable ties

- Secure the sensor on the fork by tightening the cable ties and cut off the loose ends (max. distance between transmitter and handlebar bracket is 60 cm)

- Fix the magnet on a spoke so that it will face the sensor

- Adjust the magnet position and fine tune the sensor if necessary

- Rotate the CM 4.1 to 45 degree left and install the CM 4.1 into the bracket. Then rotate it 45 degrees right to lock it. To unlock, rotate 45 degrees to the left.


Preparation
Using the buttons:
There are no buttons in the conventional sense on the CM 4.1, the settings are made with the two 'buttons' on the rear of unit.
These buttons can be pressed e.g. with a ballpoint pen (see pict. 7).

Inserting the battery:
Insert battery type CR2032 with plus-pole facing up. Close battery cap with a coin, being sure not to over tighten. After inserting the battery the display will show the setting of the circumferrence with the first value flashing.
(To enter again setting mode, press Set-button for 3 sec. when CM 4.1 is in normal mode.)
The following applies for all settings:
SET-button changes flashing value, STORE-button stores this value and changes to the next value or the next setting display appears.
Setting the wheel circumference

Start setting: 2155 mm
Range: 0000-3999 mm
Adjust with SET- and STOREbutton, continue with STOREbutton.
The wheel circumference can be taken from the following table or measured by yourself.
| Size | circumference | |
| 40-559 | 26 x 1,5 | 2026 mm |
| 44-559 | 26 x 1,6 | 2051 mm |
| 47-559 | 26 x 1,75 | 2070 mm |
| 50-559 | 26 x 1,9 | 2026 mm |
| 54-559 | 26 x 2,00 | 2089 mm |
| 57-559 | 26 x 2,125 | 2114 mm |
| 37-590 | 26 x 1 3/8 | 2133 mm |
| 32-620 | 27 x 1 1/4 | 2199 mm |
| 40-622 | 28 x 1,5 | 2224 mm |
| 47-622 | 28 x 1,75 | 2268 mm |
| 40-635 | 28 x 1 1/2 | 2265 mm |
| 37-622 | 28 x 1 3/8 | 2205 mm |
| 20-622 | 700 x 20C | 2114 mm |
| 23-622 | 700 x 23C | 2133 mm |
| 25-622 | 700 x 25C | 2146 mm |
| 28-622 | 700 x 28C | 2149 mm |
| 32-622 | 700 x 32C | 2174 mm |
Measurement of the wheel circumference (U)
(for more precise adjustment):
Make a marker on the front tire and on the floor (e.g. with chalk). Move the bike straight ahead by exactly one tire rotation (for a more precise measurement ensure tire pressures are correct and be seated on the bike) and mark the location on the floor. Now measure the distance exactly between the two markers on the floor to give you the wheel circumference (in mm) – s. pict. 8.

Now display shows km/h (kilometers per hour).

If preferred, change to miles per hour with SET-button, save setting and continue with STORE-button.
After this the display shows adjustable total distance.

Range: 00000-99999 km or mi (kilometers or miles)
Adjust with SET- and STOREbutton, continue with STOREbutton.
Display shows flashing '24' to choose time-display (24 – or 12- hour). 12-hour setting shows A/P in the display when time is shown.

Change with SET-button, store and continue to time setting with STORE-button.

Adjust minutes with SET-button, store with STORE-button and now adjust hours with the SETbutton.

Store the adjusted time with STORE-button.
Now all settings are finished and CM 4.1 is ready for operation.

Functions
The CM 4.1 has an automatic start/stop while riding. When the CM 4.1 is set into the handlebar bracket, the implemented receiver is switched on (but display stays in sleep mode). 4 sec. after the first signal from the transmitter (wheel turn), the display switches on and shows following:

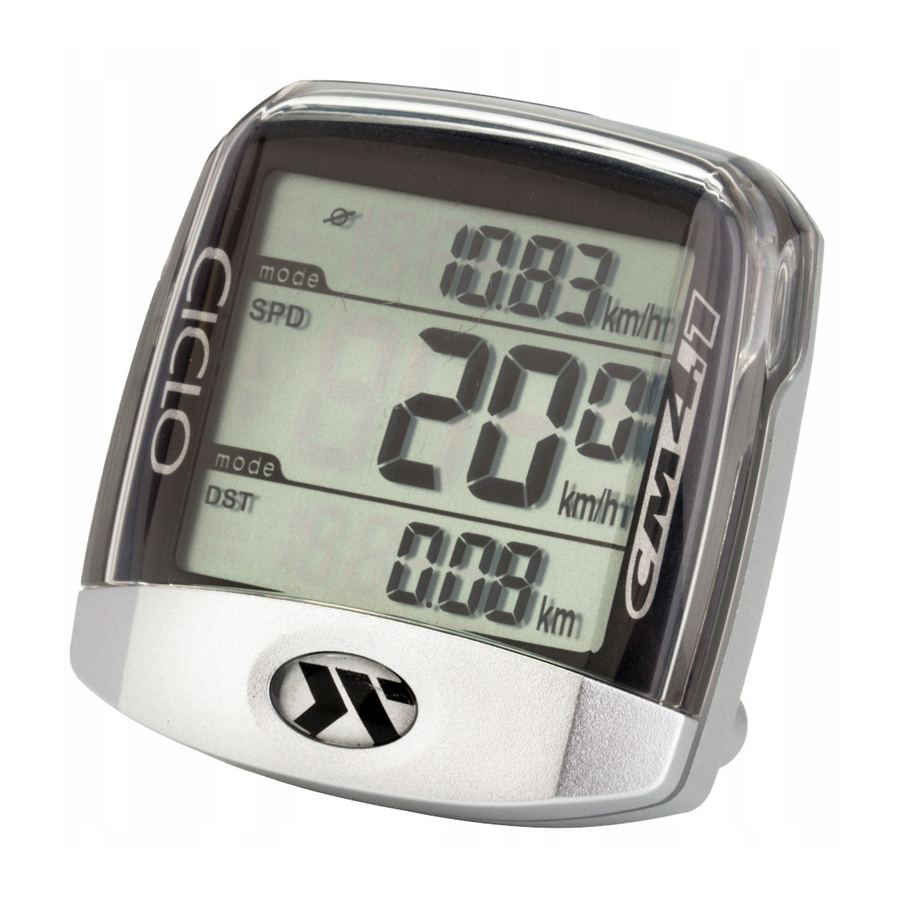
Upper display
average speed
Range 0 – 299,99 km/h or m/h
Middle of the display
current speed (km/h or m/h)
Range 0 – 299,9 km/h or m/h
Lower display
daily distance (DST)
Range 0 – 999,99 km or mi
1 minute after the last turn of the wheel the CM 4.1 changes to sleep mode – upper display shows time and lower display shows total distance (ODO: 0 99999 km or mi).

After receiving the next signal from the wheel sensor, the complete display appears again (also with pressing SET- or STORE-button).
When CM 4.1 is not used, it should be removed from the handlebar bracket to save battery power.
Daily distance and average speed are automatically set to zero after 12 hours without receiving a signal from the wheel-sensor.
Total distance is set to zero by pressing the AC-button on the back of the computer or removing the battery
( Attention : that also will clear all settings in the CM 4.1).
Changing the battery
CM 4.1: Unscrew battery cap at the rear of the CM 4.1 anti-clockwise with the help of a coin. Remove old battery and insert a new 3V-Lithium-battery type CR 2032 with plus-pole facing up Screw cap back on clockwise.
Transmitter: Open battery cap on top of the transmitter with the help of a coin. Remove old battery and insert a new 12 V battery, type 23A with plus-pole facing up. Close battery cap.
Please don't discard spent batteries in regular household garbage. Use the correct method of disposal.
Trouble shooting
Faulty or no display
- check to see if battery is installed properly or replace battery (Attention: removing battery will clear all settings and values in the CM 4.1)
Speed not displayed
- check to see if transmitter is mounted properly
- check transmitter battery
- check the position of the spoke magnet (max. 3 mmdistance to wheel-sensor)
- check distance between transmitter and handlebarbracket (max. 60 cm)
- make sure CM 4.1 is mounted in bracket correctly
- check wheel circumference
Speed to high or to low
- check wheel circumference check to see if you are using miles or kilometers
- check transmitter battery
- malfunction due to other transmitters, GPS-systems, certain lights, etc. After leaving the area of malfunction, speed will be displayed as usual
Guarantee
We offer a guarantee for 24 months from the date of purchase on the CM 4.1. The guarantee is limited to material and processing faults. The batteries are excluded from the guarantee.
The guarantee is valid only if the computer, with accessories, has been handled and maintained carefully and according to operating instructions.
To return the CM 4.1 under conditions/terms of the guarantee, please refer to your dealer, your local distributor or send the computer with the proof of purchase(date) and all accessories, and with sufficient postage, to:
CICLO SPORT SERVICE
K.W. Hochschorner GmbH
Konrad-Zuse-Bogen 8
D - 82152 Krailling
Phone: 0049 / 89 / 71 66 98 12
Fax: 0049 / 89 / 714 07 83
E-Mail: ciclo-service@ciclosport.de
Please read through the operating manual again carefully before sending in the device and check the batteries.
In case of valid guarantee claims, the repaired device or a replacement device will be returned free of charge.
Repair:
If your CM 4.1 is sent in for repair (or battery change) or if a guarantee claim is not valid, repairs up to EUR 15.- will be carried out automatically.
In case of higher repair costs you will be notified. The repaired device will be sent back COD.

Documents / ResourcesDownload manual
Here you can download full pdf version of manual, it may contain additional safety instructions, warranty information, FCC rules, etc.
Download Ciclosport CicloMaster CM 4.1 - Bicycle Computer Manual
Advertisement


Need help?
Do you have a question about the CicloMaster CM 4.1 and is the answer not in the manual?
Questions and answers