Table of Contents
Advertisement
Quick Links
Advertisement
Table of Contents

Related Manuals for Etari ET-111

Summary of Contents for Etari ET-111
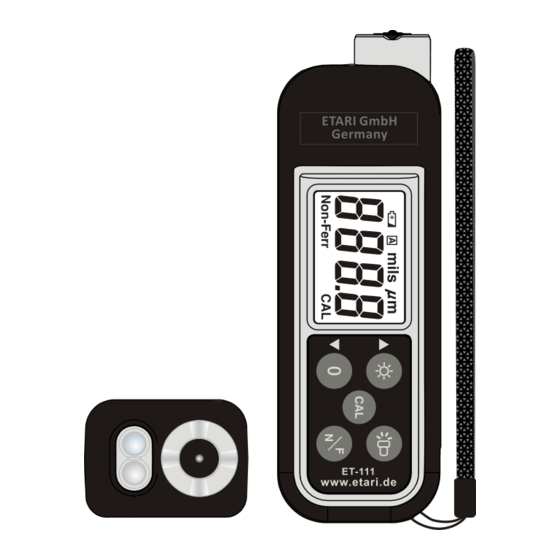
- Page 1 OPERATING INSTRUCTIONS MODEL: ET-111 2 IN 1 COATING THICKNESS GAUGE www.etari.de...
-
Page 2: Safety Information
INTRODUCTION This instrument is a 4 digit, portable, easy to use and compact-sized digital “ferrous” or “non-ferrous” coating designed for simply one hand operation. Meter comes with backlight LCD display and Auto Power O (60 seconds approx.) to extend battery life. SAFETY INFORMATION It is recommended that you read the safety and operation instructions before using the coating thickness gauge. - Page 3 * Condensation may form on the sensor when going from a cold to hot environment. Wait for 10 minutes for condensation to dissipate before taking measurements. * This unit is not constructed to be waterproof and dustproof. Do not use it in a wet or very dusty environment.
- Page 4 Electromagnetic eld strength:(unit = mini Gauss) Electromagnetic Source 0 cm 30 cm Cellular Phone Charger 50 ~ 500 < 1 Notebook Power Supply 100 ~ 1000 < 5 LCD Display 10 ~ 100 < 1 100 ~ 1000 < 5 Reading Lamp 400 ~ 4000 <...
-
Page 5: Specification
SPECIFICATION ELECTRICAL Detectable Substrate Material: Ferrous metal (iron, steel) and Non-Ferrous metal (copper, aluminum, zinc, bronze, brass, etc.) Ferrous Thickness Range: 0 to 80.0mils, 0 to 2000µm. Non-Ferrous Thickness Range: 0 to 40.0mils, 0 to 1000µm. Display Resolution: 0.1mils/1µm. Ferrous Accuracy: ±4dgts on 0 to 7.8mils. ±(3%+4dgts) on 7.9mils to 80.0mils. - Page 6 DEFINITION Zeroing Plate Standard Coating Plate Ferrous is steel Non-ferrous is plate Aluminum plate Peel o the both sedi of protection lm before use Peel o the protection lms from foil before rst use. Sensing Tip UV-Lighting Lighting Function Key Sensing Tip INSTRUCTION Power on and o :...
-
Page 7: One Point Calibration
Attention! The calibration and resetting to factory settings is only possible in automatic mode A. CALIBRATION * During calibration, Auto Power O function will be inactivated. If the LCD display "----", it can not zero the substrate, one point calibration or two-point calibration. -
Page 8: Function Key
Two Point Calibration (su cient for calibration) * During two point calibration, the foil and standard coating plate 4.0 mils / 102µm can be replaced by uncoated substrate and a standard coating plate with known-thickness. 1. Press the sensing tip of the probe to contact Zeroing Plate uncoated surface tightly. -
Page 9: Reset To Factory Settings
“F/N“ Press “F/N” button each time, the display changes in the following sequence: Auto→Ferrous→ Non-Ferrous (Auto Mode and Ferrous Fixed Mode and Non-Ferrous Fixed Mode.) “ “ Quickly press “0” button for substrate zeroing calibration. Press “0” button over 3 seconds to clear Calibrating Point. “CAL“... -
Page 10: Maintenance
MAINTENANCE Installing and Replacing Battery 1.Power is supplied by 2pcs 1.5V (AAA SIZE). 2.The “ ” appears in the display when battery replacement is needed. 3.Remove the battery cover by gently sliding it onwards the bottom of the meter. 4.Remove the batteries from battery compartment.
Need help?
Do you have a question about the ET-111 and is the answer not in the manual?
Questions and answers