Advertisement
- 1 Important
- 2 Names of Parts
- 3 Inserting the Batteries
- 4 Checking the batteries
- 5 Loading the Film
- 6 Taking Pictures
- 7 Flash Photography
- 8 Red-eye reduction lamp
- 9 Rewinding and Removing the Film
- 10 Printing the Date and Time
- 11 Correcting the Data
- 12 Attaching the Strap
- 13 Care and Storage Precautions
- 14 SPECIFICATIONS
- 15 Videos
- 16 Documents / Resources
Important
- Olympus advises you to shoot a trial roll of film before using your camera to take important photographs such as on an overseas trip, honeymoons, etc.

- Do not put the used batteries into a fire and do not heat, disassemble or try to short them out.
![]()
- In case of abnormality or breakage, immediately remove the batteries, but do not touch the inside and do not try to disassemble the camera.
![]()
- Do not look into the sun through the viewfinder!


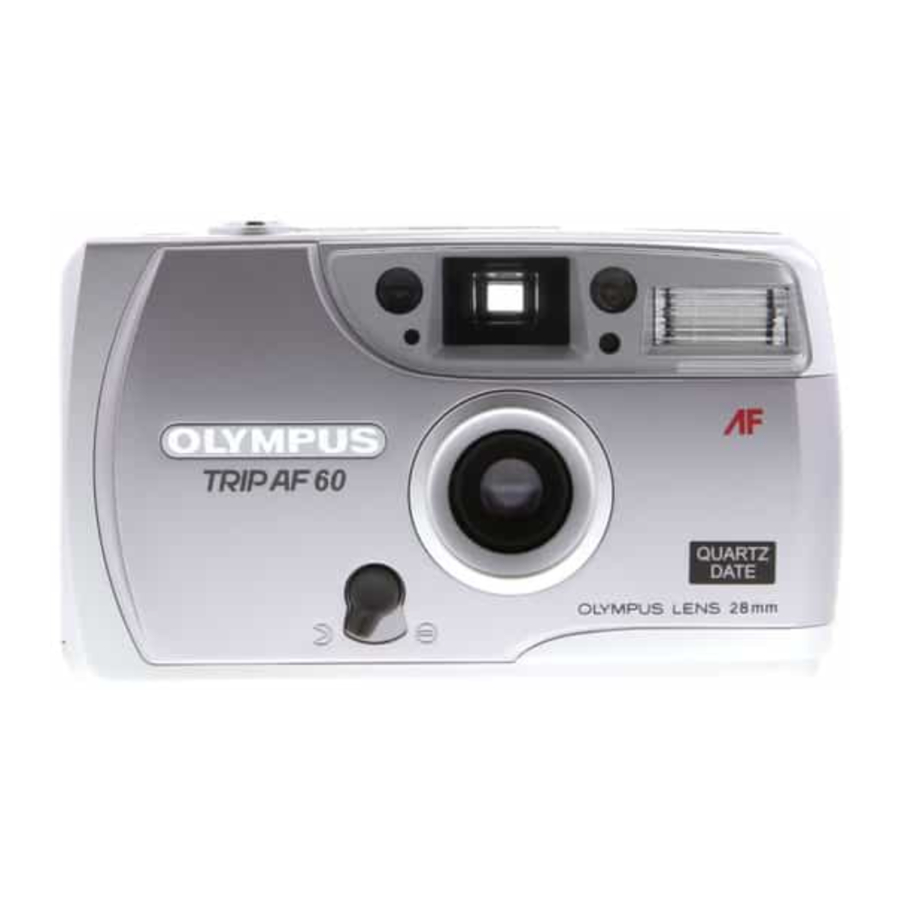
Names of Parts
Camera Body

- Shutter release button
- Exposure counter
- Autofocus window
- AE light sensor
- Viewfinder
- Red-eye reducing lamp
- Flash
- Lens
- Lens barrier switch
- Strap eyelet
- Flash charging indicator
- Back cover
- Film window
- Battery compartment cover
- Rewind switch
- Tripod socket
- Back cover release
*Smudges or dirt can cause blurred pictures.
Clean lens by wiping with a soft cloth.
Viewfinder

- Picture frame
- Autofocus frame
Cautions in regard to batteries
- Observe the caution items listed on the battery.
- Prepare spare batteries for long trips or shooting in cold places.
Inserting the Batteries
- Open the battery compartment cover.
![]()
- Insert the batteries, making sure that they are positioned correctly. (Use two AA (LR6) alkaline batteries.)
![]()


Notes:
- Close the lens barrier before inserting the battery.
- Ni-Cd batteries, manganese batteries, and nickel-hydrogen batteries cannot be used.
- When the camera is not to be used for an extended Period of time, remove the batteries to prevent damage due to possible battery leakage.
- Do not mix different types of batteries, or new and old batteries.
Checking the batteries
- Slide the lens barrier switch to turn the camera on. (
![]() )
)
![]()
- Confirm that the flash charging indicator is lit (
![]() ).
). - The flash charging indicator goes out automatically after about 4 minutes of non usage.
![]()
- The flash charging indicator goes out automatically after about 4 minutes of non usage.


Note:
- Please replace the battery when it takes 15 sec or longer for the flash indicator to light up.
Loading the Film
- Open the back cover by sliding the back cover release in upward direction (
![]() ).
).
![]()
- Insert the film and make sure the film leader is lying flat.
![]()


Notes:
- Use negative color film with ISO 100, 200 or 400 DX coding.
![]()
- Align the film leader with the mark, position the film so it does not overlap any of the positioning guides
![]() .
.

 .
.- Close the back cover.
![]()
- Slide the lens barrier switch to turn the camera on. (
![]() )
)
![]()
- Press the shutter release button and confirm advance of the exposure counter.
![]()
Press the shutter release button until the exposure counter reads "1."
![]()


Note: If the exposure counter does not advance, the film has not been loaded correctly. Open the back cover and reinsert the film.
Taking Pictures
- Slide the lens barrier switch to the open position (
![]() ).
). - Confirm that the flash charging indicator
![]() lights.
lights. - Position the autofocus frame
![]() on your subject, press the shutter release button lightly (
on your subject, press the shutter release button lightly ( ![]() ). Recompose your subject in the picture frame
). Recompose your subject in the picture frame ![]() and press the shutter release button fully (
and press the shutter release button fully ( ![]() ).
).
 lights.
 on your subject, press the shutter release button lightly (
  and press the shutter release button fully (
  ).
).Note:
- The flash charging indicator goes out automatically after about 4 minutes of non use. At this time, switch on the power supply again.
- Always close the lens barrier when shooting is finished.
Focusing range: 0.8 m (2.6 ft) to ∞ (infinity)
Flash Photography
When it is dark, the flash will be triggered automatically.
- Confirm lighting of the flash charging indicator and then press the shutter.
![]()

| ISO | Flash range |
| 100 | 0.8m (2.6 ft.) ~ 2.3m (7.5 ft.) |
| 400 | 0.8m (2.6 ft.) ~ 4.6m (15 ft.) |
Use of color negative film
Red-eye reduction lamp
Red-eye reduction lamp
This lamp helps to reduce the red-eye effect with flash pictures. The red-eye reduction lamp lights when the shutter release button is pressed lightly (  ) and press the shutter release button fully (
  ) after the red-eye reduction lamp has been lit for about 1 second.
Rewinding and Removing the Film
- The film stops when the film end is reached. Rewinding is started by sliding the rewind switch.
![]()
- Make sure that the rewinding sound has stopped and that "S" is displayed in the exposure counter, and then open the back cover and remove the film.
![]()


Note: You may also slide the rewind switch to rewind the film in midroll.
Printing the Date and Time
(QUARTZDATE model only)

After replacing the batteries, correct the data.
- Press the MODE button
![]() to choose the desired mode.
to choose the desired mode.

 No data
 Month/day/year
 Day/month/year
 Year/month/day
 Day/hour/minute
Correcting the Data

- Press the MODE button
![]() to choose the mode.
to choose the mode. - Press the SELECT button
![]() until the data you want to correct starts blinking. Press the SET button
until the data you want to correct starts blinking. Press the SET button ![]() to correct it.
to correct it. - Press the MODE button
![]() again to finish correcting the data.
again to finish correcting the data.

 to correct it.
Note: Make sure that the date mark "—" appears on the LCD panel.
Attaching the Strap

Care and Storage Precautions
- Do not drop the camera.
- Never use thinner, benzene or other organic solvents to clean the camera.
- Do not expose the camera to water or sand.
- Do not expose the camera to extreme heat (over 40°C/ 104°F) or extreme cold (below -5°C/23°F). For example, do not leave the camera in a closed vehicle under direct sunlight.
SPECIFICATIONS
Type: 35 mm Autofocus, lens-shutter camera.
Film format: Standard DX-coded 35 mm film.
Image size: 24 x 36 mm
Lens: Olympus 28 mm F5.6, 3 elements in 3 groups.
Shutter: 1/100 sec.
Viewfinder: Reverse Galilean-type viewfinder.
Focusing: AUTO-focus
Focusing range: 0.8 m (2.6 ft.) – ∞ (infinity).
Exposure counter: Progressive type, automatic reset.
Film speed range: Automatic setting with DX-coded film (ISO 100 – 400). For non DX-coded film, film speed is fixed at ISO 100.
- About 20 rolls of 24-exposure film can be used with two new batteries (with 50% flash 20°C/68°F, less films in low temperature).
Film transport: Motor film advance and rewind.
Flash: Built-in flash with red-eye reducing lamp. Flash is automatically activated under low light conditions.
Power source: Two 1.5 V AA alkaline/LR6 batteries. Ni-Cd batteries, manganese batteries, and nickel-hydrogen batteries cannot be used.
Dimensions: 111.5 (W) x 64.5 (H) x 38 (D) mm (4.4 x 2.5 x 1.5 inches).
Weight: 136 g (4.8 oz.), without batteries.
Design and specifications are subject to change without notice.

VideosOlympus TRIP AF 60 Overview Video
Documents / ResourcesDownload manual
Here you can download full pdf version of manual, it may contain additional safety instructions, warranty information, FCC rules, etc.
Advertisement


Need help?
Do you have a question about the TRIP AF 60 and is the answer not in the manual?
Questions and answers