Vibe OPTISOUND AUTO 8 Instruction Manual
Hide thumbs
Also See for OPTISOUND AUTO 8:
- Instruction manual (13 pages) ,
- Instruction manual (12 pages)
Advertisement
Quick Links
Advertisement

Related Manuals for Vibe OPTISOUND AUTO 8


Summary of Contents for Vibe OPTISOUND AUTO 8
- Page 1 All manuals and user guides at all-guides.com LITEAIRAUTO8-V1 LITEAIRAUTO8A-V1...
- Page 2 All manuals and user guides at all-guides.com Please ensure that when installing this product the heatsink will not contact with any materials that mat be damaged by heat such as upholstery or plastics.
- Page 3 All manuals and user guides at all-guides.com LITEAIRAUTO8A-V1 Connect to +12V of battery with REM GND attached 20 amp fuse Connect to chassis ground of +12V vehicle Connect to chassis ground of vehicle Connect to speaker output of headunit R + white R - white / black L + grey L - grey / black Connect to RCA (low level) output of headunit...
- Page 4 All manuals and user guides at all-guides.com LITEAIRAUTO8-V1 Connect to Speaker output of amplifier NOTE: VIBE recomends the LiteAir Bass 1 amplifier as the perfect partner for the LITEAIRAUTO8-V1...
-
Page 5: Side Panel
All manuals and user guides at all-guides.com The LiteAir Auto 8 subwoofer enclosure can be mounted in many different locations in the vehicle due to it’s shallow profile. Below are a few examples of different mounting applications that are possible with the LiteAir Auto 8 subwoofer enclosures. Rear of seat Under seat Side panel... - Page 6 Note: Be sure to investigate your mounting area thoroughly for electrical wires, brake or fuel lines or fuel tank to prevent causing any damage. If you are unsure VIBE recommend that the enclosure is installed by an authorised VIBE dealer.
- Page 7 All manuals and user guides at all-guides.com Terminals & controls LITEAIRAUTO8-V1 LITEAIRAUTO8A-V1 Speaker terminal Connect to the speaker output of the amplifier...
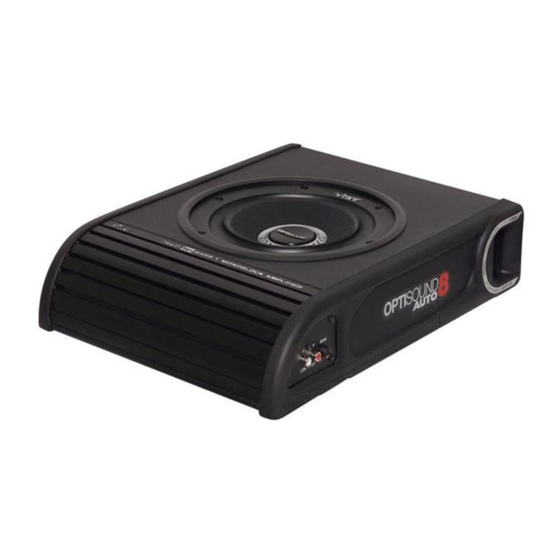
- Page 8 900 watts RMS Power: 300 watts Height: 80mm (excl grill) Width: 285mm Depth: 397mm Impedance: 4 Ohms LiteAir Optisound Auto 8 active Part Number: LITEAIRAUTO8-V1 Peak Power: 900 watts RMS Power: 300 watts Height: 80mm (excl grill) Width: 285mm Depth:...
- Page 9 All manuals and user guides at all-guides.com 20 amp fuse...
- Page 10 All manuals and user guides at all-guides.com...
- Page 11 All manuals and user guides at all-guides.com...
- Page 12 All manuals and user guides at all-guides.com...
Need help?
Do you have a question about the OPTISOUND AUTO 8 and is the answer not in the manual?
Questions and answers