RODE Microphones WIRELESS GO II User Manual
Hide thumbs
Also See for WIRELESS GO II:
- Manuallines (10 pages) ,
- Quick start manual (8 pages) ,
- Setup manual (8 pages)
Advertisement
Quick Links
™
WIRELESS
GO II
WIGO II
USER GUIDE & SUPPORT
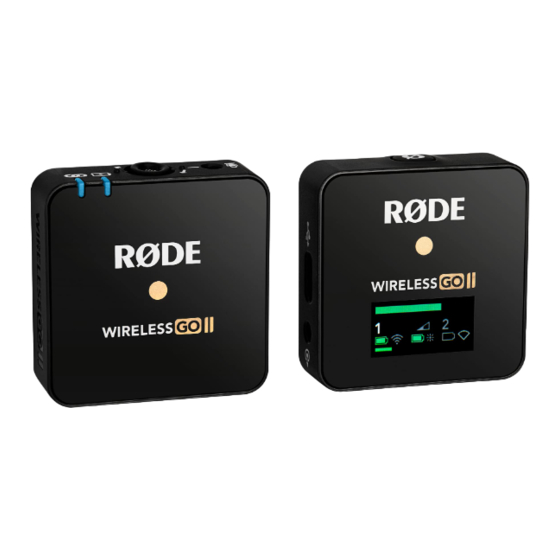
The Wireless GO II is a versatile and ultra-compact dual channel wireless microphone
system consisting of a dual channel receiver and two transmitters.
Discover everything you need to know about using your Wireless GO II here.
Advertisement

Related Manuals for RODE Microphones WIRELESS GO II


Summary of Contents for RODE Microphones WIRELESS GO II
- Page 1 WIGO II USER GUIDE & SUPPORT The Wireless GO II is a versatile and ultra-compact dual channel wireless microphone system consisting of a dual channel receiver and two transmitters. Discover everything you need to know about using your Wireless GO II here.
- Page 2 Features Receiver LED Screen Power Button USB-C Connector 3.5mm TRS Output Gain Control/Mute Button Pair Button/Channel Selection Merged/Split Mode Selector...
-
Page 3: Box Contains
Transmitter USB-C Connector Power Button 3.5mm TRS Input In-built Mic Battery Indicator LED Connectivity Indicator LED Box Contains 1 x Receiver, 2 x Transmitters, 3 x Furry Windshields, 3 x SC20 USB-C to USB-A Cables, 1 x SC5 TRS to TRS Memory Cable, 1 x Carry Pouch... - Page 4 Turning On and Pairing Your Wireless GO II To turn on your Wireless GO II, simply press and hold the power button on the receiver. To pair your transmitters to the receiver, press and hold the power button on the transmitters one at a time.
- Page 5 Merged & Split Mode The Wireless GO II gives you the option to record in either 'Merged' or 'Split' mode. This allows you to record each transmitter onto separate channels on the output or combine the two into a single output.
- Page 6 It also works well if you are using the Wireless GO II in a live presentation setup. For more information on how to import and separate your audio in post-production, check out this blog post on ‘How To Record Two Microphones Into Your...
- Page 7 Channel Selection & Mute Control Channel Selection As mentioned, clicking the pair button on the receiver will allow you to cycle between the two transmitters. A single click will select transmitter 1, a second click will select transmitter 2, and a third click will exit the channel selection. Note this will only work when the transmitters are turned on and paired to the receiver.
- Page 8 Device Connectivity Connecting to Cameras Use the supplied SC5 cable to connect your Wireless GO II to cameras and other devices with a 3.5mm TRS input. If you need to connect your microphone to a device with an XLR input, use an adaptor like the VXLR Pro.
- Page 9 Connecting to Computers Use the supplied USB-C to USB-A cable to connect the Wireless GO II receiver to any computer with a USB-A input (use USB-C to USB-C cable for computers with a USB-C input), then go to your audio settings and select ‘Wireless GO II RX’ as your input device.
- Page 10 SC16 USB-C to USB-C cable. Note: To connect the Wireless GO II to iOS device with a Lightning port, you must use a RØDE Lightning Accessory Cable – either the SC15 or SC19. Standard USB-C to Lightning cables are not compatible with the Wireless GO II.
- Page 11 To get the cleanest signal when you record, it is recommended that you set the gain on your camera as low as possible, then use the gain control on the Wireless GO II to boost your signal if required. Cameras generally have poor-quality, noisy preamps that are quite sensitive, so it’s best to not rely on them to achieve good recording...
- Page 12 When the battery level is low, it will turn amber, and when it is very low, it will turn red. The Wireless GO II can be recharged using the supplied USB cables. When charging, the battery LED on the transmitters will flash and the battery level icon on the receiver will display a lightning bolt.
- Page 13 The Wireless GO II comes with three furry windshields. These have been completely redesigned to ensure an extremely strong connection and will not fall off your transmitters, even with vigorous use.
- Page 14 Download it for free to unlock the full potential of your Wireless GO II. Note: OS Requirements – MacOS 10.15 or later; Windows 10 Version 1803 or later; iOS 14 or later; Android 9.0 or later.
Need help?
Do you have a question about the WIRELESS GO II and is the answer not in the manual?
Questions and answers
Как сменить аккумулятор в приемнике
The provided information does not contain a complete step-by-step guide for changing the battery in the RODE Wireless GO II receiver. However, it mentions using a Bosch heat gun set to 90°C to heat the receiver, which helps loosen the adhesive. Then, an iSesamo tool is used to pry open the assembly. Further details on the replacement process are not included.
This answer is automatically generated