Advertisement
Safety

RISK OF ELECTRIC SHOCK
DO NOT OPEN
To reduce the risk of electric shock, do not remove cover (or back). No User-serviceable parts inside. Refer servicing to qualified service personnel.


To prevent fire or electric shock, do not expose this appliance to rain or moisture.
 This symbol indicates that a dangerous voltage constituting a risk of electric shock is present within this unit.
 This symbol indicates that there are important operating and maintenance instructions in the literature accompanying this unit.
BEFORE YOU START

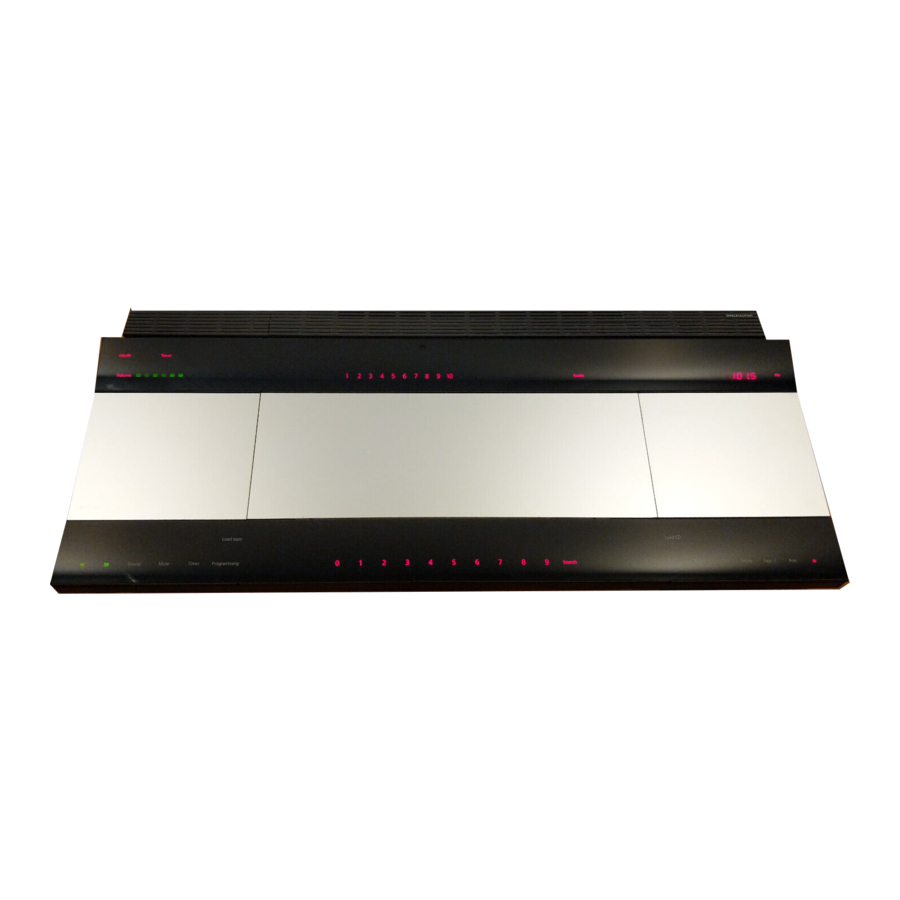
This setting-up guide explains how to set up your Beocenter 9300 and make it ready for use.
We recommend that you follow the instructions in this guide carefully.
See the Beocenter 9300 User's guide (also enclosed) for detailed operating instructions.
NOTE!
Do not connect the Beocenter to the mains until you have finished the setting-up procedure.
PLACEMENT
Place the Beocenter 9300 standing on a solid, horizontal surface.

Avoid placing your Beocenter in direct sunlight, near radiators or other sources of heat. Do not place the Beocenter on a carpet as this could block the ventilation holes.
Transport protection

Before using the Beocenter 9300 the two transport protection screws for the CD drive mechanism must be removed. Otherwise, you may cause damage to the CD player!
Remove the two screws using a screwdriver and place them in the two holes labelled PLAY for safekeeping.
If you ever have to transport the Beocenter, we strongly recommend that you re-insert the two transport screws in the holes labelled TRANSPORT.

CONNECTIONS
Connect loudspeakers, aerial(s), and any other units to the Beocenter before connecting it to the mains.

To gain access to the sockets, lift up the hinged grille at the rear edge of the Beocenter 9300.
* LINE IN/OUT - type 2518 only. Do not remove dummy plug if not in use!
Aerial
In order to obtain optimal reception of radio stations it is essential to use the correct type of aerial (FM and/or AM) or cable net connection. Please let your Bang & Olufsen dealer advise you.
Connect your FM signal to the socket marked FM and your AM signal, if any, to the socket marked AM.

Loudspeakers
The sockets marked POWER LINK 1 and POWER LINK 2 are for connecting active speakers with the Bang & Olufsen Power Link facility, e.g. the Beolab 8000.

You may choose to loop the signals through from speaker to speaker, as mentioned in the User's guide for your Beolab loudspeakers, or you may connect one speaker to each of the two power link sockets. Remember to set the L•R•LINE switch on the Beolab speakers to L and R (left and right), respectively
The sockets marked SPEAKERS 1 (and SPEAKERS 2) are for connecting a pair of passive loudspeakers. Connect the left loudspeaker to the socket marked LEFT, and the right loudspeaker to the socket marked RIGHT.

Auxiliary equipment
The two sockets marked TV/AUX and TAPE 2 - PHONO enables you to connect and use compatible Bang & Olufsen equipment with your Beocenter 9300, e.g. an extra audio tape recorder, a record player, or a video system. The sockets may also accommodate equipment of other makes. Consult your Bang & Olufsen dealer for details.

Video system
If you have a compatible Bang & Olufsen TV set you may connect it to the Beocenter 9300.
Connect your Beovision TV to the socket marked TV/AUX using a special Audio Aux Link cable.
Second tape recorder
If you have a second tape recorder it may be used in connection with the Beocenter.
Connect the tape recorder to the socket marked TAPE 2 - PHONO.
Record player
If you have a record player it may be used in connection with the Beocenter. The record player must be of a model equipped with a preamplifier (RIAA), e.g. a Beogram 7000.
Connect the record player to the socket marked TAPE 2 - PHONO.
Local Control System (MCL)
The installation of a Local Control System enables you to listen to your audio sources in other rooms. If you have connected a compatible Bang & Olufsen TV you will even be able to distribute the sound from your video sources to other rooms. Please contact your Bang & Olufsen dealer for details.
Connect the two 3-pin DIN-plugs on the MCL cable (i.e. the cable which leads to the other rooms) to the sockets marked SPEAKERS 2, left and right respectively.

Headphones
The socket marked PHONES on the front of the Beocenter (to the right, underneath the operation panel) enables you to connect headphones.

READY FOR USE
To complete the setting-up procedure, make your presettings of sound levels, favourite radio stations, etc. as described in the User's guide for your Beocenter 9300.
When you have finished setting up your Beocenter 9300 and your other equipment, connect the Beocenter to the mains. A red dot appears in the display of the Beocenter indicating that the system is in stand-by mode, ready to be used.
If you have a compatible Bang & Olufsen TV connected to your Beocenter, you must program both systems according to your particular setup. The Beocenter 9300 can be programmed for these setups (options):
- Option 1. To be used for a setup with your Beocenter 9300 and the Beovision placed together in one room (this is the factory setting).
- Option 2. To be used for a setup with the Beocenter 9300 placed in one room and your Beovision placed in another.
- Option 0. To be used if you want to disable remote control operation of the Beocenter 9300 (to enable remote control again, select one of the other options).
To do the programming, switch both systems to stand-by and use your Beolink 1000 remote control:
- Direct the Beolink 1000 towards your Beocenter, thenpress SOUND, the appropriate option number (1, 2, or 0), and then STORE.
The selected option number will be shown in the Beocenter display. - Direct the Beolink 1000 towards your Beovision TV, thenpress PICTURE, the appropriate option number (1 or 2), and then STORE.
![]()

The Beocenter 9300 and the connected Beovision TV are placed together in one room.
Program both systems to Option 1.
The Beocenter 9300 and the connected Beovision TV are split up and placed in two rooms.
Program both systems to Option 2.

MAINTENANCE
NOTE: Never use alcohol or other solvents to clean any part of your Beocenter 9300.

Clean the surfaces of the Beocenter using a soft, firmly wrung, lint-free cloth which you have dipped in a solution of lukewarm water containing a few drops of mild detergent, for example a dish washing detergent.
Before cleaning the glass panels, we recommend that you disconnect the Beocenter from the mains. A mild window cleaner sprayed on a dry cloth will do to remove fingerprints and grease stains on the glass panels.
Tape path
The tape path - that is, the tape heads, pinch rollers and other parts which the tape touches during playback or recording - should be cleaned every now and then to avoid dust and fluff buildup. It is a good idea to clean the tape path prior to making an important recording.

Use a tape head maintenance kit or simply a cotton wool stick dipped in a rinsing fluid intended for this purpose. The cleaning process must be carried out while there is no cassette in the tape compartment.
Handling your Compact Discs
Compact Discs (CD's) should be handled and stored with the same care as conventional records. If the CD is always held by the edges and placed in its original cassette after playing, no cleaning will be required.
Should the CD become soiled by fingerprints, dust or dirt, it can be wiped with a clean and lint-free, soft, dry cloth. No solvents or abrasive cleaners should ever be used on the CD. Avoid extreme heat and humidity, and never write on your CDs.

Always wipe the CD in a straight line from centre to edge.
Handling your Compact Cassettes
Compact Cassettes (tapes) should always be stored in a protective box at normal room temperature. Avoid extreme temperatures and humidity.
Before loading your Compact Cassette make sure that the tape is tightly wound. If not, try using a pencil or other thin object to tighten the tape.
You may protect your recordings from unintentional erasure by removing one or both latches on the rear edge of the cassette. Removing a latch will prevent the tape recorder from recording on the appropriate side of the cassette.
If, later on, you want to make a recording on a tape thus protected, just replace the appropriate latch by a piece of tape to release the recording lock.

The latch on the left corresponds to recordings on side 1 (A), and the latch on the right corresponds to recordings on side 2 (B).

Documents / ResourcesDownload manual
Here you can download full pdf version of manual, it may contain additional safety instructions, warranty information, FCC rules, etc.
Advertisement


Need help?
Do you have a question about the Beocenter 9300 and is the answer not in the manual?
Questions and answers