Advertisement
Quick Links
PRINT INSTRUCTIONS:
!!! DRAFT !!!
REFERENCE SHEET FOR VS-DBC350-WHT P/N 77-600041-001 REV 1.2 |
INK: BLACK | MATERIAL: 20 LB MEAD BOND | SIZE: 8.50" X 11.00" SCALE 1:1 |
FOLDS: BI-FOLD VERTICAL, BI-FOLD HORIZONTAL (TO FIT IN BOX)
Vivint Doorbell Camera Pro (Gen 2)
(VS-DBC350-WHT)
Quick Reference (User Manual — Installation & Operation)
The Vivint Doorbell Camera Pro (Gen 2) can be added to an integrated Vivint Smart Home system, letting the homeowner
know whenever a visitor comes to their door, whether that person presses the doorbell button or not, via smart notifications.
With the doorbell camera, you can see and speak with the visitor (whether you are inside the home or away) via the control
panel and mobile apps. The doorbell camera provides live and recorded video that can be viewed at the control panel as well
as remotely via the apps; speaker and microphone array for audio/communication capabilities including two-way talk via the
panel or apps; and an LED light ring on the doorbell button that indicates real-time camera function and status.
Professionally installed by a Vivint technician, the doorbell camera is added to the panel network either via NFC, Wi-Fi Connect,
or WPS. Once connected to the system, the doorbell camera can be used in conjunction with other smart home automation
devices and features, such as remote door locks, garage door controllers, and light switches.
Other features include: Night vision with IR LEDs; Full 180° FOV (field of view); Pinch-to-zoom video image; Person-triggered
and/or ring notifications; Micro SD card support for on-device 24/7 playback DVR.
This document includes a product description, installation and test instructions, basic operation / user functionality overview,
as well as technical specifications and regulatory compliance notices and declarations.
Installation Instructions
Installing the doorbell camera initially requires some different steps depending on whether or not there is an existing doorbell, but once the power source is set up the
procedure is essentially the same. The Vivint technician should carefully read all of these installation steps (and tips) in order to ensure a successful installation and optimal
performance. For additional information, refer to the Field Service Smart Home Pros website.
Scenario 1: IF there is an existing doorbell: a) Locate the chime box and remove the FRT and
TRANS wires from the screw terminals keeping the wires separated, b) Verify the doorbell no
longer has power, and c) Detach the doorbell. (NOTE: If there is a wire on the REAR terminal
for a working doorbell, remove it and cap it off. Also, if there are multiple chime boxes, you
need to locate them and remove their FRT and TRANS wires.)
Scenario 2: IF there is no existing doorbell: a) Consulting with the homeowner, identify the best
location to install the doorbell camera and also locate the nearest interior unswitched power
outlet, b) Carefully drill a hole for wiring at the mounting location, and c) Run 18/2 wire from
the DBC to the power source. (NOTE: If running wire on the wall or floorboard, do not use
staples and always encase in wire molding. See Installation Tips below.)
Next, follow these steps to pair and install the camera, and add it to the system:
1. First, pair the doorbell camera to the panel via NFC. At the panel, tap on the menu icon
(...) in the bottom right corner > tap Software version > enter the PIN code 2203 > tap
Smart Home devices > Cameras > and then tap Add camera.
2. Tap NFC > and then tap Add. Align the logo on the front of the DBC with the white light on
the panel, and hold it until pairing is complete.
3. Mount the camera. Run the power wires through the back plate's rubber grommet, and
then strip and secure each wire to a screw terminal. Polarity does not matter.
4. Attach the back plate to the wall/doorframe with two screws. Secure the rubber gaskets.
5. If applicable, at the chime box, twist and cap the FRT and TRANS wires together.
6. Place the doorbell unit on the back plate, by first attaching the bottom on to the set screw,
and then swinging it up so that it clips securely into the top latch.
7. Verify power is present at the DBC. The LED light will illuminate. (See LED descriptions)
8. Once the doorbell camera has finished booting (wait a few minutes), it will show online.
IMPORTANT: This process should NOT be interrupted and could take several minutes in
order to load firmware and configure settings.
9. Verify that you can view live video at the panel screen and with the app.
INSTALLATION TIPS / BEST PRACTICES:
• Push any excess wire back into the wall. No exposed wires. No exterior wire runs.
• If the camera view is blocked, use a spacer to adjust the angle.
• On brick/concrete/stucco/wood/vinyl: Use outdoor-rated screws only. Pre-drill if necessary.
• Do NOT use drywall screws (or any screws that won't sit flush on the back plate).
• Do NOT mount to metal surfaces.
• NOTE: Refer to the Field Service website for detailed guidelines on replacing an existing
doorbell when the power source voltage is not within the 12-24V range.
Operation Overview / User Functionality
Once the doorbell camera is up and running, the user can perform the following functions — similar
to other Vivint connected cameras — at the panel and via the apps. For detailed instructions, refer
the homeowner to the online Help resources (articles and video tutorials) at the Vivint Support site.
• View a live video feed
• View recorded video clips
• Receive person-triggered (event)
notifications
• Engage in two-way talk
For camera management and configuration, at the
Devices > Cameras settings page, the user can:
• Adjust detection and video settings (app only)
• Reboot the camera
• Delete the camera
4931 N 300 W Provo, UT 84604
Back Plate (inside view) —
Doorbell Unit (inside view) —
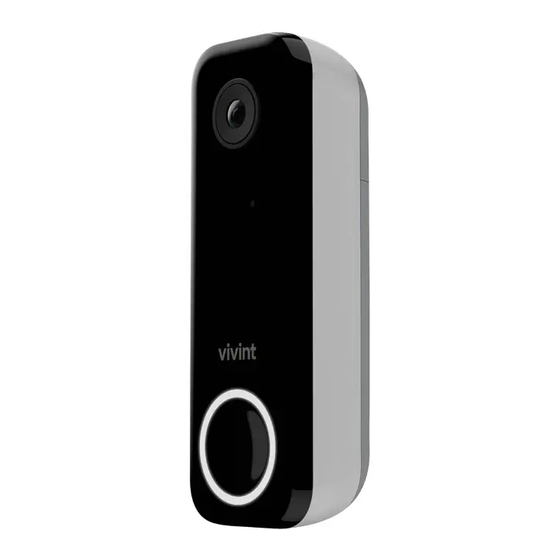
Doorbell Camera Pro (Gen 2) (assembled) —
Advertisement

Related Manuals for Vivint VS-DBC350-WHT


Summary of Contents for Vivint VS-DBC350-WHT
- Page 1 Installing the doorbell camera initially requires some different steps depending on whether or not there is an existing doorbell, but once the power source is set up the procedure is essentially the same. The Vivint technician should carefully read all of these installation steps (and tips) in order to ensure a successful installation and optimal performance.
- Page 2 • Pour les produits disponibles aux États-Unis / Canada du marché, seul le canal 1 à 11 peuvent être exploités. Sélection d'autres canaux n'est pas possible. FCC ID: 2AAAS-CM10 IC: 10941A-CM10 (*For complete regulatory compliance information, go to: vivint.com/legal/fcc) © 2022 Vivint Inc. All Rights Reserved. www.vivint.com...
Need help?
Do you have a question about the VS-DBC350-WHT and is the answer not in the manual?
Questions and answers