Advertisement
Quick Links
OF F I C E FU RN I TURE
Z:\Office Furniture\ECONOWISE\OLD\Performance_logo.jpg
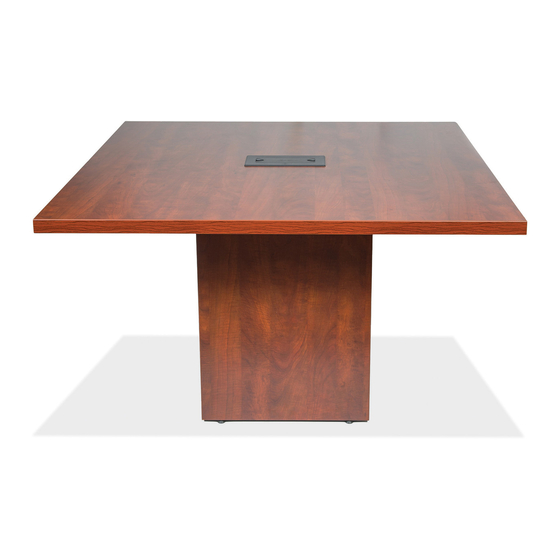
Thank you for purchasing the Office Source Race Track / Boat Shape Conference Table.
Option 1
See Page 3
Option 2
See Page 4
Option 3
See Page 5
Option 4
See Page 5
Last Updated: 10/2021
Last Updated: 3/2023
Please follow these instructions for easy assembly.
Option 1
See Page 3
Option 2
See Page 4
Option 3
See Page 5
ASSEMBLY INSTRUCTIONS
MODEL NO. PL139T
ASSEMBLY INSTRUCTIONS
MODEL NO. PL139T
PAGE 1 OF 5
OFFICESOURCE.COM
OFFICESOURCE.COM
Advertisement

Related Manuals for OfficeSource PL139T


Summary of Contents for OfficeSource PL139T
- Page 1 ASSEMBLY INSTRUCTIONS MODEL NO. PL139T OF F I C E FU RN I TURE ASSEMBLY INSTRUCTIONS MODEL NO. PL139T Z:\Office Furniture\ECONOWISE\OLD\Performance_logo.jpg Thank you for purchasing the Office Source Race Track / Boat Shape Conference Table. Please follow these instructions for easy assembly.
- Page 2 ® ASSEMBLY INSTRUCTIONS ASSEMBLY INSTRUCTIONS MODEL NO. PL139T OF FIC E FURNITU RE MODEL NO. PL139T Z:\Office Furniture\ECONOWISE\OLD\Performance_logo.jpg Thank you for purchasing the Performance Race Track / Boat Shape Conference Table. Please follow these instructions for easy assembly. HARDWARE PACK PL 139 T...
- Page 3 ® ASSEMBLY INSTRUCTIONS ASSEMBLY INSTRUCTIONS MODEL NO. PL139T OF F I C E FU RN I TURE MODEL NO. PL139T BOTTOM FACE (A6/D6) Attach the Flat-Bracket (A5/D5) to (A5/D5) two Top Panel (D) and Top Panel (A) as shown. Tighten Screws (A6/D6) securely.
- Page 4 ® ASSEMBLY INSTRUCTIONS ASSEMBLY INSTRUCTIONS MODEL NO. PL139T OF F I C E FU RN I TURE MODEL NO. PL139T BOTTOM FACE (A6/D6) Attach the Flat-Bracket (A5/D5) to (A5/D5) two Top Panel (D) and Top Panel (A) as shown. Tighten Screws (A6/D6) securely.
- Page 5 ® ASSEMBLY INSTRUCTIONS ASSEMBLY INSTRUCTIONS MODEL NO. PL139T OF F I C E FU RN I TURE MODEL NO. PL139T Z:\Office Furniture\ECONOWISE\OLD\Performance_logo.jpg Attach Cube Base (K) by using Cam Lock (K1) and Klix Cam (K2). Screw Adjustable Glide (K5) into bottom of End Base (K).
Need help?
Do you have a question about the PL139T and is the answer not in the manual?
Questions and answers