Sonos ZoneBridge BR100 - Surround Sound System Manual
- Datasheet (2 pages) ,
- Setup manual (142 pages)
Advertisement
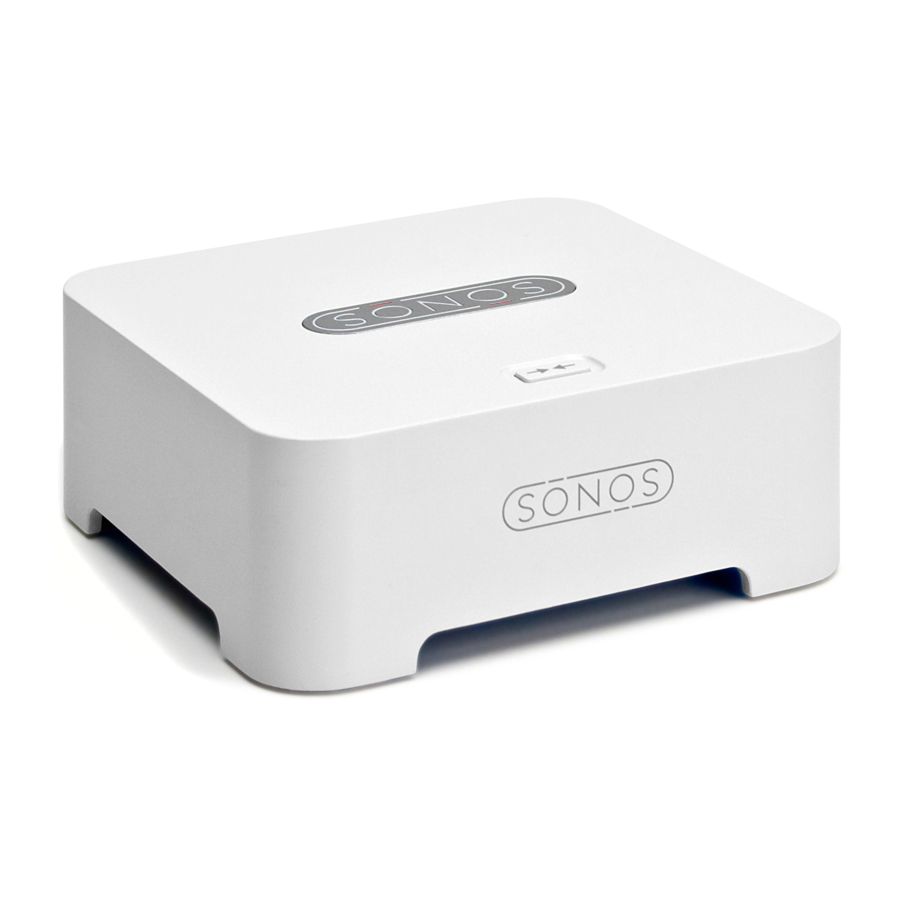
About the Device
Use a ZoneBridge to connect the Sonos Digital Music System to your home network— or if you want to set up a music zone in an area that lies beyond your current range, you can use a ZoneBridge to extend the wireless range of your Sonos Digital Music System.
Where to Begin
Already have Sonos?
If you are adding this ZoneBridge to an existing Sonos music system, you can turn directly to the installation instructions.
New to Sonos?
Unpack your Sonos components, and then follow the setup instructions in this guide in sequential order to ensure that you set up your Sonos® ZoneBridge correctly. Once you have the ZoneBridge (or a ZonePlayer if you want to play music in this room) connected to your router, add ZonePlayers and the Controller(s) to complete the setup of your Sonos Digital Music System. See "Network requirements" to make sure your home network is ready for Sonos, and then turn to the installation instructions.

The Sonos ZoneBridge requires the latest Sonos software release, so be sure to upgrade your music system prior to adding the ZoneBridge to your system. If you are setting up a new system, please select Yes when the CD-ROM displays a prompt to check for updates. If you already have a Sonos system, please select Online Updates from the System Settings menu on your Controller.
Your Computer Network

 Note: Your network must have a high-speed Internet connection, as the Sonos Digital Music System is designed to provide you with online software updates. Your Sonos system must be registered in order to receive updates, so be sure to register during the setup process. We do not share your e-mail address with other companies.
To play the digital music files stored on your computer, your computer network must meet the following requirements:
Network requirements
- DSL/cable modem, or LAN-based, high-speed Internet connection.
- If you currently have a cable or DSL modem connected directly to your computer, you should install a router between your modem and your computer to enhance your computer's security, and to share the Internet connection with the Sonos Digital Music System and other devices. If you do not have a router, you should purchase and install one before proceeding.
Compatible operating systems
- Windows Vista™
- Windows® XP, including Windows® XP Media Center
- Macintosh® OS X
Please visit our Web site at http://faq.sonos.com/specs for the latest system requirements.
Adding To EXISTING Sonos System
If you are adding this ZoneBridge to an existing Sonos system, please follow the steps below.
You can use a Sonos ZoneBridge to replace the ZonePlayer™ that is currently wired to your home network, or place a ZoneBridge in any location to extend the wireless range of your Sonos Digital Music System.
If you are replacing the wired ZonePlayer in your music system with a Sonos ZoneBridge, first add the new ZoneBridge to your music system (steps below). You can then unplug the wired ZonePlayer, replace it with the Sonos ZoneBridge, and move the original ZonePlayer to a new location.
- Attach the power adapter and plug in the ZoneBridge. Be sure it is the proper power adapter for your country. Check for software updates by choosing one of the following options:
- Use the Sonos Controller to check for software updates by selecting System Settings→Online Updates from the Music menu.
- Use the Desktop Controller software to check for software updates by selecting Help→Check for Updates.
- If you are making a wired connection, connect an Ethernet cable (supplied). If you are making a wireless connection, skip this step and continue.
- Choose one of the following options:
- Use the Desktop Controller software to add the ZoneBridge to your music system by selecting Add a ZonePlayer or ZoneBridge from the Zones menu.
- Use the Sonos Controller to add the ZoneBridge to your music system by selecting System Settings→Add a ZonePlayer or ZoneBridge from the Music menu.
During the setup process, you will be asked to press and release the Connect button on top of the ZoneBridge. The indicator lights will flash green and white while the ZoneBridge is connecting.

Now that you've added the ZoneBridge to your music system—
- If you are replacing the ZonePlayer that is currently attached to your router, you can unplug the wired ZonePlayer, replace it with the Sonos ZoneBridge, and move the original ZonePlayer to a new location.
- If you are using the ZoneBridge elsewhere in your house to extend your wireless network, you can now move any of your existing ZonePlayers to other locations if desired.
Setting Up NEW Sonos System
Connect the ZoneBridge to your home network by following the steps below. (If you are going to use speakers in this music zone, you can connect a ZonePlayer 100 in step 2 instead. If you would like to utilize an external amplifier or powered speakers in this music zone, you can connect a ZonePlayer 80 in step 2 instead.)
- Attach the power adapter and plug in the Sonos ZoneBridge.
- Connect an Ethernet cable (supplied) from one of the Ethernet switch connectors on the back of your ZoneBridge to an open port on your router.


- Do not connect the ZoneBridge directly to your cable or DSL modem unless your modem has a built-in router.
- If you don't have a router, go to http://faq.sonos.com/norouter for instructions.
If you don't have an open port on your router, you can disconnect your computer from the router and connect it to the ZoneBridge instead (see below). Then connect the ZoneBridge into the router port the computer was previously plugged into.

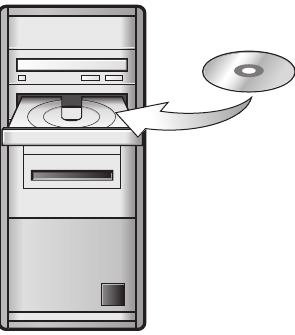
- Insert the Sonos System Setup CD-ROM, and follow the prompts to connect the ZoneBridge. The CD-ROM will quickly and easily guide you through the setup process. (If you purchased multiple Sonos components, you may have more than one System Setup CD-ROM—use the one that accompanied your ZoneBridge and you can put the others away.)
When you insert the CD-ROM, you will be prompted to check for software updates. Be sure to select Yes, as the Sonos ZoneBridge requires the latest software release.
For use with:
- Windows Vista
- Windows XP, including Windows XP Media Center
- Macintosh OS X
Please visit our Web site at http://faq.sonos.com/specs for the latest compatible operating system versions.
Now that you've set up the ZoneBridge you are ready to add the rest of your Sonos components. Turn to "Adding More Sonos Components".
Adding More Sonos Components
Once you've set up your ZoneBridge, you can easily add more components any time. If your house has structured (built-in) wiring, you can make a wired connection to additional ZonePlayers or ZoneBridges. If you don't have structured wiring, our built-in wireless technology is ideal for you.
Note: Thick walls, 2.4 GHz cordless telephones, and the presence of other wireless devices can interfere with the wireless network signals from your Sonos Digital Music System. If you are experiencing difficulty, it is advisable to relocate the Sonos component, change the wireless channel your music system is operating on, or make a wired connection (Ethernet cable) either from your router to the ZoneBridge, or from one ZonePlayer to another (see page 15.) If you are having trouble placing your units within wireless range of each other, visit our Web site at http://faq.sonos.com/range.
Add a ZonePlayer or ZoneBridge
- Choose one of the following options:
- If you are adding an amplified ZonePlayer, attach desired speakers.
- If you are adding a ZonePlayer 80, connect an external amplifier.
- If you are adding a ZoneBridge, attach the power adapter.
Note: For detailed ZonePlayer setup instructions, refer to the Setup Guide packaged with your ZonePlayer, or start your Desktop Controller software and select Sonos System Help from the Help menu.
- If you are making a wired connection, connect a standard Ethernet cable from your router, another ZonePlayer or ZoneBridge, or a live network wall plate to one of the Ethernet switch connections on the back of the new Sonos component. If you are making a wireless connection, skip this step.
- Attach the power cable (if you haven't already done so), and apply power.
- Choose one of the following options:
- Using the Sonos Controller, select System Settings→Add a ZonePlayer or ZoneBridge from the Music menu.
- Using the Desktop Controller software, select Add a ZonePlayer or ZoneBridge from the Zones menu.
Add a Controller
You should charge your new Sonos Controller when you remove it from the packaging. Plug it into the power adapter, and then follow the Controller's on-screen prompts to add it to your music system (you can use the Controller while it is charging.) If you are prompted to check for updates, please select Yes.
When you see the message Setup Complete, press the OK button located in the middle of the scroll wheel and you are ready to play some music! Press the Music button and then choose one of the following options—
Music menu
Once you have set up at least one ZonePlayer, you can press the Music button on your Sonos Controller to display the Music menu.

To read more about the features and functions of your new Sonos system, please download the user guide from our Web site at: www.sonos.com/support/documents or start your Desktop Controller software and select Sonos System Help from the Help menu.
- To activate a free music service trial, select Music Service Trials. (Your music system must be registered to activate a trial, so if you have not yet registered, you can do it now by selecting System Settings→Advanced Settings→System Registration.)
- To select an Internet radio station, select Internet Radio.
- To add music folders located on a computer in your home network, open your Desktop Controller software and select Set Up Music Library→Add a Share from the Music menu.
- You can use the Sonos Controller to add music folders by selecting System Settings→Music Library Management→Music Library Setup from the Music menu, but it's easier to use the Desktop Controller for this one-time task.
Device Front

| Connect button | Press the Connect button to join the ZoneBridge to your Sonos Digital Music System. |
| ZoneBridge status indicator |
|
Rear Panel

| Ethernet switch connectors (2) | Use Category 5 Ethernet cable to connect to a router, computer, or additional network device such as a network-attached storage (NAS) device. |
| AC power (mains) input | Use the supplied power adapter to connect to power outlet. Be sure to use the proper power adapter for your country. |

Documents / Resources
References
![www.sonos.com]() Help and Support | Sonos
Help and Support | Sonos![faq.sonos.com]() Sonos system requirements | Sonos
Sonos system requirements | Sonos![faq.sonos.com]() Help and Support | Sonos
Help and Support | Sonos![faq.sonos.com]() Help and Support | Sonos
Help and Support | Sonos![www.sonos.com]() Help and Support | Sonos
Help and Support | Sonos
Download manual
Here you can download full pdf version of manual, it may contain additional safety instructions, warranty information, FCC rules, etc.
Download Sonos ZoneBridge BR100 - Surround Sound System Manual
Advertisement


Need help?
Do you have a question about the ZoneBridge BR100 and is the answer not in the manual?
Questions and answers