Advertisement
Quick Links
Energiser Installation Guide
For Mains Powered Energisers
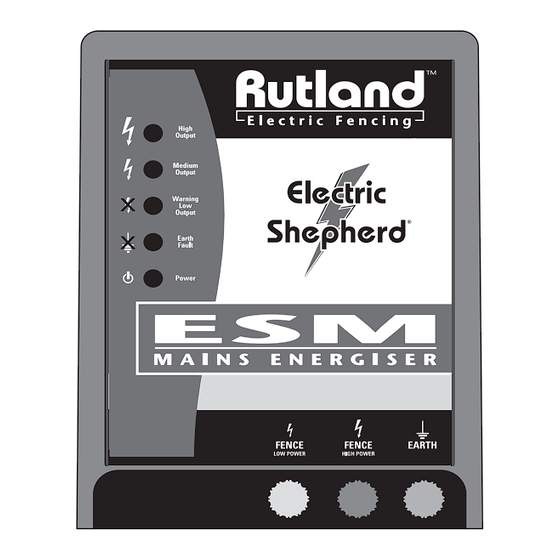
Thank you for purchasing a Rutland mains powered electric fence energiser.
We believe this unit is the best of its kind for ease of use, reliability and
durability. This guide provides instruction to properly install, operate and
maintain your unit, ensuring the most effective performance.
ESM401, ESM402,
ESM602 & ESM902
ESM2500, ESM3500i
ESM4500i & ESM5500i
Before You Start
Installation of Energiser and Fence
Electric fences should be installed and operated so that they cause no
danger to persons, animals or surroundings and as far as is reasonably
practicable, they are out of reach of children and not subject to
mechanical damage. Never connect more than one energiser to the
same single or multi-wire fence. Any other fence systems powered
by a different energiser should be at least 2.5 metres apart. If this
gap is to be closed, use non-conductive material or an isolated metal
barrier. Any electric fence or part thereof installed along a public road
or pathway should be identifi ed by warning signs at regular intervals.
The warning sign should have a yellow background and be
at least 100 mm x 200 mm. The words "Caution Electric
Fence" or symbol should appear in black, permanent
marking on both sides of the sign and be at least 25mm
in height.
• Barbed wire must not be electrifi ed.
• If an electric fence has to be installed in the vicinity of overhead
power lines it should not cross above it or run in parallel to it for any
great distance. If it is necessary to pass under overhead powerlines it
should be done at right angles and the vertical distance between any
fence wire and the surface of the earth should not exceed two metres.
• If an electric fence has to be installed near any communication lines,
the distance from the lines and the fence or any part of it should be
more than two metres.
• If the energiser is installed in the vicinity of any building, care must
be taken to ensure that the earth for the electric fence is more
than 10 metres away from any domestic electricity board earth or
telecommunications system earth.
• Follow the manufacturer's directions for proper earthing of your
electric fence.
• Use insulated cable for connecting leads that run inside buildings
or underground. Take care to avoid damage from animal hooves or
vehicle wheels and use a conduit of insulating material if needed.
• Do not install connecting leads in the same conduit as the mains
supply wiring, communication cables or data cables.
• Low output energisers provide satisfactory and safe performance for
deterring birds, household pets and training animals such as cows.
Advertisement

Summary of Contents for Rutland ESM401
- Page 1 Any electric fence or part thereof installed along a public road Thank you for purchasing a Rutland mains powered electric fence energiser. or pathway should be identifi ed by warning signs at regular intervals.
- Page 2 • If the electric fence is intended to deter birds from roosting on Energiser Installation buildings, do not connect the fence wire to the earth terminal. Use a warning sign at any point where a person may access the fence wire. Manufacture Standard Built to Comply with CE, IPX4, EN60355-2-76 Overview of Installed Energiser...
- Page 3 STEP 1: Mount Energiser STEP 2: Connect Earth and Fence Terminals IMPORTANT: Mount in an inside location or in a waterproof enclosure Single screw mounting Lead-out cable Connect lead-out cable to EARTH (green) terminal Double screw mounting Connect lead-out cable to FENCE (red) terminal - 4 - - 5 -...
- Page 4 STEP 3: Connect Earth System STEP 4: Connect Lead-Out Cable to Fence Line Poly wire connection Poly tape connection Earth connection Part no.30-158 Part no.18-172 Poly rope connection Ensure Fence System is Sound NOTE: Connect additional earth stakes with lead-out cable if required •...
- Page 5 Energiser Operation Intelligiser Operation ® For Models: ESM401, ESM402, ESM602, ESM902 For Models: ESM3500i, ESM4500i, ESM5500i (1) Pulse indicator–high output (2) Pulse indicator medium output (3) Pulse indicator low output (4) Boost Mode indicator Pulse indicator Alarm indicator • fl ashes to indicate •...
- Page 6 Intelligiser Operation Energiser Operation ® For Models: ESM3500i, ESM4500i, ESM5500i For Models: ESM2500 Intelligiser® Features Pulse indicator–high output The Intelligiser® is a new type of electric fence energiser that conforms to • fl ashes if over 5,000 volts output the latest European safety standards. The standard sets out to improve the performance and safety of an electric fence energiser.
- Page 7 Fence Line Maintenance • Regularly test voltage at the furthest point on the fence line from the energiser – we recommend Rutland Digital Tester 14-172 or 8-Light Tester 14-173 • Routinely check all fence and earth connections to ensure they are...
-
Page 8: Warranty
Rutland Electric Fencing Co Ltd. all of which are beyond the control of Rutland Electric Fencing Co. Ltd. or the seller. The buyer shall assume all such risks.


Need help?
Do you have a question about the ESM401 and is the answer not in the manual?
Questions and answers