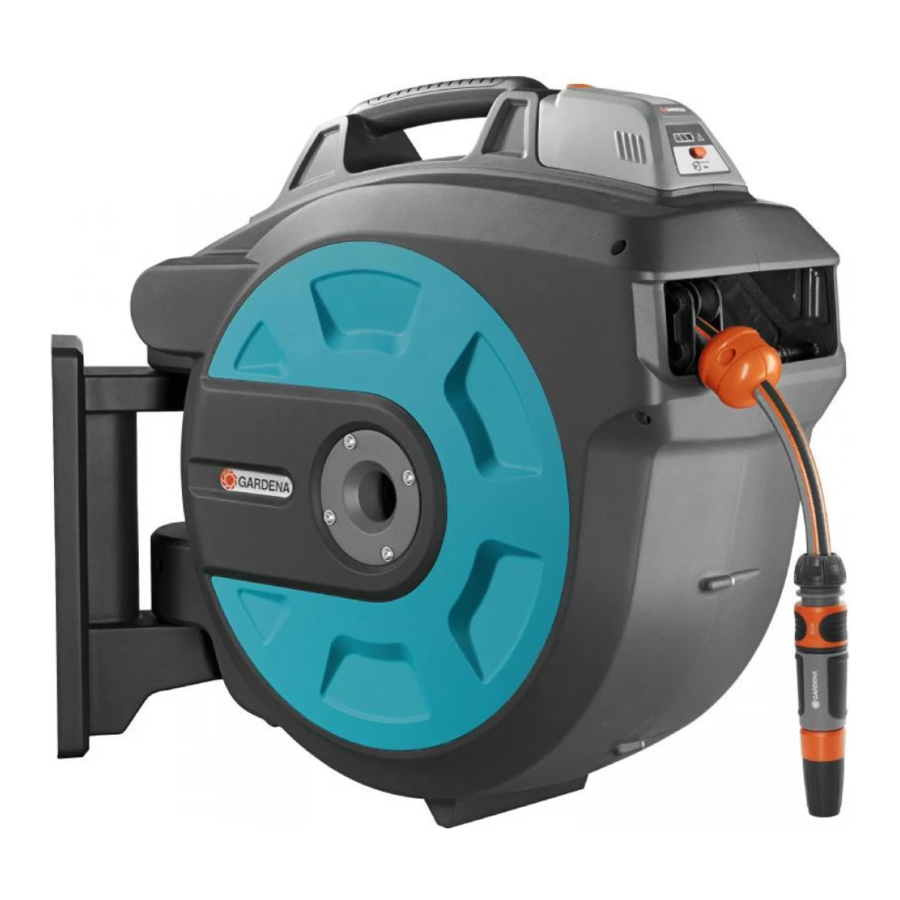
Gardena 35 Roll-Up Automatic Li-Ion Manual
- Operating instructions manual (10 pages)
Advertisement
Correct use
The Wall-Mounted Hose Box with automatic battery-powered hose roll-up serves the irrigation of the garden and is intended for use in the private home- and hobby garden. It may not be used in public facilities, parks, sports facilities, on streets and in agriculture and forestry. The Hose Box is only suitable for outdoor use.
Observance of this User's Manual is the condition for correct use.
Contents

Safety Instructions

- Read the Operating Instructions before initial operation.
![]()

The Hose Box may not be opened.

Follow the Safety Instructions on the Battery Charger.
RISK OF EXPLOSION! Physical injury!
The Battery Charger may not be used to charge other batteries or rechargeable batteries.
The Battery Charger may only be used to charge the GARDENA Li-Ion battery located in the Controller.
Never expose the Battery Charger to moisture or wetness.


RISK OF FIRE! Short-circuit!
Do not bridge contacts of the Battery Charger with metal parts.
Check before each use:
Carry out a visual inspection each time before using the Battery Charger.
After intensive use, first let the battery cool before charging.
End of charging / storage:
Store the Battery Charger with disconnected mains plug. Follow the Safety Instructions on the Controller.
RISK OF FIRE! Short-circuit!
Do not bridge contacts of the Controller with metal parts.
Check before each use:
Carry out a visual inspection each time before using the Controller.
Use / Responsibility:
ATTENTION!
Due to the danger of physical injury, the Controller may not be used as an energy source for other appliances. You may only use the Controller for the intended GARDENA Wall-Mounted Hose Box Art. 8025.
Electrical safety:
RISK OF FIRE!
Never charge batteries near acids and highly flammable materials.
Only Original GARDENA Battery Chargers may be used as battery chargers. If other battery chargers are used, the batteries may be destroyed and fires may even be caused.
RISK OF EXPLOSION!
Protect battery against heat and fire. Do not place on radiators or expose to intense sunlight for long periods.
Only use and charge the battery in an ambient temperature between 5°C and 45°C. After long periods of use, first allow the battery to cool down.
The mains charging cable must be inspected regularly for signs of damage and ageing (brittleness) and may only be used in perfect condition.
Putting into storage:
Do not store the battery over 45°C or under direct sunlight. Ideally, the battery should not be stored below 25°C so that the self-discharge is low. Never store it connected to one of the connecting devices to prevent misuse and accidents.
Do not store battery in places with static electricity.
The battery must not be opened.
If required, the stopper can be shifted:

- Press the release button
![]() and remove the Controller
and remove the Controller ![]() .
. - Loosen the 2 screws
![]() on the stopper
on the stopper ![]() with a screwdriver.
with a screwdriver. - Hold the watering hose securely while shifting, shift the stopper
![]() and screw tightly again with the 2 screws
and screw tightly again with the 2 screws ![]() .
.
 and remove the Controller
  .
. on the stopper
  with a screwdriver.
Mount wall bracket
The supplied wall plugs are suitable for cement walls (plaster up to 1 cm). For other wall types, special wall plugs must be used.

- Mark holes using the wall bracket
![]() , drill into the wall with an 8-mm drill and stick in the wall plugs 8.
, drill into the wall with an 8-mm drill and stick in the wall plugs 8. - Screw the wall bracket
![]() with the 4 screws
with the 4 screws ![]() (width across flats 10-mm) and the 4 washers
(width across flats 10-mm) and the 4 washers ![]() .
. - Stick the Hose Box
![]() onto the wall bracket
onto the wall bracket ![]() .
. - Secure the Hose Box
![]() with the safety screw
with the safety screw ![]() .
. - Connect the connecting hose
![]() to the tap.
to the tap.
 , drill into the wall with an 8-mm drill and stick in the wall plugs 8.
 (width across flats 10-mm) and the 4 washers
  .
. onto the wall bracket
  .
. to the tap.
Charge battery in the Controller
Before using for the first time, the battery must be fully charged.
The lithium-ion battery can be charged at every charging level and charging can be interrupted at any time without damaging the battery (no memory effect).
ATTENTION!
Overvoltage destroys the batteries and the charger.
- Observe correct mains voltage.


- Press the release button
![]() and remove the Controller
and remove the Controller ![]() .
. - Insert the Battery Charger
![]() into a mains socket.
into a mains socket. - Insert the plug of the charging cable I into the Controller
![]() .
.
 and remove the Controller
  .
. into a mains socket.
Charging control lamp  is lit red: Battery is charged.
Charging control lamp is lit green: Battery is fully charged.
(For charging time, see Technical Data).
- First disconnect the plug of the charging cable and then disconnectthe Battery Charger from the mains socket.
- Slide the Controller
![]() on the Controller-insert on the Hose Box until it snaps in.
on the Controller-insert on the Hose Box until it snaps in.
 on the Controller-insert on the Hose Box until it snaps in.
So that the fully charged battery does not self-discharge via the Battery Charger, the Controller should be disconnected from the unplugged Battery Charger after charging.
Operation

Unwind:
- Pull out hose to desired length.
Roll up:
- With the end of the hose, go back to the Hose Box and hold the button pressed
![]() until the hose has been rolled up to the desired length.
until the hose has been rolled up to the desired length.
 until the hose has been rolled up to the desired length.
Protective function: If the hose is blocked or completely rolled up, the motor automatically switches off.
- When the connecting hose
![]() is removed from the tap, place it onto the anti-drip device
is removed from the tap, place it onto the anti-drip device ![]() so that no water will drip from the hose.
so that no water will drip from the hose.
 so that no water will drip from the hose.
Do not direct water jet directly into the housing.
LED display of battery-charging status
The charging level of the battery is displayed briefly every time the button  is pressed. When the battery is fully charged, the hose can be rolled up to 25 times.
LED 3 shines green: Battery is fully charged.
LED 2 shines yellow: Battery is half-charged.
LED 1 shines red: Battery is nearly empty and must be charged.
LED 1 flashes red: Battery is completely empty and must be charged.
Also with a nearly empty battery (LED 1 shines red), the hose can be rolled up 1 time and the battery must be charged. When the battery is completely empty (LED 1 flashes red), the hose can no longer be rolled up.
Transport position
Connect the connecting hose  to the anti-drip device
  .
.

Cleaning
The hose box is maintenance-free and must not be cleaned internally with water.
If necessary, clean the contacts of the Controller with a dry cloth. Do not use any solvents.
Putting into storage
Storage/ overwintering
![]()
Before the onset of the frost period, stow the motorised Wall-Mounted Hose Box and the control panel in a frostproof place in an upright position.
The place of storage must be inaccessible for children.
- Charge the battery. This increases the life of the battery.
- Store the battery and the Hose Box in a frost-protected and dryplace.
Disposal of the battery
The Controller  contains lithium-ion batteries which must not be disposed of with normal household waste at the end of their life.

Please dispose of the battery via the municipal disposal point.
Troubleshooting
| Fault | Possible cause | Remedy |
Hose is not completely retracted | Hose was not rolled up correctly. | Pull out hose completely under water pressure and roll up completely as described under "Operation". |
During charging, the charging control lamp  flashes red. flashes red. | There is a fault during charging. | Unplug charging cable and plug in again. The fault will be reset. |
Error LED flashes red | Overtemperature in the Controller or motor. | Let cool off (wait at least 5 min.). |
Error LED lights up red | Controller  is defective. is defective. | Contact GARDENA Service. |
| Controller not pushed onto the hose box. | Push controller onto the hose box. |
In the event of other faults, please contact GARDENA Service. Repairs may only be carried out by GARDENA service centres or by specialist dealers authorised by GARDENA.
Note:
For safety reasons, the hoses may only be replaced by GARDENA Service.
Technical data
| Battery | 5 Li-Ion batteries |
| Battery capacity | 1.6 Ah with 18 V |
| Battery charging duration | approx. 3 hrs. 90% up to 4 hrs. 100 % |
| Battery Charger | |
| Mains voltage | 100 - 240 V / 50- 60 Hz |
| Rated output current | 600 mA |

Documents / ResourcesDownload manual
Here you can download full pdf version of manual, it may contain additional safety instructions, warranty information, FCC rules, etc.
Advertisement


Need help?
Do you have a question about the 35 Roll-Up Automatic Li-Ion and is the answer not in the manual?
Questions and answers