Table of Contents
Advertisement
Quick Links
Advertisement
Table of Contents

Related Manuals for dji O3 Air Unit


Summary of Contents for dji O3 Air Unit
- Page 1 DJI O3 Air Unit Easy-to-Use Guide for Beginners...
-
Page 2: Table Of Contents
About DJI O3 Air Unit ......................3 Tutorials ..........................4 User Manual ........................4 Unboxing and Getting Started ..................4 Unboxing ..........................4 Installation Guide ......................5 Activation .........................6 Linking ..........................6 Configure the flight controller parameters ............7 Using for the First Time .......................7 Firmware Update ...................... -
Page 3: About Dji O3 Air Unit
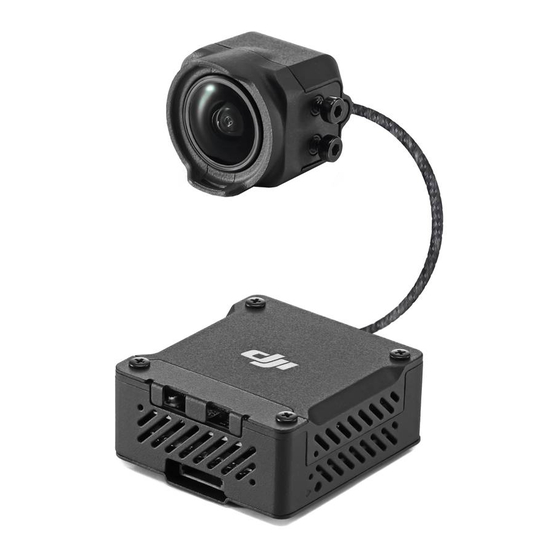
About DJI O3 Air Unit DJI O3 Air Unit is an advanced video transmission device featuring DJI long-range low-latency HD transmission O3+ technology. The air unit can be mounted on a racing drone and used with DJI goggles and a remote controller to transmit video, control signals, and flight controller information wirelessly, providing you with a one-stop video transmission solution. -
Page 4: Tutorials
Manual. Unboxing and Getting Started Activate your new device before use. Download DJI Assistant 2 (Consumer Drone Series), connect your device to a computer, and activate it following the prompts. Consult the content below for a guide to unboxing and activating your device. -
Page 5: Installation Guide
Installation Guide Upon receipt of your DJI O3 Air Unit, attach the air unit onto the aircraft before proceeding. For a step-by-step guide to installing your device, refer to the steps below. 1. Insert or solder the 3-in-1 cable plug into the socket or solder joints of the aircraft flight control board. -
Page 6: Activation
Linking Before using DJI O3 Air Unit for the first time, link the aircraft, remote controller, and goggles for a full FPV flight experience. Take DJI Goggles 2 as an example: Step 1: Link the air unit to the goggles... -
Page 7: Configure The Flight Controller Parameters
1. Power on the goggles and air unit, and press the link button on the goggles. The goggles start to beep continually, indicating that they have entered the linking state. 2. Press the link button of the air unit, and the live view will appear on the googles once the linking is successful. -
Page 8: Firmware Update
Exporting files The internal storage of DJI O3 Air Unit is about 20 GB, which can meet the daily shooting needs of most users. You are allowed to expand the internal storage by installing a microSD card on the side of the image transmission module. It is recommended that you use the following microSD cards. -
Page 9: Audience Mode
Audience Mode DJI O3 Air Unit supports Audience mode when used with DJI Goggles 2, which allows the live view to display on multiple goggles simultaneously. Go through the steps below to link the air unit with goggles. -
Page 10: Changing An Accessory
4. The device number appears, such as 312E, which can be found on audience goggles. After selecting the device number on audience goggles, the live view will be synchronized and displayed on audience goggles. 5. Power on audience goggles, go to "Settings" > "Transmission" > "Audience", select "312E"... - Page 11 3. Prepare a new antenna module, align the antenna plug to the air unit, and press it down. Make sure that the camera module is firmly mounted. *When installing the antennas, please be careful, and do not cause irreversible damage to the antenna connectors and feeders. 4.
Need help?
Do you have a question about the O3 Air Unit and is the answer not in the manual?
Questions and answers