Advertisement
- 1 COMPONENT LIST
-
2
INSTALLATION
- 2.1 STEP 1 - PREPARE THE GRAPHICS CARD
- 2.2 STEP 2 - PREPARE THE GPU BRACKET ( I )
- 2.3 STEP 3 - PREPARE THE GPU BRACKET ( I I )
- 2.4 STEP 4 - IDENTIFY THE MOUNTING HOLES AND RETENTION BRACKETS
- 2.5 STEP 5 - PREPARE THE RETENTION BRACKET
- 2.6 STEP 6 - PREPARE THE PUMP
- 2.7 STEP 7- INSTALL THE PUMP ONTO THE GPU BRACKET
- 2.8 STEP 8 - INSTALL THE GPU BRACKET
- 2.9 STEP 9 - MANAGE THE TUBES AND CABLES
- 2.10 STEP 10 - CONNECT THE FAN
- 2.11 STEP 11 - INSTALL THE ASSEMBLE DGRAPHICS CARD
- 3 Videos
- 4 Documents / Resources
COMPONENT LIST
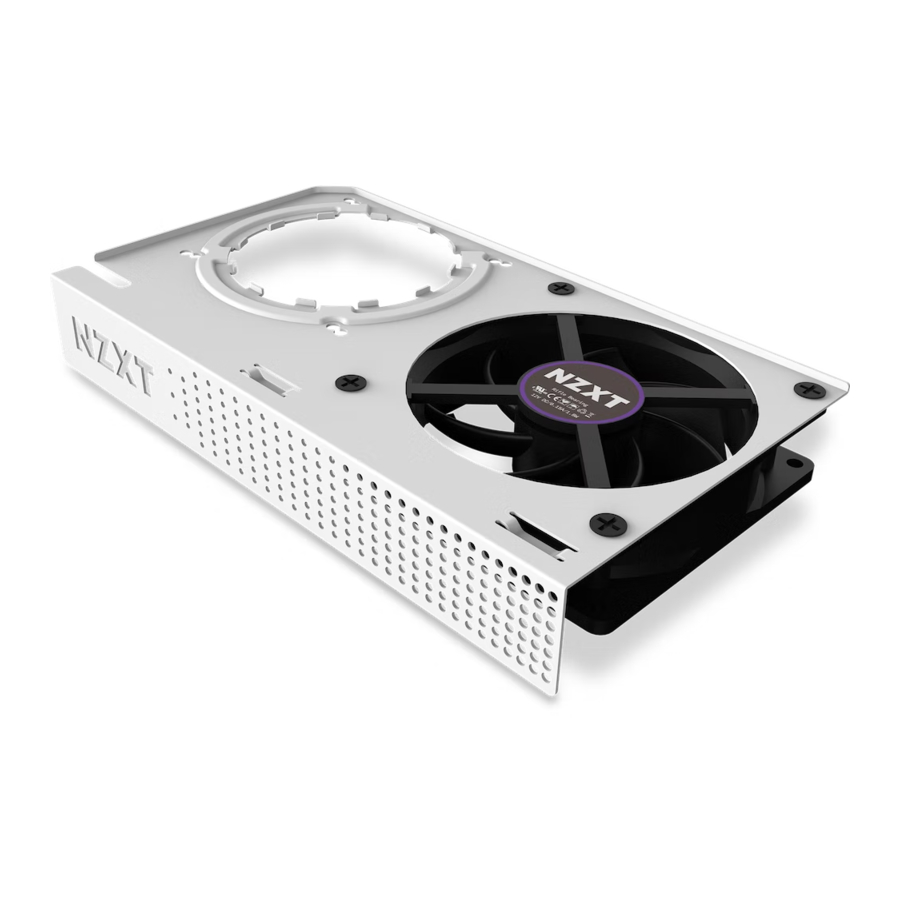
| A x1 | GPU bracket |  | F x4 | Thumbscrew with spring |  |
| B x1 | Fan |  | G x8 | Washer |  |
| C x1 | Nvidia retention bracket (Note: Indicated with "N") |  | H x2 | Foam |  |
| D x2 | AMD retention bracket (Note: Indicated with "A") |  | I X4 | Fan screw – M5x10 |  |
| E x2 | GPU screws – M3x5 |  | J X5 | Cable tie |  |
INSTALLATION
STEP 1 - PREPARE THE GRAPHICS CARD

Remove the original cooling module from your graphics card.

Thermal paste not included. Please use the pre-applied thermal paste on your liquid cooler or prepare additional thermal paste before installation.
STEP 2 - PREPARE THE GPU BRACKET ( I )
")
Install the fan with the label facing the GPU bracket using the fan screws.
Instale el ventilador con la etiqueta mirando hacia el soporte de la GPU y fíjelo con los tornillos del ventilador.
STEP 3 - PREPARE THE GPU BRACKET ( I I )
")
Attach the two foam pieces at the corners as indicated while making sure the foams will not interfere with components on the graphics card.
STEP 4 - IDENTIFY THE MOUNTING HOLES AND RETENTION BRACKETS

| HOLES ON GPU BRACKET | GRAPHICS CARD | REQUIRED RETENTION BRACKET | |
| Outer 4 holes | Nvidia | C | Nvidia retention bracket |
| Inner 4 holes | AMD | D | AMD retention bracket |
Using the chart, identify the holes on the GPU bracket and prepare the required retention brackets for your graphics cards.
STEP 5 - PREPARE THE RETENTION BRACKET

Mount the retention brackets using screws and washers to prevent risk of damage to your graphics card.
STEP 6 - PREPARE THE PUMP

Referring to your liquid cooler's instructions, remove the Intel or AMD retention bracket if it is already installed.
Sample diagram is from Kraken series.
STEP 7- INSTALL THE PUMP ONTO THE GPU BRACKET

The GPU bracket is designed using the same mounting mechanism as the Intel or AMD retention brackets.
Follow the steps from your liquid cooler's instructions to install the GPU bracket and pump.
- Orient the pump's tubes along the side with cable tie points as shown.
- Pass the pump through the GPU bracket's grooves.
- Rotate the pump until it aligns with the GPU bracket's and attach.

STEP 8 - INSTALL THE GPU BRACKET

Using the thumbscrews with spring, install the GPU bracket onto the graphics card.
STEP 9 - MANAGE THE TUBES AND CABLES

Use the included cable ties to manage the tubes and cables along the trench with tie points.
STEP 10 - CONNECT THE FAN

Connect the Kraken G12's 3-pin fan connector to the liquid cooler's fan power or to an open fan headers on the motherboard.
STEP 11 - INSTALL THE ASSEMBLE DGRAPHICS CARD
Follow the liquid coolers instructions and complete all necessary connections to complete the installation of your graphics cards. This can include pump power, USB, and software installation.

VideosNZXT Kraken G12 GPU Mounting Kit Installation Video
Documents / ResourcesDownload manual
Here you can download full pdf version of manual, it may contain additional safety instructions, warranty information, FCC rules, etc.
Advertisement


Need help?
Do you have a question about the Kraken G12 and is the answer not in the manual?
Questions and answers