Table of Contents
Advertisement
Quick Links
Energiser Installation Guide
Thank you for purchasing a Rutland battery powered electric fence
energiser. We believe this unit is the best of its kind for ease of use, reliability
and durability. This guide provides instruction to properly install, operate
and maintain your unit, ensuring the most effective performance.
For Battery Powered Energisers
ESB57, ESB202
ESB275, ESB325, ESB375
ESB145, ESB225
Advertisement
Table of Contents

Summary of Contents for Rutland ESB57
- Page 1 Energiser Installation Guide For Battery Powered Energisers Thank you for purchasing a Rutland battery powered electric fence energiser. We believe this unit is the best of its kind for ease of use, reliability and durability. This guide provides instruction to properly install, operate and maintain your unit, ensuring the most effective performance.
-
Page 2: Before You Start
Before You Start Installation of Energiser and Fence Electric fences should be installed and operated so that they cause no danger to persons, animals or surroundings and as far as is reasonably practicable, they are out of reach of children and not subject to mechanical damage. - Page 3 Manufacture Standard Built to Comply with CE, IPX4, EN60355-2-76 Health & Safety Standards EN55014, EMC Safety • Keep combustible materials away from the connection to the fence energiser. • If the supply cord is damaged, it must be replaced by the manufacturer, its service agent or similarly qualified person in order to avoid a hazard.
-
Page 4: Mounting Options
Energiser Installation STEP 1: Mount Energiser IMPORTANT: Energisers must be kept off ground, except ESB145 and ESB225 Model Mounting Options ESB57 Use mounting stand ESB202 part no. SP57-004 Wood post mounting ESB275 ESB325 Use mounting stand ESB375 part no. SP72-010... - Page 5 STEP 2: Connect EARTH and FENCE Terminals Place ring end of crocodile clip over terminal. Connect GREEN/YELLOW wire to EARTH terminal; connect RED wire to FENCE terminal. Model Connect EARTH Connect FENCE ESB57 ESB202 ESB275 ESB325 ESB375 ESB145 ESB225 - 5 -...
- Page 6 STEP 3: Connect Earth System Connect green crocodile clip to earth stake (part no. 18-179B) NOTE: Connect additional earth stakes with lead-out cable if required Ensure Earth System is Sound STEP 4: Connect Fence Lead to Fence Line Connect red crocodile clip to fence line Ensure Fence System is Sound •...
- Page 7 STEP 5: Connect to Battery (Models ESB57, ESB202, ESB275, ESB325, and ESB375) NOTE: Make sure power switch is in OFF (0) position (for models: ESB275, ESB325 and ESB375). BLACK crocodile clip crocodile clip 12v Leisure Battery part no. 22-107 - 7 -...
- Page 8 STEP 5: Connect to Battery (Model ESB225) NOTE: Make sure power switch is in OFF (0) position. 12v Leisure Battery pn: 22-107 - 8 -...
- Page 9 STEP 5: Connect to Battery (Model ESB145) NOTE: Make sure power switch is in OFF (0) position. – or – (2x) 9v Dry Battery 12v Leisure Battery Black Black Black 9v Dry 9v Dry Battery Battery pn: 22-101 pn: 22-101 12v Leisure Battery pn: 22-107...
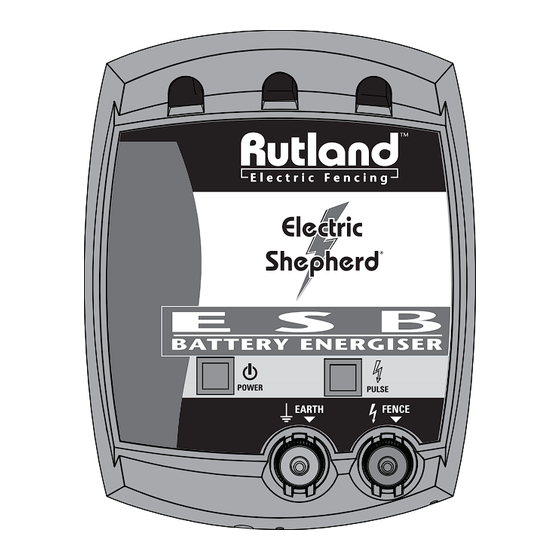
- Page 10 Energiser Operation For Model: ESB57 Pulse indicator • flashes to indicate voltage output On(1)/off(0) switch POWER 1 / 0 E S B 5 7 BATTERY B A T T E R Y E N E R G I S E R Battery low indicator •...
- Page 11 Energiser Operation For Model: ESB202 Fast/economy/slow switch • press to change pulse mode Pulse indicator • flashes to indicate voltage output On(1)/off(0) switch Fast pulse • use for training stock Night econ pulse • automatically changes pulse speed; slower at night, faster during FAST PULSE...
- Page 12 Energiser Operation For Models: ESB145, ESB225 Earth terminal (green) • connect to earth stake Output indicator • flashes to indicate voltage output Fence terminal (red) • connect to fence line Fast/economy/ slow switch On(1)/off(0) switch Fast pulse: • use for training stock Light sensor and low battery indicator Night econ pulse:...
- Page 13 Energiser Operation For Models: ESB275, ESB325, ESB375 Pulse indicator–high output • flashes if over 5,000 volts output Pulse indicator– medium output • flashes if over 3,000 volts output Warning low output • flashes and alarm sounds if output drops below 3,000 volts Light sensor •...
-
Page 14: Maintenance/Testing
Maintenance/Testing Fence Line Maintenance • Regularly test voltage at the furthest point on the fence line from the energiser – we recommend Rutland Digital Tester 14-172 or 8-Light Tester 14-173 • Routinely check all fence and earth connections to ensure... - Page 15 Energiser Troubleshooting - 15 -...
-
Page 16: Warranty
Rutland Electric Fencing Co. Ltd. or the seller. The buyer shall assume all such risks. - Page 17 Please visit our website for further installation tips, product manuals and additional electric fencing information. www.Rutland-Electric-Fencing.co.uk - 17 -...
- Page 18 To request a Rutland Electric Fencing Co Ltd. catalogue or for information on any Rutland product, please contact us at: Rutland Electric Fencing Co Ltd. Fencing House 8 Lands End Way Oakham, Rutland LE15 6RF UK Web: www.Rutland-Electric-Fencing.co.uk Email: Enquiries@Rutland-Electric-Fencing.co.uk Phone: (44) 0 1572 722558 –...
Need help?
Do you have a question about the ESB57 and is the answer not in the manual?
Questions and answers