
Related Manuals for Robam CXW-200-A866


Summary of Contents for Robam CXW-200-A866
- Page 1 A866 Operation Manual Before operating this unit, please read the operation manual completely and save it. CXW-200-A866 Range Hood...
-
Page 2: Table Of Contents
CONTENTS ......................1 Safety Precaution ....................3 Important Information ......................4 Product Overview .........................4 Packing List ........................5 Installation ......................7 Use Instruction ...................8 Maintenance and Services ......................9 Prats Removal ......................11 Circuit Diagram .....................11 General Troubleshooting... -
Page 3: Safety Precaution
Touch Execution Earthed Electric Shock Disassembly Please use this product according to manual strictly, or ROBAM shall not take any Warning responsible caused by improper operation. Danger Don't allow children or weakling to use Don’t touch plug, electric parts or... - Page 4 Range Hood Warning Range hood must be installed, Put out the stove fire in time when it is not used. That the stove fire bakes the d i s a s s e m b l e d o r m a i n t a i n e d b y range hood directly is prohibited.
-
Page 5: Important Information
Range Hood Notice The gas from range hood shall not be T h e t e m p e r a t u r e f o r r a n g e h o o d exhausted to hot flue used for burning gas or working can’t exceed 40℃. -
Page 6: Product Overview
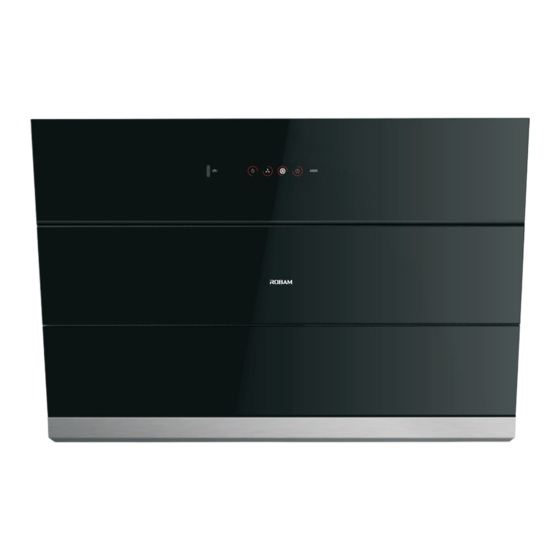
Range Hood Product Overview Product Parameter Model Noise ≤ CXW-200-A866 57dB 220-240V 50Hz Rated Whole Machine input power Power Supply ≥23 Rated Main Motor input power Total Pressure Efficiency ≥330Pa Max lighting power ≤4W 2 × Nominal Pressure 895×399× (mm) Dimension(L×W×H) -
Page 7: Installation
Range Hood Installation Warning 1.The air must not be discharged into a flue that is used for exhausting fumes from appliances burning gas or other fuels,the discharge of air must fulfill the requirements of local regulations 2.Note that when installing the metal expansion pipe, the pipe shall match with the hole in size. Overlarge hole is prohibited, as it will result in loose pipe and accidental drops. - Page 8 Range Hood 安装 Installation Picture1 Picture 2 wall Air duct drill sizeφ200mm Movable decoration panel (made by yourself) Projected dimension at top of range hood Hung ceiling drill size drawing(unit:mm) ●Determine the position:keep two holes level, and the size of two holes as picture 3 ; See picture 2 for hung ceiling drill size.(unit:mm) Cupboard dimensions are only for reference.(unit:mm) Hitching leg stop block...
-
Page 9: Use Instruction
Range Hood Connect the ALUM-NOD First connect the ALUM-NOD without air duct fixed strip with air duct interface, sealed by adhesive tape of air duct and straighten the ALUM-NOD to outdoor directly. When the wall hole is larger than ALUM-NOD, the air duct can be pulled to outdoor directly;... -
Page 10: Maintenance And Services
Range Hood ● Press the “ stir-frying/High speed” , stir-frying is turned on, and the icon shall be flickering. Press the button again, range hood shall change to high speed. If there is not any operation in stir-frying working condition, range hood shall change to high speed Stir-frying/High . -
Page 11: Prats Removal
Range Hood Parts Removal Warning 1.The machine body needs not to be disassembled in ordinary conditions. Disassembly shall be operated by professional serviceman. 2. The electricity must be cut off before clean, installation or maintenance of range hood. Note: The assembly steps are opposite with the disassembly steps. Please wear protective glove during operation avoiding from hurting hands. - Page 12 Range Hood Filter Mesh Removal Card slot Hold two handle hole in filter mesh with two Turn on the range hood to make the air deflector hands,push outwards slightly,to make filter mesh open, then Unplug the power plug. not get stuck,then pull out the the filter mesh along the direction of arrow to make it out of card slot, finally take out filter mesh outwards and wash it.
-
Page 13: Circuit Diagram
Range Hood Circuit Diagram terminal box blue control circuit blue blue yellow brown orange grey yellow/green black blue brown blue 220-240 ~ yellow/green General Troubleshooting Fault Phenomenon Fault Cause Elimination Methods No response by pressing any switch Power plug is not well connected (e.g. - Page 14 Model A866 Edition: A/ 0 Publication Date:July,1,2016...