Advertisement
Quick Links
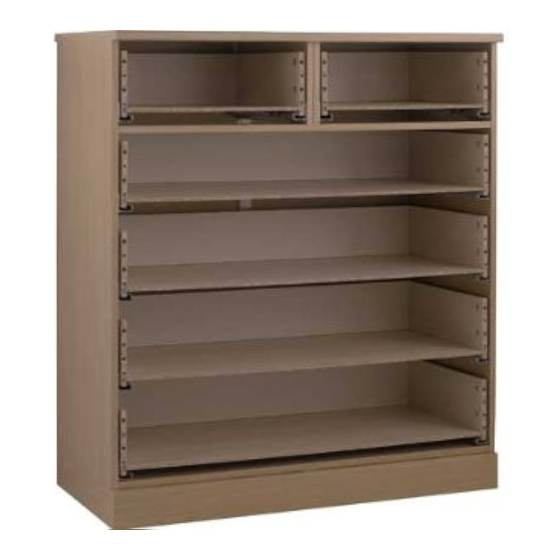
Double Chest 4 + 2 Drawer
ssembly Instructions -
Dimensions
Width - 100,1 cm
Depth - 49 cm
Height - 113 cm
Important -
Please read these instructions fully before starting assembly
For all enquiries please contact : 0845 600 24 20
Please keep for future reference
101207
123327
151076
179022
363453
207704
235717
Ref. no H 24.02 Date: 05/10/11
Advertisement

Related Manuals for Schreiber 101207


Summary of Contents for Schreiber 101207
- Page 1 Double Chest 4 + 2 Drawer ssembly Instructions - 101207 Please keep for future reference 123327 151076 179022 363453 207704 235717 Dimensions Width - 100,1 cm Depth - 49 cm Height - 113 cm Important - Please read these instructions fully before starting assembly For all enquiries please contact : 0845 600 24 20 Ref.
- Page 2 Safety and care advice Important - Please read these intructions fully before starting assembly • Assemble the unit as close • Check you have all the • We do not components and tools listed on to its final position (in the same recommend the room) as possible.
- Page 3 Components - Panels Please check you have all the panels listed below 1) Left end panel 9) Long Drawer bottom 2) Right end panel 10)Right drawer side 3) Back panel 11)Narrow drawer divider 4) Top panel 12)Back drawer short panel 5) Back rail 13)Short drawer bottom 14)Plinth...
- Page 4 Components - Fittings Please check you have all the fittings listed below Note: The quantities below are the correct amount to complete the assembly. In some cases more fittings may be supplied than are required. Wooden dowel x 61 Metal dowel x 37 15mm Screw x 1 30mm Screw x 12 Medium locking...
- Page 5 Assembly Instructions Step 1 Bottom Repeat with the left side panel...
- Page 6 Assembly Instructions Step 2 Ensure long locking is pushed down firmly to base of drill hole. Nut needs to finish recessed for correct operation Step 3 Attaching runners Repeat with the right side panel Bottom...
- Page 7 Assembly Instructions Step 4 Locking side panels Step 5...
- Page 8 Assembly Instructions Step 6 Locking top panel Step 7 Important: The cabinet MUST Fixing back panels be ‘square’ when the back is attached.
- Page 9 Assembly Instructions Step 8 turn over Step 9 Fixing Plinth...
- Page 10 Assembly Instructions Step 10 Step 11 Ø5mm...
- Page 11 Assembly Instructions Step 12 Levelling...
-
Page 12: A Guide To - Wall Mounting & Fixings
A Guide to - Wall Mounting & Fixings Important: When drilling into walls always Important note: check that there are no hidden wires or pipes etc. If plastic wall plugs Make sure that the screws and wall plugs being used are supplied with your are suitable for supporting your unit. - Page 13 Assembly Instructions Step 13 Wall fixing Please see Guide to wall mounting WALL PLUG AND SCREW NOT INCLUDED...
- Page 14 Assembly Instructions Step 14 Assembly for drawer boxes...
- Page 15 Assembly Instructions Step 15 Insert drawer Ensure plastic securing pegs are to the out position. Drawer front adjustment Drawer front...
-
Page 16: Cleaning Instructions
Assembly Instructions That's the chest completed. Take care of your unit by using a damp cloth to clean it. Please remember to occasionally check that all Cams and Screws are tight. CLEANING INSTRUCTIONS This product has been manufactured using modern manufacturing methods and materials.
Need help?
Do you have a question about the 101207 and is the answer not in the manual?
Questions and answers