Table of Contents
Advertisement
Advertisement
Table of Contents

Related Manuals for Meade DS-2090AT-TC


Summary of Contents for Meade DS-2090AT-TC
- Page 1 Instruction Manual DS-2000 Series Reflecting and Refracting Telescopes MEADE.COM...
- Page 2 Refracting Telescopes use a large objective lens as their primary light-collecting element. Meade refractors, in all models and apertures, include achromatic (2-element) objective lenses in order to reduce or virtually eliminate the false color (chromatic aberration) that results in the telescopic image when light passes through a lens.
-
Page 3: Table Of Contents
DS-2000EC users may obtain the #494 Autostar handbox as an optional accessory. See page 40 for more information. ® The name “Meade,” “AutoStar,” and the Meade logo are trademarks registered with the U.S. Patent Office and in principal countries throughout the world. All rights reserved. -
Page 4: Quick-Start Guide
QUICK-START GUIDE Open the tripod: Remove the tripod from the gift- box and stand vertically. Gently pull the legs apart to a fully open position. Turn the center tripod lock knob to secure and stabilize the tripod. Tighten to a firm feel. Caution: Make sure you loosen the tripod lock knob before collapsing the tripod at the end of your viewing session. - Page 5 If you wish to attach the red dot viewfinder, see page 12. If you wish to initialize Autostar, see page 16. If you wish to align the telescope, go to page 17. If you wish to use Autostar to GO TO Saturn, go to page 19.
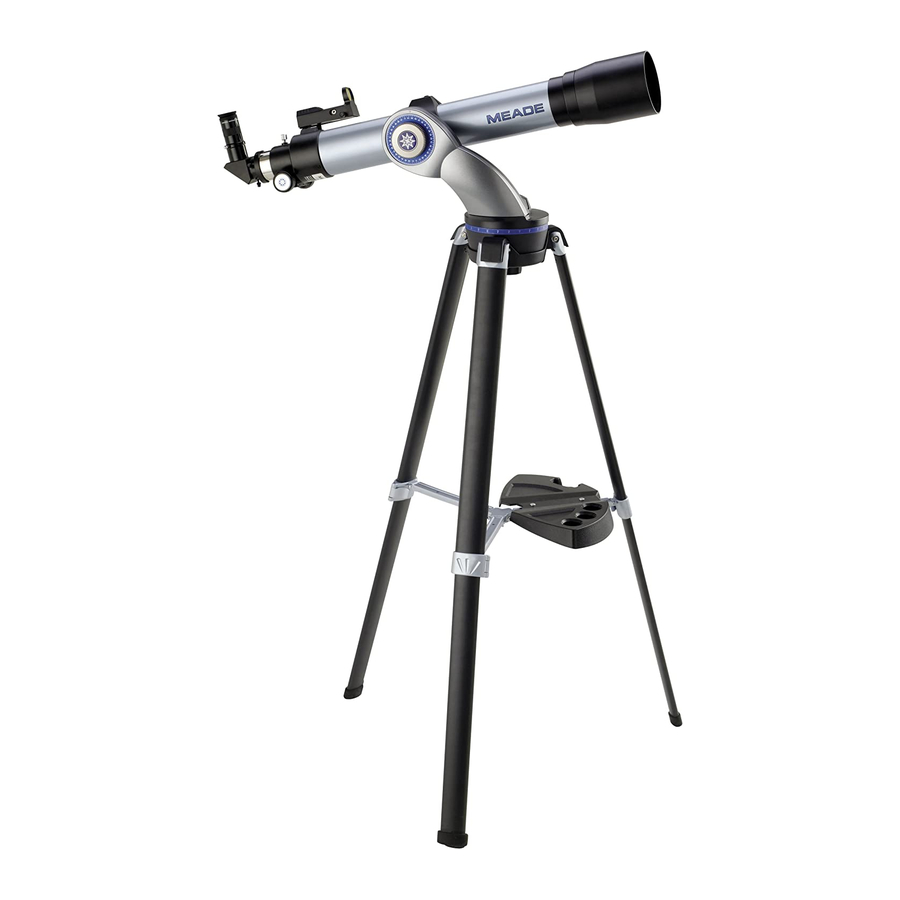
- Page 6 Features of the DS-2000 Series telescopes are virtually identical. Certain features of your telescope may look different than, or be positioned slightly different than the one pictured here, but the functionality of the features is the same. (not visible) 1. Focus Knob 2.
-
Page 7: Telescope Features
Red Dot Viewfinder and Mounting Bracket: Provides an easier way to initially sight objects than the main telescope eyepiece which has a narrower field of view. Slide the switch on the side of the red dot viewfinder to turn on the device and to change the intensity of the red dot. - Page 8 Accessory Tray Attachment Bolts - Attach to wing nuts to fasten tray to the tripod. See page 11 for more information. Note: It is not necessary to remove the tray each time you collapse the tripod. The tray is designed to be collapsed with the legs. Accessory Tray - Conveniently holds extra eyepieces, Autostar handbox, and other acces- sories.
-
Page 9: Autostar Features
NOTE: If ENTER is pressed and held for two seconds or more and then released, Autostar emits a beep and “ENTER to Sync” is displayed. "ENTER to Sync" can only be used after the telescope has been aligned and is pointing at an object. If the "ENTER accessed by mistake, press MODE to return to the previous screen. - Page 10 The GO TO key also allows you to perform a "spiral search." A spiral search is useful dur- the term "Alt/Az." Alt/Az ing alignment after the telescope slews to an alignment star, but the star is not visible in (short for altazimuth) the eyepiece when the telescope finishes its search.
-
Page 11: Getting Started
How to Assemble Your Telescope The telescope attaches directly to the tripod. The telescope in this way is mounted in an “Altazimuth” (“Altitude-Azimuth,” or “vertical-horizontal”) format. The telescope in this configuration moves up and down and from side to side. -
Page 12: Red Dot Viewfinder
Do not mix battery types. If these precautions are not followed, batteries may explode, catch fire, or leak. Improperly installed batteries void your Meade warranty. Always remove the batteries if they are not to be used for a long period of time. -
Page 13: Choosing An Eyepiece
The power, or magnification of a telescope is determined by the focal length of the telescope directly at and the focal length of the eyepiece being used. To calculate eyepiece power, divide the tele- or near the Sun at any scope's focal length by the eyepiece's focal length. -
Page 14: Observing
Loosen the telescope’s tripod base lock knob (26, Fig. 1) and Altitude lock (6, Fig. 1), so that the telescope can move freely. If you have a refracting Point your telescope at distant street signs, mountains, trees, and other structures. -
Page 15: Slew Speeds
As the Earth rotates beneath the night sky, the stars appear to move from East to West. The speed at which the stars move is called the sidereal rate. You can setup your telescope to move at the sidereal rate so that it automatically "tracks" the stars and other objects in the night sky. -
Page 16: Alt/Az Home Position
Autostar or after performing a RESET (see Tighten Locks: Tighten the Altitude lock (10, Fig. 1) and tripod base lock knob (26, Fig. Plug in Autostar: Make sure the telescope power switch is in the OFF position. Plug Fig. 17: Altitude lock and set- Autostar into the HBX port of the Control Panel. -
Page 17: Observe A Star Using The Automatic Tracking Feature
Autostar slews the telescope to a first alignment star. The user is asked to ver- ify that the telescope is pointed at the chosen star and then prompted to center the star in the eyepiece. The process is repeated with a second star to complete the alignment. - Page 18 Use the Arrow keys to move the telescope until the star is visible and centered in the eyepiece. Press ENTER. Repeat procedure for the second alignment star.
-
Page 19: Two-Star Alignment
Earth is rotating beneath the stars. IMPORTANT NOTE telescope. Do not loosen the telescope locks (10 and 26, Fig. 1), or move the base manually, or alignment will be lost. This exercise shows how to select a celestial object (Saturn) for viewing from Autostar’s database. -
Page 20: Basic Autostar Operation
AUTOSTAR SETUP MENU Select Item: Quick, easy alignment Object permits all telescope Select Item: Setup MEADE MEADE The Universe of Autostar Select Item: Utilities GLOSSARY Select Item: Glossary , page 16, before proceeding with this exercise. -
Page 21: Entering Numbers And Text Into Autostar
To Calculate Sunset time: Press the MODE key several times, until “Select Item: Object” is displayed. Press the Scroll Down key once to display the “Event” option in the “Select Item” menu. Press the ENTER key to choose the "Event" option and move down a level. "Event: Sunrise"... -
Page 22: Menus And Menu Options
GO TO once to change the second line to the name of the brightest star in the constel- lation. Press GO TO a second time to slew the telescope to that star. Use the Scroll keys to cycle through the list of stars in the constellation, from brightest to dimmest. -
Page 23: Event Menu
Identify is an exciting feature for an observer who wants to scan the night sky and start explor- ing. After the telescope has been properly aligned, use the Autostar Arrow keys to move about in the sky. Then follow this procedure:... -
Page 24: Glossary Menu
When the alarm time arrives, Autostar beeps. Press ENTER to deacti- vate the alarm. Eyepiece Calc calculates information about an eyepiece for the specific telescope to which Autostar is connected. Field of View: Scroll through a list of available eyepieces. When an eyepiece... -
Page 25: Setup Menu
Cord Wrap, when set to "On," moves the telescope in such a way as to prevent the cords and cables attached to your telescope assembly from getting wound around the assembly and tan- gled as the telescope slews to objects. -
Page 26: Appendix D: Training The Drive
Autostar first slews to a nearby bright star and displays "ENTER to Sync." Center the star in the eyepiece, then press ENTER. At that point the telescope has a high precision alignment to that part of the sky and it then slews to the object that was originally requested. -
Page 27: Surf The Web
Messier, satellite, nebula, black hole, variable stars, extrasolar, Chandra, gamma burster, comets, Astronomy Day, etc. Check out Meade’s website for the latest prod- uct and technical information.You can download the latest software revisions, links to other astronomical sites, coordinates of celestial objects, and the latest satellite tracking informa- tion for the Autostar handbox. -
Page 28: Optional Accessories
OPTIONAL ACCESSORIES A wide assortment of professional Meade accessories is available for the DS-2000 Series Telescopes. The premium quality of these accessories is well-suited to the quality of the instru- ment itself. Consult the Meade General Catalog or meade.com for complete details on these and other accessories. -
Page 29: Caring For Your Telescope
Collimation DS-2000 refracting telescopes are optically aligned (collimated) at the factory prior to shipment, and it is never necessary to re-collimate the optics of these models. Meade DS-2114mm and DS-2130mm reflecting telescope models are also factory-aligned, but may occasionally require re-alignment, particularly if the telescope has received rough handling in shipment. - Page 30 Fig. 23. Fig. 24. Fig. 26. Fig. 28. Fig. 25. Fig. 27. Fig. 29.
-
Page 31: Meade Customer Service
(per steps 1, 2, and/or 3, above) effected as required to keep the optics well-aligned. Meade Customer Service If you have a question concerning your DS-2000 Telescope, contact the Meade Instruments Customer Service Department at: Telephone: (800) 626-3233 Customer Service hours are 8:00 AM to 5:00 PM, Pacific Time, Monday through Friday. -
Page 32: Specifications
SPECIFICATIONS DS-2060 Optical design...Refractor Clear aperture ...60mm Focal length ...700mm Focal ratio ...f/11.7 Resolving power ...1.9 arc secs Max power ...200X Mounting...Single-arm, motorized Alt-Az Alignment ...Altazimuth Slew Speeds ...1x sidereal to 5.5°/sec in 9 increments Tripod ...Aluminum, full-length; adjustable w/accessory tray Optical Tube Dimensions ...2.5"... - Page 33 DS-2114 Optical design...Reflector Clear aperture ...114mm Focal length ...910mm Focal ratio ...f/8 Resolving power ...1.0 arc secs Max power ...325X Mounting...Single-arm, motorized Alt-Az Alignment ...Altazimuth Slew Speeds ...1x sidereal to 5.5°/sec in 9 increments Tripod ...Aluminum, full-length; adjustable w/accessory tray Optical Tube Dimensions ...5.5"...
-
Page 34: Appendix A: Celestial Coordinates
(Fig. 31). IMPORTANT NOTE: For almost all astro- nomical observing requirements, approxi- mate settings are acceptable. Do not allow undue attention to precise alignment of the telescope to interfere with your basic enjoyment of the instrument. North Celestial +90 Dec. -
Page 35: Appendix B: To Find Objects Not In The Database
Check out your local library, computer store, bookstore, navigate through the CD Roms, Internet, or magazines (such as Sky & Telescope or Astronomy), to find coordinates menus, a more direct of celestial objects. The objects/coordinates you enter become part of your own permanent way to enter coordi- database, called "User Objects."... -
Page 36: Appendix C: Observing Satellites
Satellite orbits change and new satellites (including the Space Shuttle) are launched. Visit the Meade website (www.meade.com) approximately once a month to get updated information and instructions on how to download this data to Autostar. If orbital parameters are more than one month old, the satellite pass may not happen at the time predicted by Autostar. -
Page 37: Appendix D: Training The Drive
APPENDIX D Training the Drive Train the telescope motors using Autostar. Perform this procedure if you are experiencing any pointing accuracy prob- lems. Fig. 32 depicts the complete Drive Training procedure. Use a terrestrial object, such as a telephone pole or lamp post, to train the drive. Complete this NOTE: exercise once every 3 to 6 months to maintain the highest level of telescope pointing accuracy. -
Page 38: Appendix E: Battery Replacement
Replace the internal clock’s battery with a CR2023 lithium battery. This battery is located in the bat- tery compartment. Both batteries are available from Meade, photographic supply houses or any place lithium batteries are sold. APPENDIX F How to manually set the date to March 6, 2005: 1. -
Page 39: Appendix G: Electronic Controller (Ds-2000Ec Users Only)
When used with the optional #1240 Electric Focuser, moves the focus of the eyepiece. See the #1240 Electric Focuser Instruction Sheet for more information. Arrow Keys (1, Fig. 33): Press one of the four Arrow keys to slew the telescope (i.e., up, down, left, and right) at any one of four slew speeds (see... -
Page 40: Optional #494 Autostar For Ds-2000Ec Users
Electronic Controller, do a quick telescope alignment, and you are ready to observe any object in the Autostar’s 1400-object database. Best of all, the Meade Autostar is easy to use. Even the most novice observer will locate dozens of fascinating celestial objects the very first night out. Study Saturn and its ring system; the primary cloud belts of Jupiter as well as its four major satellites;... -
Page 41: Basic Astronomy
So as you look through your Meade DS-2000 telescope, keep in mind Galileo. To him, a telescope was not merely a machine made of glass and metal, but something far more—a window through which the beat- ing heart of the universe might be observed. - Page 42 Mars is about half the diameter of Earth, and appears through the telescope as a tiny reddish- a different position orange disk. It may be possible to see a hint of white at one of the planet’s Polar ice caps.
-
Page 44: Meade Limited Warranty
ONE YEAR from the date of original purchase in the U.S.A. and Canada. Meade will repair or replace a product, or part thereof, found by Meade to be defective, provided the defective part is returned to Meade, freight-prepaid, with proof of purchase.
Need help?
Do you have a question about the DS-2090AT-TC and is the answer not in the manual?
Questions and answers