Advertisement
Quick Links
FE-24 Printer
Installation Manual
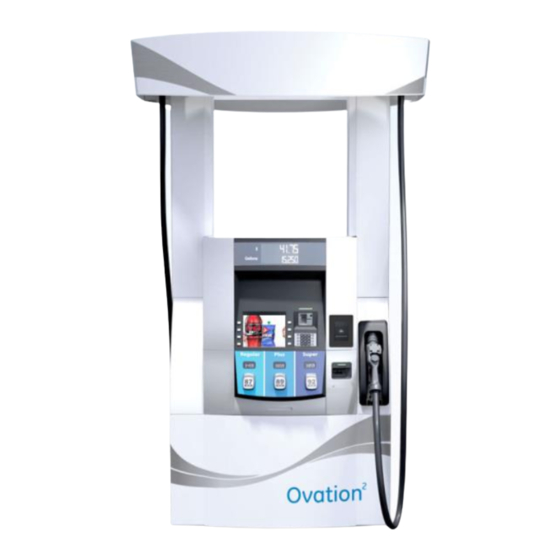
Replacing the Wayne Ovation 2
printer using the Freedom Electronics FE-24 Printer.
This kit will upgrade printers on Ovation 2 dispensers only.
The Ovation 1 dispensers are currently not supported.
Freedom Electronics: FE-24 Install
Rev 2 • 3/2022
Kit #
Description
Model
®
DW-14 and Zebra
FE-24 NEW
FE-24 Printer Install
Ovation 2 Dispenser
1
Advertisement

Related Manuals for Freedom ELECTRONICS Ovation 2 FE-24


Summary of Contents for Freedom ELECTRONICS Ovation 2 FE-24
- Page 1 FE-24 Printer Installation Manual ® Replacing the Wayne Ovation 2 DW-14 and Zebra printer using the Freedom Electronics FE-24 Printer. Rev 2 • 3/2022 Kit # FE-24 NEW Description FE-24 Printer Install Model Ovation 2 Dispenser This kit will upgrade printers on Ovation 2 dispensers only.
-
Page 2: Parts List
FE-24 Printer Data Cable FC00010 FE-24 Printer Power Cable FC00017 Paper low sensor extension cable FC00018 Paper low loopback cable FE-24 FE-24 Printer Tools Required • Phillips Screwdriver • Allen Wrench • Cutters/Dykes • Zip Ties Freedom Electronics: FE-24 Install... - Page 3 Knowledge of all related manufacturer procedures, manuals and documents is important. Follow the Recommended Practices of The American Petroleum Institute (API). Understand the specific procedures before starting work. If you do not understand a procedure, call Freedom Electronics at 770-792-8888. Notify Site On arrival identify yourself to the site manager and inform them of the work you will be performing.
- Page 4 6. Remove the DW-14 or Zebra printer by sliding it to the right. 7. Carefully snip the zip tie in the back and under the printer paper bucket to free the cables. Freedom Electronics: FE-24 Install...
- Page 5 FC00009 FC00017 cable cable 12. Plug the FC00009, FC00010, and FC00017(if using) cables into the FE-24 printer. A small screwdriver may be needed to firmly secure the connections in place. FC00010 cable Freedom Electronics: FE-24 Install...
- Page 6 Allen screws of the printer bracket mounts. Located between the printer and the Unit Price Display board. 16. Mount the FE-24 PCB(FW00001_FE24) by sliding it into place using the two allen screws and tighten the screws. Freedom Electronics: FE-24 Install...
- Page 7 Slide the printer door open and closed to make sure that there are no obstructions. If there are, make necessary adjustments. 21. Power the dispenser back on. Freedom Electronics: FE-24 Install...
- Page 8 25. Run a test transaction to verify proper operations. Diagnostics button 26. Close and secure the dispenser and printer door. 27. Check with clerk inside to make sure there are no printer errors on the POS system. Freedom Electronics: FE-24 Install...
- Page 9 5. Clear out any paper that is jammed in the printhead. 6. Close the printer jam door after the jam is cleared. 7. Slide the printer bracket forward, flush with the printer door. 8. Reload paper and test. Freedom Electronics: FE-24 Install...
- Page 10 Slow: LED is “on” for one second and “off” for one second. Medium: LED is “on” for 100 ms and “off” for 100 ms. Flicker (F): LED is “on” for 50 ms and “off” for 50 ms. 0: “Off” for 1 second. 1: “On” for 1 second. Freedom Electronics: FE-24 Install...
Need help?
Do you have a question about the Ovation 2 FE-24 and is the answer not in the manual?
Questions and answers