Table of Contents
Advertisement
Advertisement
Table of Contents

Related Manuals for Sunmax RT-50AC

Summary of Contents for Sunmax RT-50AC
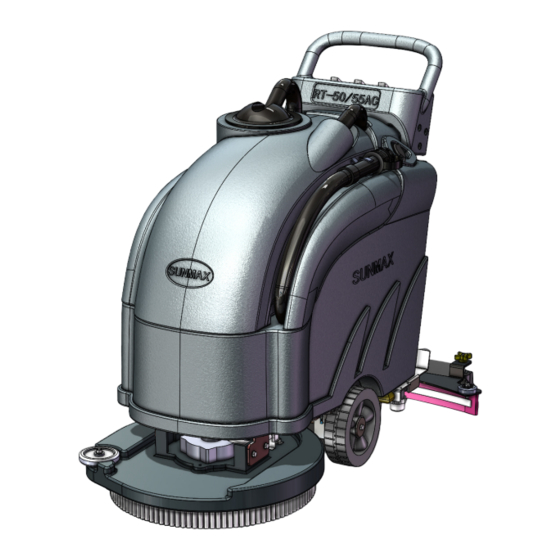
- Page 1 Operation Guide for RT-50AC Hand Push Automatic Washing Machine...
-
Page 2: Table Of Contents
Content Safety Instruction ..................... 3 For Commercial Use ..................3 Please Read all Instructions before Using this Machine ....3 1. Hand Shank ....................4 2. Control Panel ....................4 a..Stopwatch....................... 4 b..Battery Status Indicator ................. 4 c..Brush Motor Switch ..................4 d..Water Suction Motor Switch ................. -
Page 3: Safety Instruction
Safety Instructio Please read all instructions when using this machine for business •Used only indoors. Do not place this machine in rain. •Do not use this machine as a toy. Be careful when operating this machine near the children. •Use this machine only by following the instructions listed on this handbook. •Only the accessories recommended by manufacturers can be used. -
Page 4: Hand Shank
Machine Assembly Diagram 10. Electromagnetic valve 1. Handle 11. Valve Control and Water Quantity Control of Clear Water Tank 2. Control Panel 12. Filter Net a..Motor switch of brush disk 13. Wheel b..Motor switch of water absorptionr 14. Brush Tray 15. -
Page 5: Battery Installment
Daily Operation and Maintenance of the Washing achine Installme Squeegee Installment Loosen the water absorption gripper with the handle (3). 2.Place the water absorption gripper assembly on the swing arm (4) to ensure the guide wheel (5) to face toward the rear end of the water absorption gripper. -
Page 6: Water Suction Motor Switch
Machine Operating Instructions 1.Insert the power cord, apply the clean water and the detergent into the clean water tank, and add the defoaming agent to the sewage tank. 2. Press the a\b\c switches respectively to start the work. 3. The power plug must be connected to the socket with the grounding wire and the electric leakage protection.. -
Page 7: Water Suction Operation
Operation of the Washing Machine Water Suction Operation 1.Make certain the squeegee is in the downward position. 2.当The squeegee will draw the detergent into the sewage tank when the washing machine is moving forward to brush the floor. 3.If necessary, rotate the knob(8) to adjust the voltage of the squeegee.(切Do not make the angle of the red rubber sheet of the squeegee too big. -
Page 8: Control Pabel Applications
Frame Components Serial Description Quantity Number Base Plate Wheels Spacer Bearing Shaft Cover Bolt Casters Washer Screw Spring Control Panel Components Serial Serial Description Des cription Quantity Q uantity Number N umber Bolt Control Cabinet Control Panel B olt... -
Page 9: Floating Head Components
Water Suction Motor Components Serial Serial Description Quantity Description Quantit Number Number Silencer Elbow Floati ng Head Components Sponge Cover Connecting Bracke Core Connectors Screw Gasket Seria l Description Quan tity Bolt Water Suction Motor Top Cover Bolt Seal Ring Hose Matching Grid Casing... -
Page 10: Squeegee Components
Lifting Components Number Description Quantit Lifting Rod Washer Eccentric Bushing Washer Screw Pedal Cover Pedal Spring Pin Bolt Washer Cotter Pin Squeegee Components ➢ Make sure the main power switch is in the “0”position. Warning: disconnect the power source and pull the key out when the machine is in maintenance. -
Page 11: Clear Water Tank Components
Squeegee Lifting Components Number Description Quant Bolt Left Baffle Pipe Handle Rear Baffle Screw Washer Screw Pull Rope Components Ring Balancing Frame Axis Cotter Pin Washer Hinge Pin AdjustmentBolt Support Arm Support Arm Washer Spring Screw Cotter Pin Water Hinge Pin Adjustable Bolt Adjustment Device... - Page 12 Sewage Drainage Pipe Components Vacuum Hose Components Clear Water Tank Components Number Description Quantity Vacuum Hose Components Hose Bolt Water Inlet Gasket Sewage Drainage Pipe Components Drainage Pipe Components Clamp Screw Clamp Screw Clear Water Tank Components Clear Water Tank Clear Water Tank Cover Water Level Connection Pipe Interface...
- Page 13 Malfunction Possible Causes: Cleaning solution Water suction motor does not run does not work The water filter device is blocked The sewage tank is full Water wiper or water suction hose is blocked, damaged or not connected in the right way Water tank, water suction motor or water wiper is not sealed well The pressure of water wiper is not correct Water wiper arm and mechanical arm mechanism do not operate...
Need help?
Do you have a question about the RT-50AC and is the answer not in the manual?
Questions and answers
where is the vacuum motor reset bottom