Advertisement
Quick Links
Advertisement

Summary of Contents for REVIVER RPlate
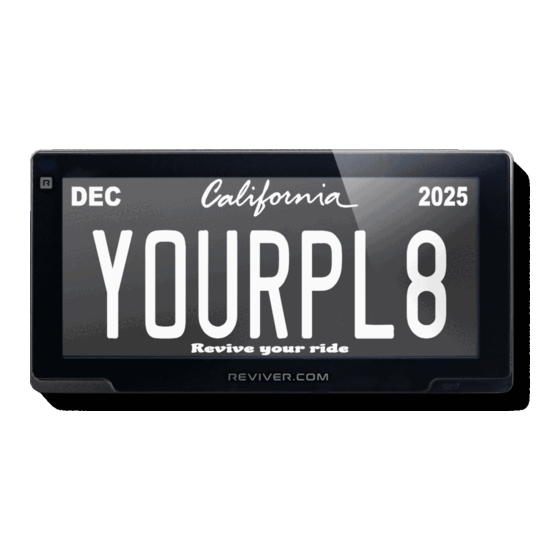
- Page 1 Modern Licensing for Modern Living Battery Powered RPlate Setup + Install Guide...
- Page 2 Hi, We’re Reviver Our team has pioneered development of the world’s first digital license plate + connected vehicle platform. Thanks for joining us on our mission to modernize the driving experience. Visit reviver.com to see where our journey is headed next.
- Page 3 Overview: Setup + Installation Download Reviver App Activate your new RPlate Wait until receiving confirmation that your RPlate is activated before installing device. Install RPlate Device...
- Page 4 Make sure that it is in contact with the included metal bracket that you will attach to the rear of your car shortly. The RPlate has an anti-theft sensor – attaching it to the bracket will allow you to complete step 2d.
-
Page 5: What's In The Box
Wait For Activation + License Plate Image to Display Before Installing Device Only move to step 3 and install your RPlate hardware after you have received app and email confirmation that your plate has been setup and your license plate image is displaying. -
Page 6: Prepare For Installation
On vehicles with special coating (ceramic, wrap and matte finish), use microfiber towel and glass cleaner. Mount Bracket Mount the RPlate bracket with correct screws Make sure holes are aligned to prevent blocking camera. Find the right screw by comparing the diameter or threading of the old plate screw vs. - Page 7 Test Fit RPlate Slots on back of RPlate engage tabs to top edge of bracket Make sure RPlate bracket tape is flush to vehicle Install RPlate Bracket Bracket Adjustments Remove RPlate. Pull red liners and press tape firmly to clean vehicle surface for 15 seconds.
- Page 8 Secure RPlate To Bracket Replace RPlate by repeating step 4 Install two screws using the L-wrench (Torque 20) from Bag B Insert the rubber plugs, groove facing down Final Steps Remove plastic film Follow instructions in the app to complete pairing...
- Page 9 So are we! We’d like to help. Visit Tell your friends and family and give them a support.reviver.com 10% discount on their first Email year with promo code FRIEND10 support@reviver.com Leave us a review Connect with us and share your #RPLATE photos...
- Page 10 Warranty: Subject to a limited two (2) year warranty. designed by Reviver. For replacement, only use Reviver products. For further instruction, please go to Visit Terms of Sale and Use for full details. Reviver shall not www.reviver.com/legal. be liable for any incidental or consequential damages for the breach or any warranty on this product.
- Page 11 2022 RPLATE RPLATE R E V I V E R . C O M...
Need help?
Do you have a question about the RPlate and is the answer not in the manual?
Questions and answers