VAVA VA-CD001 - DASH CAM Manual
- User manual (24 pages) ,
- User manual (2 pages) ,
- Complete manual (18 pages)
Advertisement
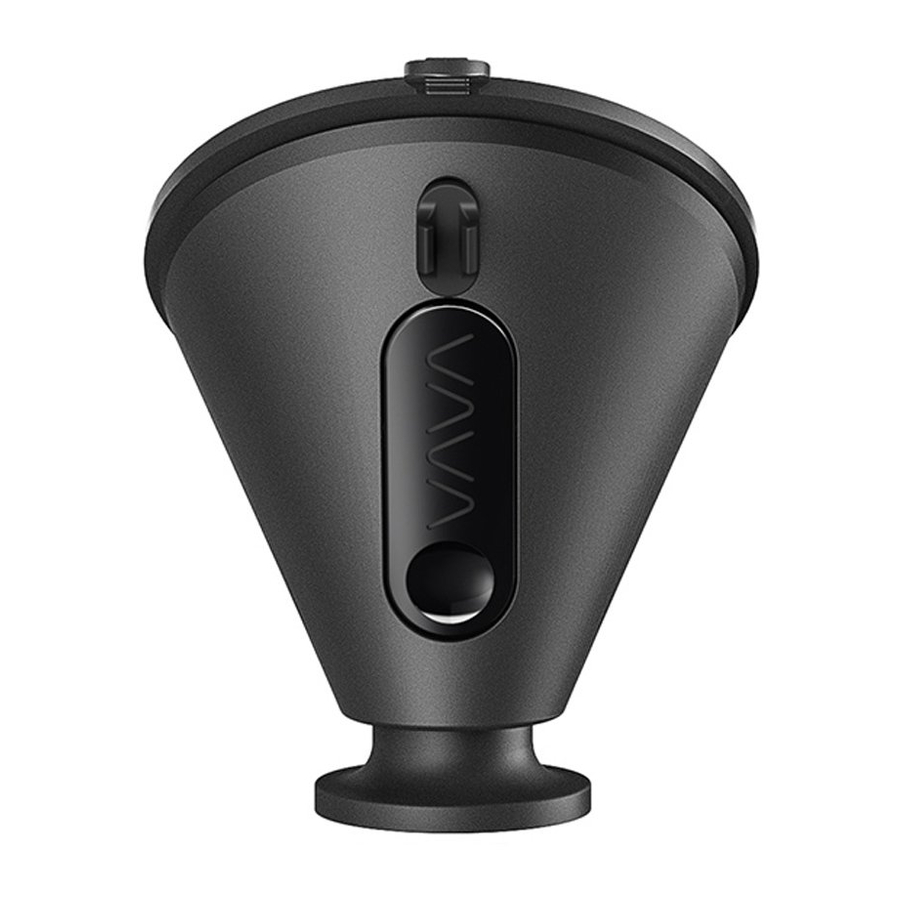
Product Diagram


- Car Mount
- Micro USB Port
- Magnet
- Power / Working Status LED
- WiFi Status LED
- Reset Button
- Micro SD Card Slot
- Snapshot Button
- GPS Module
- Micro USB Cable
- VAVA Car Charger
What's In the Box
| 1 x VAVA Dash Cam | 1 x VAVA Car Charger | 5 x Cable Clips | 1 x Quick Installation Guide |
| 1 x Car Mount | 1 x Micro USB Cable with GPS Module | 1 x Button Cell | 1 x Thank You Card |
| 1 x Snapshot Button | 1 x Crowbar | 1 x User Guide |
Specifications
| CPU | NT96663 |
| Vision Processor | Sony IMX291, 1/2.8 in |
| Lens | Full 6G + 1 IR Lens |
| Angle | 155° |
| G-Sensor | 3-axis Accelerometer |
| Resolution | 1920*1080/60fps (Default) |
| 1920*1080/30fps | |
|
1280*720/30fps 840*480/30fps |
|
|
Storage Wireless Connections |
Class 10 Micro SD Card up to 128GB (max) |
| WiFi (between phone and VAVA Dash Cam) | |
| 2.4G (between Snapshot Button and VAVA Dash Cam) | |
| RAM | 2Gb |
| Operating Temperature | -20°C to 50°C |
| -4°F to 122°F | |
| Built-in Battery | 320mAh |
Dash Cam
| LED Indicator | Status |
| Blue LED light slowly blinks | Working |
| Blue LED light on | Stop working / micro SD card storage full |
| Red LED light blinks | Recording an emergency video clip |
| Recording a 15 second video clip after the video recording icon is tapped in the app | |
| Red LED light fast flashes | Micro SD card error |
| Red LED light flashes once | Snapshot photo has been taken |
| White LED light on | Connected to WiFi |
| White LED light off | Not connected to WiFi |
Snapshot Button
- Dash Cam and Snapshot Button Pairing: Once the dash cam is turned on, press and hold the Snapshot Button for 5 seconds until you hear 4 beep sounds and they are synced. The Snapshot Button enters standby mode once there is no operation in 1 minute. Press again to restart and take a photo.
- Snapshot Button Operations:
- Press once to take photos;
- Press and hold for 3 seconds with a beep sound to take videos.
- After the dash cam and the Snapshot Button is successfully paired, the Snapshot Button enters standby mode when the dash cam is shut off. When the dash cam is turned on again, press the Snapshot Button to activate the button while taking a snapshot photo, it takes around 3 seconds to resume normal working status.
- Continually pressing the Snapshot Button will drain the button battery. Replace the button cell if you run out of battery.
Emergency Recording Mode
A 20 second video will be captured when the G-Sensor is activated in case of sharp turns or a sudden stop. When the capacity of these videos reaches 30% of the SD card space, the oldest ones will be overwritten by the new ones.
Parking Mode
When your car is not running, i.e. engine being shut down, the dash cam will automatically power off in 10 seconds and enter Parking Mode. When a shock or crash is detected, the G-Sensor will activate the dash cam and start recording a 15 second video. The dash cam will then re-enter the Parking Mode.
VAVA Dash App
Downloading the VAVA Dash App
For Android / iOS phones, search for "VAVA Dash" in the Google Play Store or Apple App Store. Download the app and install it on your phone.
Connecting the VAVA Dash to Your Phone
Connect your Android / iOS smartphone with the VAVA Dash Cam through WiFi: Settings > WLAN > Select "VAVA WiFi" > Enter password > Open the VAVA Dash App Note: The initial WiFi password is 12345678.
Live Preview
Once your phone is connected to the VAVA Dash Cam, open the app to view a real-time video feed and configure the dash cam.
Take Photos and Videos
Press the Snapshot Button or tap the snapshot icon in the app to take a photo. Tap the video recording icon in the app to record a video from 5 seconds before the pressing or tapping to 15 seconds afterwards. The photo and the video clip will be automatically the VAVA Dash Cam onto the VAVA Dash App.
Media Gallery Management
View, edit, and share captured photos and videos.
Path
Check information regarding driving routes.
Travel Log
Add photos to driving routes and turn it into a Travel Log. Click the share icon to post it on your favorite social networks (Facebook, Twitter, Instagram, etc.)!
Installing the VAVA Dash Cam
- Insert the micro SD card into the micro SD card slot.
- Stick the car mount onto your car windshield (ideally right in the middle).
- Fix the VAVA Dash Cam onto the mount via the magnet.
- Connect the USB cable to the micro USB port of the dash cam. Run the cable along the edge of the windshield, tuck it away in the seams, and extend it all the way to the USB port of the Car Charger. Be sure to keep it away from the airbag area.
- Insert the Car Charger into your cigarette lighter, connect the Dash Cam to the Car Charger.
- Start your car to turn on the VAVA Dash Cam. Connect it with your phone (refer to the "VAVA Dash App" section) and open the VAVA Dash App to view a real-time feed.

- Ideal Mounting Position
- Car Charger
- GPS
www.vava.com

MANUFACTURER
Shenzhen NearbyExpress Technology Development Co., Ltd.
Address: 333 Bulong Road, Shenzhen, China, 518129
Learn more about the EU Declaration of Conformity:
https://www.vava.com/downloads-VA-CD001-CE-Cert.html

VideosVAVA Dash Cam CA-CD001 Installation & Use Guide Video
Documents / ResourcesDownload manual
Here you can download full pdf version of manual, it may contain additional safety instructions, warranty information, FCC rules, etc.
Advertisement


Need help?
Do you have a question about the VA-CD001 and is the answer not in the manual?
Questions and answers