
Related Manuals for Markem Imaje SmartDate X40

Summary of Contents for Markem Imaje SmartDate X40
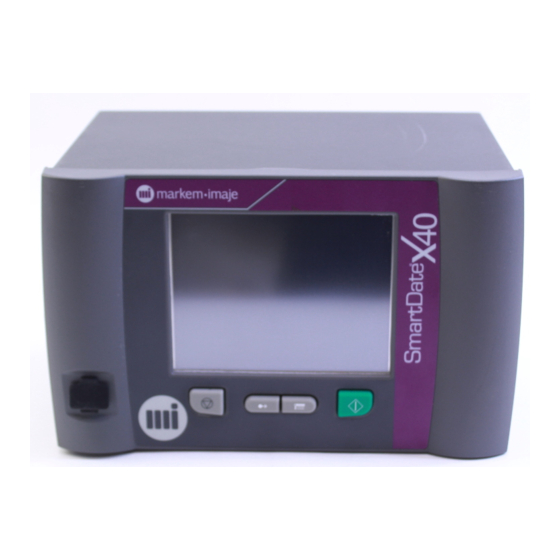
- Page 1 Instruction manual SmartDate X40 Colour User Interface OEM Interface Safety instructions Printer overview User Interface overview Start / Stop the printer Select a job Menu structure Printhead maintenance Consumables Troubleshooting...
-
Page 2: Safety Instructions
Nottingham NG72QN United Kingdom certifie que l’équipement neuf, ensures that the new equipment désigné ci-dessous : referenced below: SmartDate X40 Serial No: Thermal Transfer Printer N° de série : est conforme aux directives européennes is in accordance with the European directives applicables aux équipements, soit:... - Page 3 Safety instructions Before using this printer, please read and fully comply with these instructions, the material safety data sheet (MSDS) for consumables used, and safety labels affixed to the printer. Servicing must be performed only by qualified people who are appropriately trained.
- Page 4 Safety instructions Because Markem-Imaje equipment is tested with Markem-Imaje consumables and spare parts for conformity with certain regulations and safety standards, use of non-Markem-Imaje consumables and spare parts also may be inconsistent with testing conditions and affect compliance of the equipment with certain standards. The user shall bear all risks associated with use of unsuitable consumables and spare parts.
- Page 5 Noise levels: Test Standard BS EN ISO 3746:1996 SmartDate X40 Intermittent Mode 199 ppm with a 10 mm Image (600 mm/s) <70 dB (A) SmartDate X40 Continuous Mode 275 ppm with a 10 mm Image (130 mm bag) (600 mm/s) 70 dB (A)
- Page 6 DISCONNECT the air supply before undertaking work on the printer. Do not adjust the regulator pressure above 6 Bar under any circumstances. Doing so could make the SmartDate X40 unsafe. Instruction manual...
- Page 7 Safety instructions Batteries There is a non-replaceable lithium battery mounted on the control board assembly. Under no circumstances should this be replaced (it should last for several years). In the event of failure, please return the whole control board assembly to Markem-Imaje for repair.
- Page 8 SDX40 Continuous Printer User Interface Printer Ribbon Cassette Printhead Module Ribbon Webbing Diagrams Instruction manual...
- Page 9 SDX40 Intermittent Printer User Interface Printer Ribbon Cassette Printhead Module Ribbon Webbing Diagrams Instruction manual...
-
Page 10: Controller Options
Controller Options ■ Overview SmartDate X40 consists of a printing device and a control device with an operator interface control panel or an OEM Integrated controller. Colour User Interface Controller and Printer. OEM Controller and Printer. Instruction manual... -
Page 11: Interface Overview
Interface overview ■ Standard Controller Screen Button Function Stop producing Registration Select job Start producing Instruction manual... - Page 12 Interface overview ■ OEM Controller Screen The OEM Controller screen can either be displayed on a PC or integrated into the Host packaging machine control panel. The Start and Stop buttons in this case are on the screen instead of on the controller. All other fuctionality is exactly the same as the standard controller Instruction manual...
-
Page 13: Description Of Icons
Description of icons Home This option will return you to the Home screen. Print preview This option allows you to preview the selected job. This indicates that there are no faults or warnings Folder OK active. Folder This indicates that there is one or more warnings warning active. -
Page 14: Start The Printer
Start the printer Ready Default job Producing Default job Instruction manual... -
Page 15: Stop The Printer
Stop the printer Producing Default job Ready Default job Instruction manual... - Page 16 Select a Job - Local Database Home Select job Job 1 Job 2 Job 3 Home Job 1 Field 1 [1/4] Field 1 Instruction manual...
- Page 17 Select a Job - Local Database ABCD Confirm Job Job 1 ABCD 12345 20/10/10 Instruction manual...
- Page 18 Select a Job - Remote Database Home Select Job from Host Please enter the Job name Job 1 Instruction manual...
- Page 19 Select a Job - Remote Database Home Job 1 Field 1 [1/4] Field 1 Confirm Job Job 1 ABCD 12345 20/10/10 Instruction manual...
-
Page 20: Menu Structure
Menu structure Settings Diagnostics Statistics Files Service Status Menus Version Information Home Select Job screen Counts Print adjust Darkness Offset Registration Test print Rotation Instruction manual... - Page 21 Menu structure Settings Machine settings Diagnostics Display settings Statistics Adjust RTC Files Language Service Enable security Version Information Custom Codes Flex IO map Service login Diagnostics Installation setup Manual control Reset Total Counts Digital I/O control Restore to Factory Select printhead test Upgrade from USB pattern Speed profile graph...
-
Page 22: Print Head Maintenance
Printhead maintenance Print line (corner edge) Instruction manual... - Page 23 Printhead maintenance The printhead should be cleaned at regular intervals. These depend on machine use, operating environment, and choice of thermal ribbon. Turn off the power to the controller and remove the ribbon cassette. Allow the printhead to cool to normal room temperature before proceeding in order to prevent the possibility of thermal shock damage.
-
Page 24: Changing The Ribbon
Changing the Ribbon When removing the cassette, if the latch does not turn, please call an Engineer. Do not use force or tools. Use the plate below the waste ribbon to lift it off the ribbon rewind reel. If the ribbon is still difficult to remove, please call an Engineer. - Page 25 Ribbon Web Paths ■ Webbing Diagrams SmartDate X40 Printer Left Hand Right Hand Ensure that the ink side of the ribbon is facing away from the printhead. Scratch the ribbon with a fingernail to test; the ink should scratch off.
-
Page 26: Control Messages
Cassette open Close cassette to clear fault If a Fault occurs the SmartDate X40 will stop printing if in Producing mode and the Fault Alert screen will appear. A complete list of error messages can be found in the Troubleshooting section of the Maintenance manual PDF on the CD. -
Page 27: Troubleshooting Information
Troubleshooting - Information LOW RIBBON The Ribbon has almost run out. CASSETTE OPEN Check cassette is firmly in place with latch closed. Ensure handle is in the CLOSED position. CASSETTE LOAD ERROR Ensure the shuttle or printhead is in the HOME position. CALIBRATION FAILED Check ribbon for breaks or slackness RIBBON BREAK DETECT... - Page 28 the team to trust 03/2012 - AB 10054592 www.markem-imaje.com Markem-Imaje Limited Nottingham Science Park University Boulevard Nottingham NG7 2QN tel +44 (0) 115 9430055 fax +44 (0) 115 9430153...
Need help?
Do you have a question about the SmartDate X40 and is the answer not in the manual?
Questions and answers
How to remove best before date option
we cannot get our ribbon to calibrate correctly no matter what we do. we were successful a times but now we keep getting error messages and the blinking red light. 32mm ribbon Marken Imaje Smart Data X40
Pinterest print black line