Advertisement
Instruction diagram
Side A

LED 1: Blue ——WiFi status light
LED 2: Green ——Photo mode status light
LED 3: Blue —— Video mode status light
LED 4: Orange —— OSD Setup status light
LED 5: Red —— Power status light, it's always on after being powered
Side B

5.8G Transmitter connection diagram

Flight Controller Set
Preparation
- Firmware: BetaFlight Firmware (≥3.2.0),CleanFlight Firmware(≥2.1.0), KISS Firmware (≥1.3-RC30) or INAV Firmware (≥1.7.3).
- Any available UART interface on the Flight Controller
Connect the RunCam Split with the UART interface of the Flight Controller

Make the Flight Controller recognize the Split
For example, we connect the Split to the UART 3 interface on the Flight Controller: connect the Flight Controller to the computer, then open the configurator software of the Flight Controller. (Open up the configurator that matches the firmware you are running, Betaflight Configurator for Betaflight, Cleanflight Configurator for Cleanflight). In the Peripherals column of the line UART3 (on the Ports tab), select RunCam Device and click Save And Reboot.

Instructions of the functions of the camera and assigning transmitter channels to them
In the Flight Controller Configurator, navigate to the Modes tab. There are new CAMERA WI-FI, CAMERA POWER and CAMERA CHANGE modes.
- CAMERA WI-FI: turn on/off the WIFI of the camera. When in the OSD of the camera, this is used to confirm your selection.
- CAMERA POWER: start/stop the video. When in the OSD of the camera, this is used to move to the next menu item.
- CAMERA CHANGE MODE: switch among the three modes, video, photo and OSD setting mode. When in the OSD of the camera, this will exit the menu.
Assign any available channel to the function you need, for example:
- Assign the AUX1 to the CAMERA WI-FI, range 1900-2100
- Assign the AUX2 to the CAMERA POWER, range 1900-2100
- Assign the AUX3 to the CAMERA CHANGE MODE, range 1900-2100

Assign the channel to the switch of the controller
Please choose your Model on the controller, then access to the Inputs interface and assign the channel to the switch of the controller. Take opentx 2.2.0 for example, assign the channels AUX5, AUX6 and AUX7 to sa, sb and sd respectively.

Test
Power the Flight Controller and the RunCam Split
- Set the SA to the bottom, the camera starts/stops the video
- Set the SB to the bottom, the camera turns on/off the WIFI
- Set the SD to the bottom, the camera switches among the three modes: video, photo and OSD setting mode
WiFi module connection diagram


USB port only supports DC 5V
MicroSD Card
Capacity up to 64GB; Please use high speed cards(Class10/UHS-I/UHS-II).


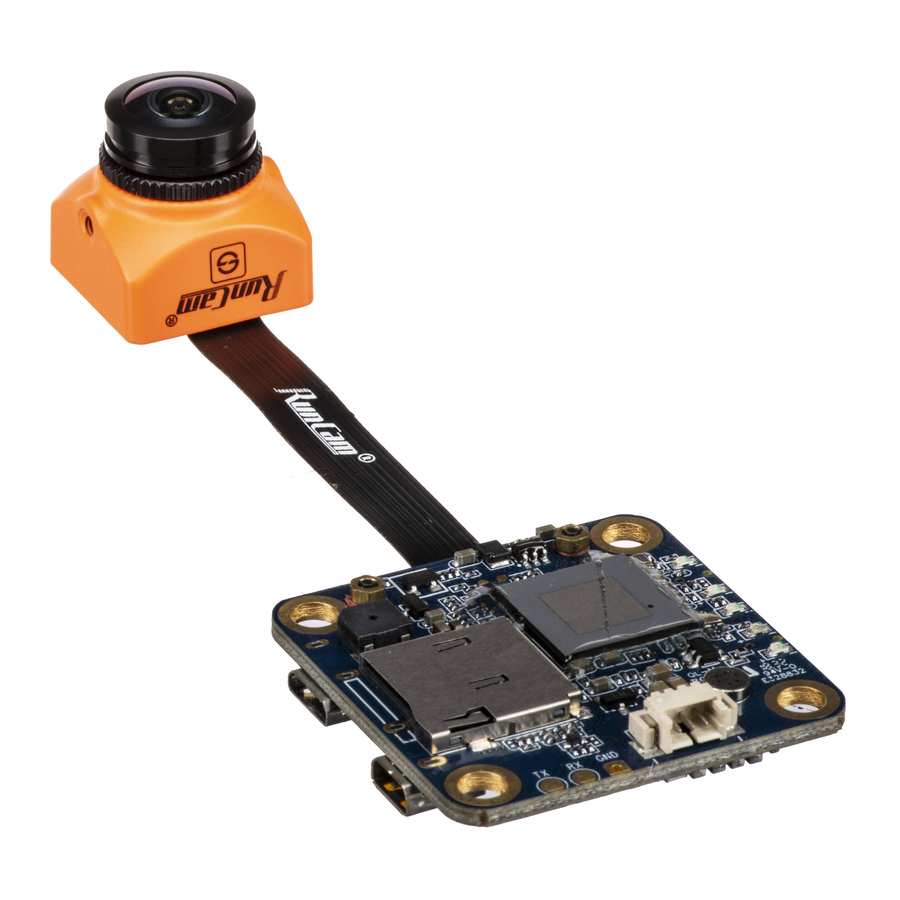
Lens module connection diagram

Please install the Metal Cover to make sure the Sensor Connector fixed steadily.
Basic Camera Operation
| Powering On/Off | Long press the Power/Shutter button |
| WiFi On/Off | Short press the WiFi/Mode Switch button |
| Mode Switching | After powering on, long press the WiFi/Mode Switch button to cycle through the three modes: Video/Photos/OSD settings. |
| Video Mode | Camera Status Light: Blue (LED 3)
|
| Photo Mode | Camera Status Light: Green (LED 2)
|
| OSD Setup Mode | Camera Status Light: Orange (LED 4)
|
| Forced Shutdown | Simultaneously press the Power/Shutter button and WiFi/Mode Switch button. |
| Reset | In standby mode, press the WiFi/Mode Switch button three times in rapid succession (within 2 seconds). When resetting is complete, the status light (orange) blicks twice, and the camera automatically shuts down. |
Note: Recording automatically after turing on by default, with the V1.0 firmware, under the video status, short press WIFI/MODE SWITCH button to pause/start the recording. With the V1.1 and later firmware, under the video status, short press WIFI/MODE SWITCH button to stop the recording and turn on the WIFI; Under the standby mode, the function of the WIFI/MODE SWITCH button doesn't change.
App(Android | iOS)
Search 'RunCam App' on Google Play/Apple Store, or download on our website: runcam.com/download/runcamSplit2S
Default SSID: RCSplit_ ****** (* for letters or numbers)
Default WiFi password: 1234567890
Check Complete User Manual
Please visit: runcam.com/download/runcamSplit2S
Parameters
| Field of View(FOV) | FPV FOV 4:3@140°, 16:9@170°/HD Recording 170° |
| Lens Thread Size | M12*0.5 |
| Video Resolution | 1080@60fps/1080@50fps /1080@30fps/720@60fps |
| Video File Format | MOV |
| Image Resolution | 2 Megapixels |
| TV Mode | NTSC (720*480)/PAL (720*576) Switchable |
| Interface | Micro USB / UART |
| Max Micro SD Card Supported | 64G(need Class 6 or above, recommend Class 10/UHS-I/UHS-II/UHS-III) |
| WiFi Module | Support (Removable) |
| Dimensions | PCB 38*38mm/Lens Module 19*19mm |
| Power Input | DC 5V(USB)/DC 5-15V (Non-direct power supply from battery, Powered directly with battery will generate surges and burn the camera.) |
| Working Current | 650mA @5V / 270mA @12V |
| Net Weight | 19g |

VideosRuncam Split 2S In Depth Review & Flight Footage Video
Documents / Resources
References
Download manual
Here you can download full pdf version of manual, it may contain additional safety instructions, warranty information, FCC rules, etc.
Advertisement


Need help?
Do you have a question about the Split 2S and is the answer not in the manual?
Questions and answers