Advertisement
Advertisement
Table of Contents

Related Manuals for DECOPAC PhotoCake IV

Summary of Contents for DECOPAC PhotoCake IV
- Page 1 Setting Up Your New PhotoCake IV System...
-
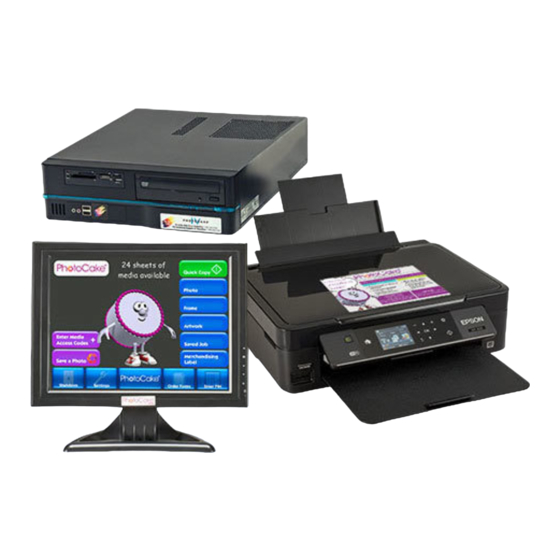
Page 2: Your New System
Your New System Your PhotoCake IV machine will come with: • A touch screen monitor • The PhotoCake controller • A printer • A merchandising kit, which includes help sheets, a power strip, samples of edible ink and edible media,... - Page 3 Unboxing Remove your monitor and controller from their boxes. Remove the printer from the box, then carefully take off all blue tape. Also remove any padding from the printhead.
-
Page 4: Connecting The System
Connecting the System For your convenience, the monitor, controller, printer, and cables are all labeled. The Blue #3 cable goes from the monitor (#3 side in • monitor) to the blue port on the controller The Pink C plug goes into the back of the monitor •... -
Page 5: Printer Maintenance
Printer Maintenance At the top of your printer, you will see a large sticker reminding you about printer maintenance. These activities will help your printer to have a longer life. Daily Maintenance Print every day. If you don’t print an image for a customer, be sure to do a color test Remember that color tests can •... - Page 6 Printer Output Tray Pull out the built-in output tray and lift the flap. Then attach the included enhanced output tray with the lifted flap going through the hole.
-
Page 7: Calibrating The Touch Screen
Calibrating the Touch Screen Attach the stylus from the merchandising kit to the corner of your touchscreen monitor. Then power on the controller and monitor. You will be prompted to touch and hold different parts of the screen. Be sure to use the stylus. - Page 8 Installing Printer Ink* Epson 4100/4105 Epson 2830/2850 Press the right arrow until the Press the right arrow until the “Settings” • • “Maintenance” icon, then press OK icon, then press OK Press the down arrow until the “Ink Press the right arrow until the •...
- Page 9 Wrap Up Your system is now setup! Check out the Decorator Guide that came with your system for helpful information on using and maintaining your PhotoCake IV. More information is available at: Decopac.com/publications/photocake...
Need help?
Do you have a question about the PhotoCake IV and is the answer not in the manual?
Questions and answers