Table of Contents
Advertisement
Quick Links
Advertisement
Table of Contents

Related Manuals for Kirsch Banded Shade Automation III


Summary of Contents for Kirsch Banded Shade Automation III
- Page 1 Banded Shade Collection Automation III Installation Instructions Rev. D 5/3/22...
-
Page 2: Table Of Contents
CONTENTS GETTING STARTED ..........................1 Product View ..............................1 Tools and Fasteners Needed ........................2 INSTALLATION ............................3 Installation Overview ...........................3 STEP 1: Mount the Installation Brackets ....................3 Mount the Cassette Installation Brackets — Inside Mount ..............4 Mount the Casssette Installation Brackets — Outside Mount..............6 STEP 2: Install the Battery Wand (If Applicable) ..................7 STEP 3: Install the Shade ..........................8 STEP 4: Connect the Power Source ......................9... -
Page 3: Getting Started
GETTING STARTED Product View Cassette Installation Brackets Cassette Bottom... -
Page 4: Tools And Fasteners Needed
GETTING STARTED Thank you for purchasing Kirsch Banded Shades with Automation III. With proper installation, operation, and care, your new ® shades will provide years of beauty and performance. Please thoroughly review this instruction booklet before beginning the installation. Tools and Fasteners Needed #1 Flat blade and #2 Phillips screwdriver ■... -
Page 5: Installation
INSTALLATION INSTALLATION Installation Overview To install your shade, you will need to perform the following four steps: STEP 1: Mount the Installation Brackets STEP 2: Install the Battery Wand (If Applicable) STEP 3: Install the Shade STEP 4: Connect the Power Source STEP 1: Mount the Installation Brackets Mounting Types and Window Terminology If the installation brackets are mounted correctly, the rest of the installation process will follow easily. -
Page 6: Mount The Cassette Installation Brackets - Inside Mount
INSTALLATION INSTALLATION Mount the Cassette Installation Brackets — Inside Mount The number of installation brackets required varies depending on the shade width, as shown in the table. Cassette Shade Shade Brackets Width Required Up to 36" ⁄ " – 66" Cassette Installation ⁄... - Page 7 INSTALLATION INSTALLATION Install the Cassette Bracket The minimum mounting depth required for Automation III shades: ■ Minimum IB Mounting Depth Both Cassettes Power Supply Without Back Cover With Back Cover Without Battery Wand ⁄ " ⁄ " Automation III with Attached Battery Wand ⁄...
-
Page 8: Mount The Casssette Installation Brackets - Outside Mount
INSTALLATION INSTALLATION Mount the Casssette Installation Brackets — Outside Mount The number of installation brackets required varies depending on the shade width, as shown in the table. Cassette Shade Shade Brackets Width Required Up to 36" Cassette ⁄ " – 66" Installation Bracket ⁄... -
Page 9: Step 2: Install The Battery Wand (If Applicable)
INSTALLATION INSTALLATION STEP 2: Install the Battery Wand (If Applicable) For the headrail-mounted battery wand, battery wand clips are installed before the shade is installed. Any other power options, the power source will be connected after the shade is installed. Battery Wand Install the Battery Wand Clips Attach the battery wand clip to the back of the cassette approximately 10"... -
Page 10: Step 3: Install The Shade
INSTALLATION INSTALLATION Install the Rechargeable Battery Mount into the Battery Wand Clips From the back of the shade headrail, connect the power cable from the motor side into the socket on the rechargeable battery ■ mount. Align the slots in the battery mount with the battery wand clips. ■... -
Page 11: Step 4: Connect The Power Source
INSTALLATION INSTALLATION STEP 4: Connect the Power Source NOTE: When power is connected to the motor, a blue LED inside the control button housing will flash twice to indicate the shade is ready for operation. Refer to the appropriate page based on your order. ■... - Page 12 INSTALLATION INSTALLATION Place the cover with its slot over the socket in the battery wand. ■ Battery Wand Cover Slot Socket Battery Wand Cover Extension Plug the power cable from the shade into the extension cable. ■ Cable Power Cable Plug the other end of the extension cable into the socket of the battery wand or double ■...
- Page 13 INSTALLATION INSTALLATION Drill the screw holes using a ⁄ " drill bit. ■ Align the holes in the battery mount to the marks. Ensure that you position the battery mount so that the power socket side is ■ closest to the shade’s power cable. Attach the battery mount using the screws provided.
- Page 14 INSTALLATION INSTALLATION 18V DC Power Supply Power cable from shade motor NOTE: When power is connected to the motor, a blue LED inside the control button housing will flash to indicate the shade is ready for operation. Plug the power cable from the shade motor into the extension cable. ■...
-
Page 15: Testing The Shade
INSTALLATION INSTALLATION 18V DC Power Supply with Daisy-Chain Connections NOTE: The daisy-chain feature is only available with the 18V DC Power Supply option. Refer to this section if you have an 18V Power Supply with daisy-chain connections. The daisy-chain feature allows up to three Automation III automated shades to be powered by a single 18V DC Power Supply. However, each shade can operate independently. -
Page 16: Operation
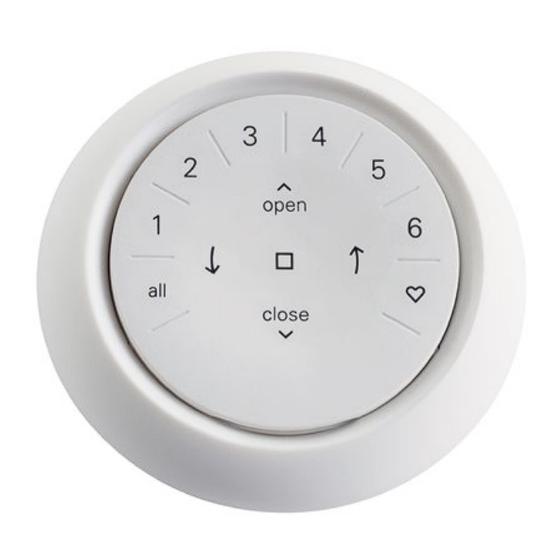
The Automation App is required to program Automation III shades, remotes, and gateways. The App is compatible with Apple® and Android™ smartphones and tablets. For more information regarding setup and operation using the Automation App, refer to https://www.kirsch.com/window-coverings-product-manuals. Automation III Gateway The Automation III Gateway is used to control shades in larger projects as well as integrate Automation III shades with third- party integration systems. -
Page 17: Resetting The Shade
INSTALLATION OPERATION Resetting the Shade Calibration Reset The calibration reset is used to recalibrate the shade's travel limits. This action is performed in the Automation App. Select Calibrate Shade in the Advanced Options section of the Shade Settings menu in the Automation App. ■... -
Page 18: Troubleshooting
■ Refer to the following troubleshooting procedures below for the specific solutions for your shade. ■ If questions remain, please contact Kirsch Consumer Support at 844-KIRSCH2 (844-547-7242). ® Problem The shade will not fit into the installation brackets. - Page 19 There are two methods for charging the rechargeable battery wand — the dual charging station or the single charger. CAUTION: Rechargeable battery wand can only be charged with Kirsch provided charging options — alternative charging devices may result in permanent damage.
- Page 20 INSTALLATION TROUBLESHOOTING Problem Rechargeable battery wand needs recharging (continued). Recharging Via the Dual Charging Station Plug the dual charging station into a standard AC outlet. ■ Insert the nose of the rechargeable battery wand into the dual charging station slot. ■...
- Page 21 INSTALLATION TROUBLESHOOTING Problem The fabric is skewing as the shade is being raised. Solution Adding tape to the fabric tube when the shade is fully lowered will help stop the fabric from skewing. Lower the shade to the fully closed position. ■...
-
Page 22: Care
INSTALLATION CARE Removing the Shade Move the shade to the fully raised position and disconnect the power. ■ While keeping one hand on the cassette at all times, push up on the plastic release tabs of the bracket until you hear it click and ■... -
Page 23: Child Safety
INSTALLATION CHILD SAFETY... -
Page 24: Declarations
Kirsch®, One Duette Way, Broomfield, CO 80020, USA Kirsch hereby declares that the PV33 is in compliance with the essential requirements and other relevant provisions of Electromagnetic Compatibility (EMC) Directive 2014/30/EU and Radio Equipment Directive (RED) 2014/53/EU. A copy of the DoC can be obtained online:... -
Page 25: Warranty
This warranty gives you specific legal rights, and you may also have other rights which vary from state to state. © 2019 Kirsch Custom Window Coverings. All rights reserved. All trademarks used herein are the property of Kirsch or their respective owners. 09/19...
Need help?
Do you have a question about the Banded Shade Automation III and is the answer not in the manual?
Questions and answers