
Related Manuals for Digi AnywhereUSB/2


Summary of Contents for Digi AnywhereUSB/2
- Page 1 AnywhereUSB Remote I/O Concentrator User Manual Models: AnywhereUSB/2 AnywhereUSB/5 (G2) AnywhereUSB/5 www.digi.com...
- Page 2 Information in this documentation is subject to change without notice and does not represent a commitment on the part of Digi International. Digi International provides this document “as is,” without warranty of any kind, either expressed or implied, including, but not limited to, the particular purpose. Digi International may make improvements and/or changes to this documentation or to the product(s) and/or program(s) described in this documentation at any time.
- Page 3 Product information is available on the Digi website, www.digi.com, including: Support Forums Knowledge Base Data sheets/product briefs Application/solution guides Regulatory Information For more information about Digi products, or for customer service and technical support, contact Digi International. To Contact Digi International by: Use: Mail Digi International...
- Page 4 This Page is Left Intentionally Blank AnywhereUSB User Manual (90001085_B)
-
Page 5: Table Of Contents
Contents Introduction Product Overview AnywhereUSB/2 Interpreting the Status LEDs AnywhereUSB/5 (G2) Interpreting the Status LEDs AnywhereUSB/5 (First Generation) Interpreting the Status LEDs for the AnywhereUSB/5 Getting Started In the Box Cabling Installing the Software Installing the Drivers Uninstalling the Drivers... - Page 6 Management Administration Configuring via the Command Line Accessing the Command Line Hardware Specifications AnywhereUSB/2 Dimensions Environmental Power Requirements Network Interface Features Dimensions Environmental Power Requirements Hardware Interface Features Network Interface Features Dimensions Environmental Power Requirements Regulatory and Safety Information Appendix A...
-
Page 7: Introduction
Introduction This chapter provides a brief overview of the AnywhereUSB family which consists of the AnywhereUSB/2 and the AnywhereUSB/5 (both the first and second generation G2 models). Product Overview The AnywhereUSB Remote I/O Concentrator is the first remote networking solution to utilize USB over IP® technology. USB devices may be located anywhere on a wired or wireless LAN –without a locally... -
Page 8: Anywhereusb/2
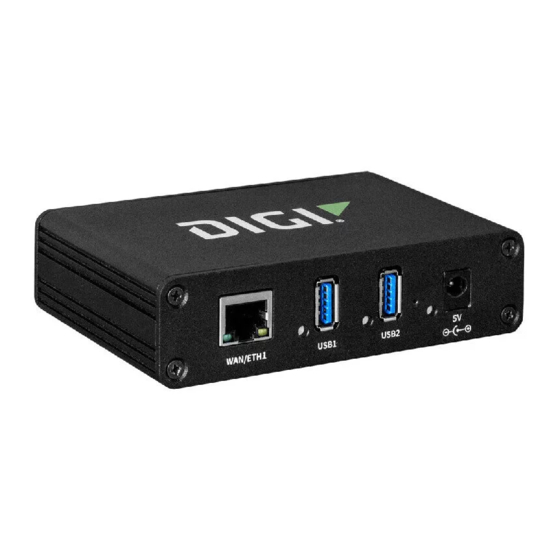
AnywhereUSB/2 Front Panel Back Panel AnywhereUSB User Manual (90001085_B) -
Page 9: Interpreting The Status Leds
Interpreting the Status LEDs Interpreting the Status LEDs for the AnywhereUSB/2 The AnywhereUSB/2 has three LEDs on the front panel: one System Status LED and two USB LEDs. When powered on, the System Status LED blinks green. When the USB ports are owned by a remote host PC, the USB LEDs will be solid green;... -
Page 10: Anywhereusb/5 (G2)
AnywhereUSB/5 (G2) Front Panel Back Panel Note: The second generation AWUSB/5 (G2) uses an improved center- positive power-supply with a screw-down connector. The power-supplies are NOT interchangeable. Use only the power-supply that is provided with the unit. AnywhereUSB User Manual (90001085_B) -
Page 11: Interpreting The Status Leds
Front Panel Information for the AnywhereUSB/5 (G2) System Status LED: Blinks green during normal operation. USB LEDs: Solid green when USB port is controlled by host PC; off when port is unowned. Reset Button: Used to either reboot the device or reset its configuration to factory defaults. -
Page 12: Anywhereusb/5 (First Generation)
AnywhereUSB/5 (First Generation) Front Panel Back Panel Note: The first generation AWUSB/5 uses a center-negative power- supply which is different than second generation AWUSB/5 units. The power-supplies are NOT interchangeable. Use only the power-supply that is provided with the unit. AnywhereUSB User Manual (90001085_B) -
Page 13: Interpreting The Status Leds For The Anywhereusb/5
Interpreting the Status LEDs for the AnywhereUSB/5 The AnywhereUSB/5 has six LEDs on the front panel: one System Status LED and five hub LEDs. Each LED is capable of displaying three colors: red, green, or orange. System Status LEDs On initial power up the System Status LED is orange for two seconds while the system initializes and then blinks green. -
Page 14: Getting Started
This chapter explains what comes with each AnywhereUSB model and how to connect it to a Network. In the Box AnywhereUSB/2 • AnywhereUSB/2 unit • Digi AnywhereUSB Installation CD • Power Supply AnywhereUSB/5 (G2) • AnywhereUSB/5 unit • Digi AnywhereUSB Installation CD •... -
Page 15: Installing The Software
For Windows XP, Server 2003, Vista, and Server 2008 1. Insert the Digi AnywhereUSB CD into the CD drive. 2. Select Install Drivers from the Digi splash screen. If the Digi splash screen does not launch, run the AWSplash.exe program from the CD. -
Page 16: Uninstalling The Drivers
A DOS Box will come up indicating the Install Process was successful. 4. Press the enter key to exit the DOS Box. The unit is now ready for configuration (see section 4). Uninstalling the Drivers To uninstall the AnywhereUSB drivers: 1. -
Page 17: Initial Anywhereusb Configuration
Initial AnywhereUSB Configuration This chapter explains how to configure the IP address in a new AnywhereUSB unit. Initial Configuration To begin the initial configuration: 1. Launch the AnywhereUSB Configuration Utility from the Start menu. A new AnywhereUSB will attempt to obtain an IP address from a DHCP Server. - Page 18 To Configure DHCP: 1. Select the Enable button 2. When DHCP is enabled, the AnywhereUSB will wait for a DHCP Server. If a DHCP response is not received, the AnywhereUSB will revert to an AutoIP address. To Configure a static IP address: 1.
-
Page 19: Configuring The Pc To Connect To An Anywhereusb
Configuring the PC to Connect to an AnywhereUSB This chapter explains how to configure the PC to establish a connection to the AnywhereUSB unit. Connecting to the AnywhereUSB In order to use the USB devices that are attached to the AnywhereUSB, the PC must establish a connection to the AnywhereUSB by adding the units IP address to the Connection List. -
Page 20: Configuration
2. Select an AnywhereUSB from the AnywhereUSB Configuration Utility Main Window and then either click the Connect button or right click on the selected AnywhereUSB and click Connect from the drop down box (see Figure 8). The host computer then attempts to connect to the AnywhereUSB.
Need help?
Do you have a question about the AnywhereUSB/2 and is the answer not in the manual?
Questions and answers