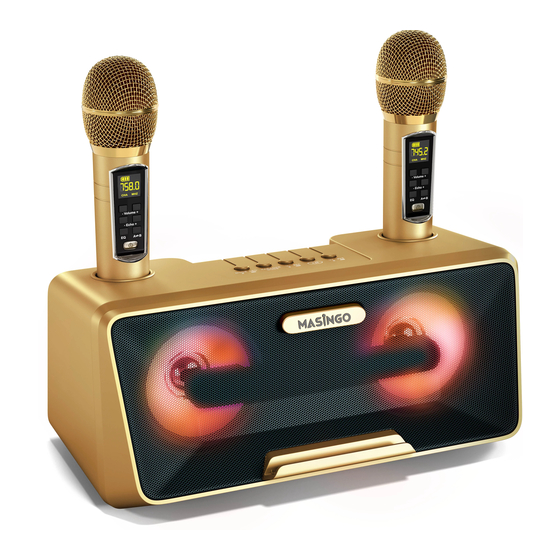
Summary of Contents for MASINGO Presto G2
- Page 6 #1 #1 Charge the machine and microphones before each use. Charge the machine and microphones before each us Charge the machine and microphones before each use e . Turn the machine and microphones on. Turn the machine and microphone Turn the machine and microphones on. urn the machine and micr Choose your preferred playback setting.
- Page 7 Machine Machine Machine hine hine hine How to charge the machine How t w to c harge t ge t ge t he mac he mac he mac he mac he mac hine hine hine hine hine Connect the USB charger plug or a compatible type C cord into Connect the USB charger plug or a compatible micro-USB cord Connect the US onnect the US...
- Page 8 Microphones How to charge the microphones Place the microphones in the charging docks on the machine or plug them into a compatible charger using the micro-USB charging cable. Be sure to charge fully before each use. While charging, the top bar of the battery icon on the display will flash, then stop flashing when the battery is full.
- Page 9 This machine will be ready to connect via Bluetooth as soon as you turn it on. To use this feature, simply search for the machine name (“MASINGO”) under your playback device’s Bluetooth connection settings and click to connect. How to use SD mode...
- Page 10 How to start AUX mode Playing music from an AUX-compatible device Plug the AUX or AUX-RCA cable into the designated slot on the back of the machine to activate AUX mode. Then, plug the other end of the adapter into the designated inputs on your device and play your music just as you normally would.
-
Page 11: Maintenance
How to connect to an external media source Playing music from a MP3 Player, Phone, or TV Plug the AUX or AUX-RCA cable into the designated slot on the back of the machine. Then, plug in your preferred compatible device into the other end of the adapter and use the machine as indicated. - Page 12 Problem Problem Problem Solution Solution olution Battery icon on the Battery icon on the y icon on the The microphone battery is low The microphone battery is lo The microphone battery is low microphone screen is blinking microphone screen is blinking microphone screen is blinking or depleted.
- Page 13 We’re here for you. If you encounter any issues with your machine or have any questions or comments, please feel free to contact us. Have your warranty information on hand for faster service.


Need help?
Do you have a question about the Presto G2 and is the answer not in the manual?
Questions and answers