
Summary of Contents for beno+ Reevo
- Page 2 Welcome Family...
- Page 3 What’s box?
- Page 4 Crank arms 6mm and 4mm and pedals Allen key Reevo Battery Battery charger Battery keys User manual Crank bolts Fender set Electronic bell Beno bag (Optional) (Optional) (Optional)
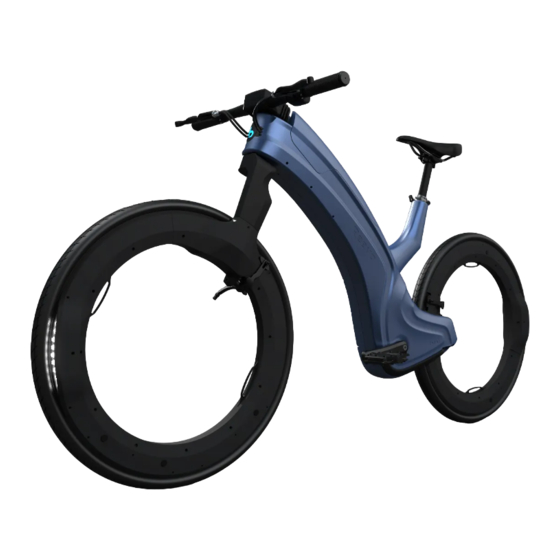
- Page 5 USB Charging Port Battery Ambient light Rear light sensor Front light Motor Wheel lock Storage hook...
- Page 6 Assembly...
- Page 7 Step 1 Remove your Reevo out of the box.
- Page 8 Step 2 Fully extend the kickstand for ease of assembly.
- Page 9 Your Reevo is packaged with the handlebar parallel to the wheels and frame.
- Page 10 Step 3 Step 4 Stand in front of the bike and Hold the front wheel firmly face the bike. Align the front in between your knees and wheel so that it is parallel to rotate the handlebar the frame. anticlockwise until it is perpendicular to the frame.
- Page 11 Step 5 Use the 6mm Allen key to tighten the top bolt of the bike stem.
- Page 12 Step 6 Use the 4mm Allen key to tighten the two side bolts of the bike stem. Tighten the top bolt first before tightening the side bolts.
- Page 13 “L” is for the left crank arm. The left crank arm and right crank arm are different. You can “R” is for the right crank arm. differentiate them by identifying the “L” and “R” markings.
- Page 14 Step 7 Insert the right crank arm followed by a crank bolt into the right side of the housing by hand.
- Page 15 Step 8 Use the 6mm Allen key to tighten the crank bolt. Repeat the steps above for the left crank arm.
- Page 16 Step 9 The optimum saddle height is Adjust the saddle height to when there is a slight bend in fit your comfort. your leg with the pedal in its lowest position.
- Page 17 Step 10 Press on both sides of the battery lid simultaneously to unlatch and open it.
- Page 18 Step 11 Insert a nano SIM card into the SIM slot on the battery dock. We recommend using a 4G SIM card with a minimum data of 100...
- Page 19 Step 12 Insert the fully charged battery and close the battery lid.
-
Page 20: Technical Specifications
Technical Specifications... - Page 21 22.3 kg / 55 lbs Bike Weight 27.5(650b) Wheel Size 250W (EU) / 750W (US) Motor Power 25km/h (EU) / 20mph (US) Top Speed S/M (5’2” – 5’9”) & Available Size M/L (5’9” – 6’3”) Lithium – Ion Battery Type 48V, 10.5 Ah Battery Capacity 3 hours...
- Page 22 Geometry...
- Page 24 27.5 (650b) Wheel Size A – Seat Tube 48.2 cm / 19.0” B – Seat Tube Angle 71.9° C – Head Tube Length 10.1 cm / 4.0” D – Head Angle 69.6° E – Effective Top Tube 65.0 cm / 25.6” F –...
- Page 25 Bike Maintenance Safety...
- Page 26 Do not tamper or attempt to modify the bike’s ⚠ motor or integrated computer systems. Modifying them in anyway will void your warranty and may lead to accidents resulting in injury or even death. Bicycle safety is important. Wear a helmet when ⚠...
-
Page 27: Battery Care
Battery Care... - Page 28 ⚠ Keep the battery and charger out of reach of children. ⚠ Only use the Reevo battery charger to charge the battery. The battery will have a shorter battery life during winter and that is normal.
-
Page 29: Warranty
Warranty... - Page 30 Improper assembly or installation of the product by the user. Claims under this warranty can be made to the • Follow – up maintenance. place at which you purchased your Reevo or directly to Beno and proof of purchase is required.
- Page 31 Disclaimer...
- Page 32 Reevo bike Changes or modifications not expressly approved by the and/or any other products or materials...
Need help?
Do you have a question about the Reevo and is the answer not in the manual?
Questions and answers