
Related Manuals for Hyundai X90W


Summary of Contents for Hyundai X90W
-
Page 1: User Manual
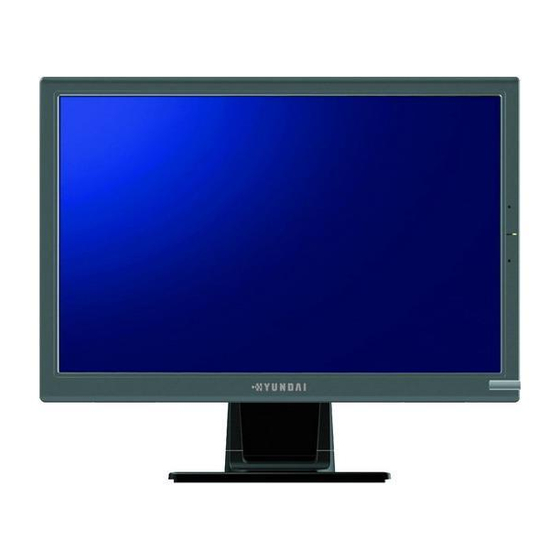
19” wide LCD Monitor User Manual (Optional) 한국어 Português Dansk Nederlands Suomi Svenska Polski Türkçe... -
Page 2: Table Of Contents
Information for users applicable in European Union countries Information for users applicable in United States of America Installation Power connection Maintenance Transporting the monitor GETTING STARTED Package contents Monitor installation Identifying parts and controls Functions of the buttons and indicator:... - Page 3 Congratulations! The display you have just purchased carries the TCO’03 Displays label. This means that your display is designed, manufactured and tested according to some of the strictest quality and environmental requirements in the world. This makers for a high performance product, designed with the user in focus that also minimizes the impact on our natural environment.
-
Page 4: Information For Users Applicable In European Union Countries
1. Do not cover or block the ventilation ports on the rear of the monitor. 2. Do not install the monitor close to heat sources such as radiators or air ducts, or in a location exposed to direct sunlight, excessive dust, mechanical vibration,or shock. -
Page 5: Getting Started
3.2 Plug the other end of the audio cable into the audio port of your computer or other audio source. 4.Connecting power 4.1 Plug the female end of the power cord into the POWER port at the rear of the monitor. 4.2 Plug the male end of the power cord into a power outlet. 5.Switching on 5.1 Switch on your computer. -
Page 6: Identifying Parts And Controls
2.Activates the OSD control menu. MENU 3.Selects the specific function. 4.Switches off the monitor by pressing the button for 3 seconds. 1.Activates the Volume control menu, and decreases volume (with audio option). 2.Scrolls the OSD menu downward. 3.Decreases the value of a selected function. -
Page 7: Introduction To Hotkeys
Introduction to Hotkeys 1.Auto Adjustment While the OSD menu is not shown, press buttons simultaneously to optimize the picture performance automatically (You may also use the OSD control to activate the Auto Adjustment function. See OSD Menu and Icon List section) 2.Volume Control (optional) While the OSD menu is not shown, press button to increase or decrease the... -
Page 8: Osd Icon List
* Select between Standard and Advanced power saving modes. See addendum for details. MODE RECALL * Reset monitor parameters back to factory preset values. CONTRAST • Adjust the contrast level of the screen OSD MENU * Adjust the position of OSD menu on the screen... -
Page 9: Troubleshooting
1. Check if the monitor is turned on (press the button 2. Check if the power cord is properly connected to the monitor and power outlet. 3 .Check if there is electricity coming from the power outlet (use another device to check for power). -
Page 10: Technical Features And Specifications
Technical Features and Specifications Item Description Display Size 410.4(H)X256.5(V) mm/ 408.24(H)X255.15(V)mm Panel Pixel Pitch 0.285(H)X0.285(V)mm / 0.2835(H)X0.2385(V)mm Monitor Display Colors 16.2M colors Horizontal: 31.5 ~ 84KHz Input Signal Frequency Vertical: 56 ~ 76Hz WXGA 1440 X 900@75Hz Compatibility WXGA 1440 X 900... -
Page 11: Addendum
To minimize the impact of frequent turn-on and turn-off of LCD monitor, the Life-Extension function decreases the electricity supplied to the back-light of LCD monitor gradually, instead of cut it off right away when PC enters sleeping or off mode. Please see following comparison graphics for details. -
Page 12: Fcc Compliance
3 watts within 3 seconds after the monitor steps in power saving mode. But the Life-Extension function decreases the electricity supplied to the backlights of LCD monitor gradually.
Need help?
Do you have a question about the X90W and is the answer not in the manual?
Questions and answers