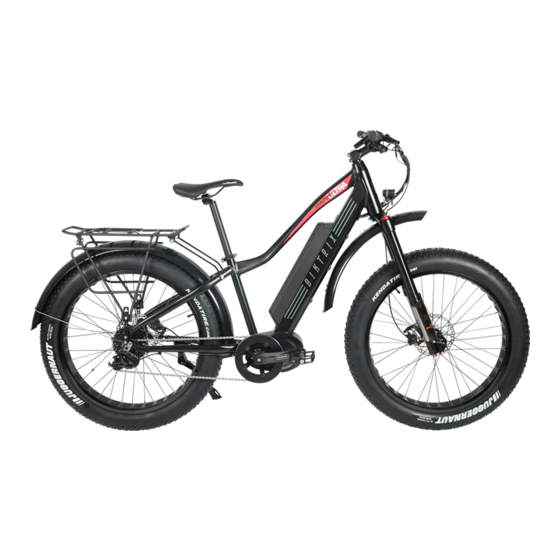

Summary of Contents for Biktrix Juggernaut Series
- Page 1 User Guide Biktrix Enterprises Address:1A – 640 Broadway Ave, Saskatoon SK S7N1A9, Canada Phone: +1 866 BIK TRIX (+1 866 245 8749) Email: support@biktrix.com...
- Page 2 Caution Biktrix Enterprises reserves the right to the final explanation of all clauses in this user guide. We understand that this guide does not, and cannot, fully cover all situations that may arise from riding an electric bicycle, however, we remind you to be safe while on your bike.
- Page 3 Do not activate the brakes until the bike is fully assembled. Squeezing brake levers while calipers have no disc rotor between them can damage the brakes. To Prepare • We recommend that you familiarize yourself with the bike parts before assembling. •...
-
Page 4: Assembling Steps
Assembling Steps... - Page 5 Mounting Handlebars For Juggernaut Series (1) Remove the faceplate bolts from the front of the stem. (2) Place handlebar onto the stem and hold the faceplate and thread the bolts a few turns by hand. Adjust the angle of the handlebar as desired.
- Page 6 For Stunner Step-over/ Stunner Step-thru 1. Insert the stem into the head tube as shown above. 2. Stand in front of the seat post and rotate the handlebar to align. 3. Tighten the bolt on top as shown in pic. 4.
- Page 7 For Stunner LT with Adjustable Stem 1. Insert the stem into the head tube as shown above. 2. Tighten the top bolt using a 5mm Allen wrench/ key until no play is felt but the fork turns freely. 3. Slide the lock to flip open the cam lever and then adjust the height by moving the bar up/down and angle of by rolling the bar.
-
Page 8: Wheel Mounting
Wheel Mounting (A) Thru-Axle Wheel 1. To install the wheel you must first remove the Thru-axle from the fork. • With a 6mm hex key unthread the axle bolt from the drive side of the bike. • Now push the long thru-axle through to the non-drive side and pull it out. 2. - Page 9 (B) QR (Quick-Release) Wheel 1. Gently slide the front wheel in between the fork legs taking care not to scratch the brake pads. The small end of the springs must face inwards. Open the cap and remove the spring next to it. 3.
- Page 10 Do not turn the lever like a wing-nut to tighten it (Figure 7); this will not make sufficient force to hold the wheel. If you can close the lever with little or no resistance, the clamp-force is not sufficient. Go back to Step 4 and slightly tighten the adjustment-nut. 7.
- Page 11 Installing the Headlight with Fender While every bike has a slightly different headlight and fender they are very similar to one another and the basic principle remains the same as explained in the steps below. 1. You will have 3 bolts, the smaller ones are for the sides and the long one is for the center. 2.
- Page 12 Installing the Fender and Headlight on Ultra 1000 1. Note the Fender's front and Rear orientation first. 2. Note the supplied fitments. Use 2 or 3 additional washers for the front end of the fender so that the bolt head moves away from the head tube's surface. 3.
-
Page 13: Installing The Pedals
Installing the Pedals There is a RIGHT pedal marked R and a LEFT pedal marked L. Use a 15mm pedal wrench to tighten the pedals. A thin open-end wrench can also be used. 1. Apply a small amount of grease to both the pedal threads before installation. -
Page 14: Installing The Seat
Installing the Seat 1. Apply a small amount of grease to the lower portion of the post. 2. Open the cam lever on seat collar. 3. Slide the post into the desired height (seat posts have a minimum insertion level marked on it, make sure this line is completely hidden within the frame) 4. - Page 15 Battery Display On the top front, there is a battery level display button. When pushed in, the LED lights below it will glow, indicating the battery level. However, while riding your bike you must rely on your battery level on the display which is more accurate.
- Page 16 Kutty Folding/Unfolding Follow these simple steps to fold your electric bike 1. Push the outside edge of the pedal towards the frame and twist until the folding section is parallel to the frame. 2. Release the 'safety catch' mechanism on the stem by put up. Open the quick-release lever by pulling away from the stem and lowering it.
- Page 17 Quick Tips Don’t start your bike when the battery is on the bike and charging at the same time. This can potentially damage the battery. Don’t leave a fully discharged battery uncharged for more than a week this will shorten the lifespan of your battery the longer you leave it in a fully discharged state Don't leave your battery for more than 3 months without a top-up charge.
- Page 18 Maintenance ❖ Cleaning your electric bike Use any soft brush along with bike/ Automotive cleaner or diluted liquid soap with warm water and a cloth to clean the frame of your bike, but care must be taken not to use pressurized water or immerse any of the electrical components;...
- Page 19 Riding your E-Bike 1. PAS (Pedal Assist System): Depending on your bike model and display setting, you would have PAS levels 0-3 or 0-5 or 0-9. This will sense your pedaling action and activate motor power. Depending on your PAS level selection on the display the motor output would be regulated.
- Page 20 Biktrix Enterprises will either repair the defective product at no charge, provide a new product, or refurbish replacement parts. Some repairs will be serviced locally to the user and the customer will be reimbursed their local bike shop fees.
- Page 21 Returns Right of Return • In the unlikely event that you are not satisfied with our product, Biktrix allows you up to 14 calendar days to return the product that you are not satisfied with. • Your right of return starts from the moment your order is delivered.
- Page 22 Phone: +1-866-245-8749 E-mail: support@biktrix.com HQ Mail: Biktrix Enterprises, 1A – 640 Broadway Ave, Saskatoon SK S7N1A9, Canada Contact our support line for assistance by using the Live Chat on either of our websites. ENJOY YOUR RIDE, ELECTRIFIED!
- Page 23 (Back Cover Page to be designed)
Need help?
Do you have a question about the Juggernaut Series and is the answer not in the manual?
Questions and answers
How to regrease main Hub.
How many amps does the charger draw from 120 volt wall outlet.