
Related Manuals for Heatmaxx SRCH06D


Summary of Contents for Heatmaxx SRCH06D
- Page 1 Questions, problems, missing parts? Be fore retu rning to your retaile r, call our customer service depa rtment at 1- a.m. - p.m., ST, Monday - Frida...
-
Page 2: Package Contents
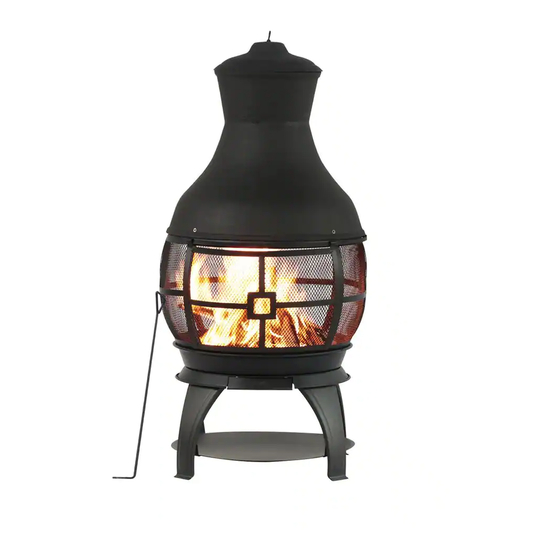
PACKAGE CONTENTS PART QUANTITY PART QUANTITY DESCRIPTION DESCRIPTION Chimney cap Lower stove bowl Chimney mesh cover Ash tray assembly Chimney body Sliding door assembly Poker Screen assembly Log rack assembly Charcoal grid Upper stove assembly... -
Page 3: Safety Information
HARDWARE CONTENTS (shown actual size) M6 x 12 mm Bolt Washer Spring Washer Qty. 4 Qty. 20 Qty. 16 Qty. 16 M6 x 15 mm M6 x 20 mm M6 x 15 mm Bolt Flat Bolt Flat Bolt Qty. 4 Qty. - Page 4 ASSEMBLY INSTRUCTIONS Line up the upper stove assembly (G) and lower stove bowl (H). Position the legs (J) beneath bowl (H) and attach using M6 x 15 mm bolts (GG), nuts (AA), washers (CC) and spring washers (DD). Hardware Used Washer M6 x 15 mm Bolt 2.
- Page 5 ASSEMBLY INSTRUCTIONS Align the door of screen assembly (E) and gap of lower stove bowl (H). Attach the smaller end of screen assembly (E) onto upper stove assembly (G) with washers (CC), spring washers (DD), nuts (AA), and M6 x 15 mm flat bolts (EE). Hardware Used Washer Spring Washer...
- Page 6 ASSEMBLY INSTRUCTIONS 5.Attach chimney body (C) on the top of screen assembly (E) with washers (CC), spring washers (DD), M6 x 20 mm flat bolts (FF) and CC DD AA nuts (AA). Hardware Used Washer Spring Washer M6 x 20 mm Flat Bolt Place the charcoal grid (F) in upper stove assembly Support (G) and attach it onto the support bracket.
- Page 7 ASSEMBLY INSTRUCTIONS Insert the ash tray assembly (I) into the track on upper stove assembly (G). Place the poker (K) on the log rack assembly (L).
-
Page 8: Lighting Instructions
LIGHTING INSTRUCTIONS 1. Open the sliding door using the poker, and put the log(s) (less than 4 lb.) on the charcoal grid. (NOTE: Make sure log does not extend to the charcoal grid edge, and the log height does not extend 14 in. The fire height should not extend 3/4 the height of screen.) 2. -
Page 9: One-Year Limited Warranty
ONE-YEAR LIMITED WARRANTY The item has been manufactured under the highest standards of quality and workmanship. We warrant to the original consumer/purchaser that all aspects of this product will be free of defects in material and workmanship for one (1) year from the date of purchase. A replacement for any defective part will be supplied free of charge for installation by the consumer. -
Page 10: Replacement Parts List
REPLACEMENT PARTS LIST For replacement parts, call our customer service department at 1-8 a.m. - ST, Monday - Friday or e-mail to PART DESCRIPTION M6 x 12 mm bolt Washer Spring washer M6 x 15 mm flat bot M6 x 20 mm flat bolt M6 x 15 mm bolt Sliding door assembly Screen assembly...
Need help?
Do you have a question about the SRCH06D and is the answer not in the manual?
Questions and answers