
Related Manuals for Electrolux FHWC3 55LS Series


Summary of Contents for Electrolux FHWC3 55LS Series
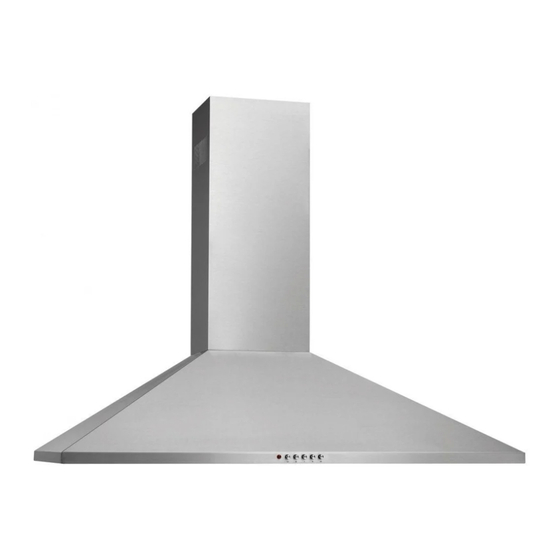
- Page 1 Use & care guide Guia de uso y cuidado Guide d’utilisation et d’entretien 30” and 36” Free-Standing Range Hood FHWC3055LSA + FHWC3655LSA 316902442 Rev A February 2012...
-
Page 2: Table Of Contents
Finding information Table of contents NOTE Please read and save this guide ........02 Registering your product with Frigidaire enhances our ability to serve you. You can register online at Keep a record for quick reference ........02 www.frigidaire.com or by dropping your Product Registration Card in the mail. -
Page 3: Important Safety Instructions
Important safety instructions Important safety instructions WARNING IMPORTANT To reduce the risk of fire, electric shock, or injury to persons, observe the following: • FOR RESIDENTIAL USE ONLY. Indicates installation, operation, or • Use this appliance only in the manner maintenance information which is important intended by the manufacturer. -
Page 4: Electrical Requirements
Important safety instructions Important safety instructions WARNING WARNING To reduce the risk of injury to persons, in the event of a cooker top grease fire, observe the following: To reduce the risk of fire, use only metal duct • Smother flames with a close-fitting lid, work. -
Page 5: Intended Use
Installing the hood IMPORTANT Upper bracket Save installation instructions electrical inspector’s use. The range hood must be connected with copper wire only. The range hood should be connected directly Lower bracket to the fused disconnect (or circuit breaker) box through metal electrical conduit. Wire sizes must conform to the requirements of Collar the National Electrical Code ANSI/NFPA 70 –... - Page 6 Installing the hood Installing the hood ask your local chimney sweeper about the local regulations prior to installation. • If you are renting, then approval must be obtained from the owner of the property. • Attention! In order for the range hood to reach IMPORTANT optimal performance, install it over the middle of the cooking area.
- Page 7 Installing the hood Examples of possible ducting or air fig. recirculation fig. Roof pitch with Sidewall cap Recirculator flashing and cap Pipe Pipe Pipe Collar Collar Collar Installing range hood to the wall IMPORTANT (Exhaust operation) Framing must be capable of supporting 100 lbs. IMPORTANT Step 1: • Make sure that no cables or pipes will become...
- Page 8 Installing the hood • Insert 2 screws (8 or 11) in the top location, but fig. Ceiling do not fully insert the screws (fig. ). Mount the range hood (1) to the wall and tighten the screws. 0.86” Insert and tighten the 2 remaining screws on the Long 2.95” bottom location of the range hood (fig. screws 5.1” • Attach the collar (5) to the range hood (1). Secure with 2 short screws (8) (fig. 15.67” fig.
- Page 9 Installing the hood Electrical connections • Mount the junction box onto the range hood using 2 short screws (13) (fig. DANGER fig. Danger of electric shock! All fittings must be installed by a competent person in accordance with current wiring regulations and local building regulations. If in doubt, consult a qualified electrician.
- Page 10 Installing the hood • The air must not be discharged into a flue that fig. fig. is used for exhausting fumes from appliances burning gas or other fuels (not applicable to appliances that only discharge the air back into the room). Air recirculation operation • Recirculated air: Kitchen fumes are removed and after purification are fed back into the...
-
Page 11: Operation
Operation / Cleaning and maintenance Cleaning and maintenance fig. Cleaning DANGER Always switch off the electricity supply at the mains during installation, cleaning and maintenance such as for light bulb replacement. NOTE The efficiency of the range hood depends on the • Take out the grease filters and fit charcoal filters cleanliness of the intake and filters. Grease should to two lateral sides of the motor blower. -
Page 12: Technical Data
Troubleshooting Troubleshooting IMPORTANT Problem Cause Solution Clean the filter every month to prevent risk of fire. The appliance Take down is not fixed the appliance properly on the and check it is Maintenance brackets. properly fixed. • User servicing – Do not repair or replace Excessive The fan blade any part of the appliance unless specifically... -
Page 13: Warranty Information
Alaska. warranted by Electrolux Canada Corp. 12. Damages to the finish of appliance or home Electrolux authorizes no person to change or add to any incurred during installation, including but not obligations under this warranty. Obligations for service limited to floors, cabinets, walls, etc.