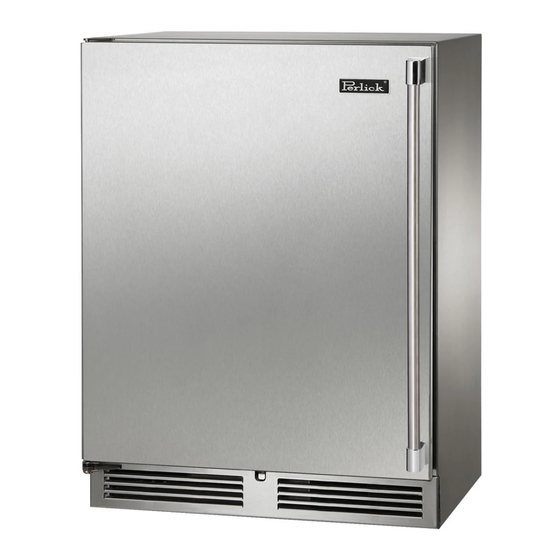
Perlick HH24 Installation Manual
Hide thumbs
Also See for HH24:
- Service manual (125 pages) ,
- Installation instructions manual (18 pages) ,
- Installation manual (16 pages)
Summary of Contents for Perlick HH24
- Page 1 Installation Manual HP15 15” SIGNATURE SERIES HP24 24” SIGNATURE SERIES HP48 48” SIGNATURE SERIES HC24 C-SERIES HA24 ADA-COMPLIANT SERIES HH24 18” SHALLOW-DEPTH SERIES Form No. Z2348 Rev. 03.03.2013...
-
Page 2: Table Of Contents
If you do not complete the warranty registration online or however, service is required, call Perlick at 800.558.5592. return via US mail, Perlick will use the date of sale as the For your own protection, never return merchandise for first date of warranty for the unit. Please record the purchase credit without our approval. -
Page 3: Warranty Information
Perlick authorized service representative, contact your ENTIRE PRODUCT - Full Three-Year Warranty* Perlick dealer, distributor or Perlick Corporation’s Technical For three years from date of original purchase, Perlick Service Department: Corporation’s warranty covers all parts and labor to repair or replace any part of the product that proves to be defective By mail: 8300 W. -
Page 4: Safety Information
Indicates a hazard MAY cause serious injury or death if precautions are not followed. All Perlick units come equipped with a NEMA 5-15P 90° plug with a 5’ cord extending beyond the rear of the cabinet. The electrical outlet must be flush with, or recessed into, CAUTION the wall surface for all HP, HC and HA models. -
Page 5: Installation Instructions
PERLICK RESIDENTIAL INSTALLATION MANUAL INSTALLATION Unit may tip forward if loaded racks/shelves are all pulled NOTE: If installing on a concrete floor, concrete fasteners are out at the same time. To prevent tipping, and to provide required and not included with the anti-tip kit. - Page 6 32-1/2” 24” 24” 4). Shim the front of the unit so the front face is flush with the surrounding cabinetry. Adjust the front legs to HH24 18” Shallow-Depth Series support the countertop at the shimmed height. Using Height Depth Width an adjustable wrench or pliers, turn the legs clockwise to 32-1/2”...
-
Page 7: Toe Kick Installation
PERLICK RESIDENTIAL INSTALLATION MANUAL TOE PLATE INSTALLATION Once the unit is secured in place, install the louvered toe plate. Secure the plate by snapping the latch into the latch catch on the unit (Figure 5). The toe plate must be removed to CAUTION service the unit. -
Page 8: Shelving/Drawer Adjustments
PERLICK RESIDENTIAL INSTALLATION MANUAL SHELVING/DRAWER ADJUSTMENTS DOOR OPTIONS Completely empty shelf or drawer Perlick residential units offer a variety of door panel design CAUTION before removing. alternatives; solid stainless steel, solid wood overlay, glass with stainless steel trim and glass with wood overlay trim. - Page 9 PERLICK RESIDENTIAL INSTALLATION MANUAL 5). Using the screws removed in step 3, install the top and bottom hinge brackets from the kit (Fig. 9). Hinge brackets and mounting screws SUPPORT Pull door to the side then lower door Remove hinge pin Figure 7.
- Page 10 6 (Fig. 14). Figure 11. Removing Front Panel 8). Remove the Perlick nameplate from the door front using a plastic putty knife (Fig. 12). Install the new Perlick nameplate included in the kit. Top hinge...
-
Page 11: Handle Installation
TOP VIEW NOTE: Full size lock installation wood overlay panel templates Figure 15. Installing V-Block are available on the Perlick website. Visit www.perlick.com/ Residential, click on Service & Support, and then choose Wood Overlay Templates from the menu. Lock templates are 13). -
Page 12: Wood Overlay Installation
NOTE: The unfinished faces should be finished and sealed. detailed how-to video on installing In many cases, stains and/or finishes have odors that a wood overlay panel onto Perlick may be objectionable in an enclosed area. Do not stain doors. Otherwise, follow these or finish wood faces while installed on unit. - Page 13 Contact Perlick Customer or Technical Service at 800.558.5592. Customer Service and Technical Service are available business days Monday through Friday from 8 a.m. to 4:30 p.m. CST. 8300 W. Good Hope Road, Milwaukee, WI 53223 • 800.558.5592 • info@perlick.com • www.perlick.com Form No. Z2348 Rev. 03.03.2014...


Need help?
Do you have a question about the HH24 and is the answer not in the manual?
Questions and answers