Table of Contents
Advertisement
Advertisement
Table of Contents

Related Manuals for Grace AVPUSB01S


Summary of Contents for Grace AVPUSB01S
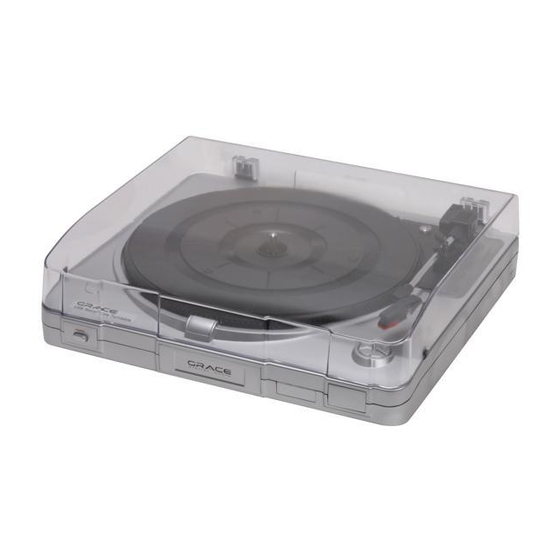
- Page 1 INSTRUCTION MANUAL MODEL: AVPUSB01S USB RECORDABLE TURNTABLE...
-
Page 2: Table Of Contents
Contents Page Contents……………………………………………………..……………………………….…….……….. 2 Important Safety Instructions…………………………………………………………….……….………... 3 Precautions……………………………………………………………………………….……….…………4 Before Use………………………………………………………………………….…….…….……………5 Location of Parts……………………………………………………………………….……….……………5 Turntable Set Up…….………………….……………………………………………… …….…..….……. 5 Listening to a Record……….…………………………………………………..…………….………….…. 6 How to Replace the Turntable Stylus……………………………………………………….……………… 6 Software Introduction…….………………………………………………….………………..…………….. 7 Software Installation and USB Connection…………………………………….………..………………….. 7 Recording Operation Steps……………………………………………………………….…………………... -
Page 3: Important Safety Instructions
IMPORTANT SAFETY INSTRUCTIONS When using electrical products, basic precautions should always be followed. Please refer below: 1. Read Instructions - All safety and operating instructions should be read before the product is operated. 2. Retain Instructions - Safety and operating instructions should be retained for future reference. 3. -
Page 4: Precautions
c. If the product has been exposed to rain or water. d. If the product does not operate and you have followed the manual for troubleshooting. e. If the product has been dropped or damaged in any way, and the product exhibits a distinct change in performance may indicate a need for service and/or repair. -
Page 5: Before Use
BEFORE USE • Choose a good location and avoid placing the unit in direct sunlight or near any heat source. • Avoid locations subject to vibrations, excessive dust, cold or moisture. • Do not open the cabinet as this may result in electrical shock. If a foreign object is inserted accidentally contact your dealer. -
Page 6: Listening To A Record
LISTENING TO A RECORD 1. Connect the AC power cord to an electrical outlet. The standard voltage is 120V-50HZ. 2. Plug the other end of the RCA Cable into the auxiliary input (Aux) on your TV, receiver or other music system and make sure that the red RCA Cable is inserted into the red jack and the white RCA Cable is inserted into the white jack. -
Page 7: Software Introduction
SOFTWARE INTRODUCTION Audacity application software is included with your USB Recordable Turntable and is designed to record and save music from the photograph to a computer. The software then allows for the same recorded files to be converted and edited to .WAV and/or .MP3 file formats. - Page 8 3. Continue to click on the "Next" button until the software installation begins.
- Page 9 4. Click on the "Install" button to start the Audacity software installation. 5. Click on "Finish" to complete installation.
-
Page 10: Recording Operation Steps
6. You can now open the Audacity software and start recording your files. RECORDING OPERATION STEPS 1. Connect the USB cable to your turntable and your computer 2. Press the POWER button and start to play your record 3. Double click the Audacity program and you will see this interface screen on your computer. 4. - Page 11 5. Select the RECORD button to start recording. 6. Select the button to go to start. 7. Select the button to go to end. 8. Select the PAUSE button to pause the recording. 9. Select the STOP button to stop the recording. 10.
-
Page 12: Converting Recorded Files To .Wav And .Mp3 File Formats
CONVERTING THE RECORDED FILES TO .WAV AND .MP3 FILE FORMATS Please make sure that you have properly connected the USB Turntable to your computer and follow the instructions below to convert your files to “.wav and .mp3” file formats. 1. Make sure that the Audacity installation disc is still inserted in your computer. Go to your Desktop and double click on the "My Computer"... - Page 13 6. Locate "File Format" tab and click on the "Find Library" button.
- Page 14 7. Click "Yes" button, then go to your Desktop and highlight the lame_enc.dll. Next, click on the "Open" button. 8. Click on the "OK" button and return to the default window of the Audacity Software.
- Page 15 9. Click on the "File" tab and the option will be given to export the recorded file as “.wav”, “.mp3” or “.ogg” file formats. 10. Once you have selected the desired file format to export your recorded music, enter the file name and location where you want to save the file on your computer.
- Page 16 11. Enter the title, artist and any other information about the MP3 file that you have created and click on the "OK" button. 12. Next, go to the location of the file you have converted. You can play the converted file on any application that supports .WAV or MP3 formats.
-
Page 17: Specifications
SPECIFICATIONS TURNTABLE PLAYER SECTION Motor…………………………………………………………..…..……….. .DC servo motor Drive System………………………..……. …………………………………Belt Drive Speeds………………………………..………………………………………33-1/3 rpm, 45 rpm and 78 rpm S/N Ratio…………………….…………………………………………..…. .More than 50 dB Cartridge Type…………………………………………………………..…. .Ceramic Stereo Cartridge Stylus…………………………………………………………..… 402-M208-165 Output Level……………….…………………………………………………160-380 mV (5 cm/sec at 1 KHz) GENERAL Power Requirements……..………………………………………….………... - Page 18 MODEL: AVPUSB01S USB Recordable Turntable Grace Digital Inc., San Diego, CA...
Need help?
Do you have a question about the AVPUSB01S and is the answer not in the manual?
Questions and answers