Table of Contents
Advertisement
Quick Links
Advertisement
Table of Contents

Related Manuals for Gourmia GFD1680


Summary of Contents for Gourmia GFD1680
- Page 1 MODEL# GFD1680 CUT+DRY AUTO DEHYDRATOR...
- Page 2 Although every precaution has been taken in the preparation of this manual, The Steelstone dried herbs, meat jerky and other dehydrated treats you will prepare in the Gourmia Group assumes no responsibility for errors or omissions. Nor is any liability assumed for damages Cut + Dry Dehydrator.
-
Page 3: Table Of Contents
SAFETY FIRST p. 6 FEATURES & FUNCTIONS Cut + Dry Housing p. 9 Internal Automatic Fan p.9 Top Air Vent p. 9 Back Air Intake p.9 EasyVue Door p. 10 Drying Trays p. 10 Protective Food Sheet p.10 Drip Pan p. 10 LED CONTROL PANEL p. - Page 4 IMPORTANT SAFEGUARDS FOR HOUSEHOLD USE ONLY When operating this electric appliance, basic safety instructions should Electrical Polarized Plug: This Cut + Dry always be followed. Refer to the following for these instructions. Dehydrator has a polarized plug (one blade is wider than the other). To reduce the risk READ ALL SAFETY &...
-
Page 5: Internal Automatic Fan
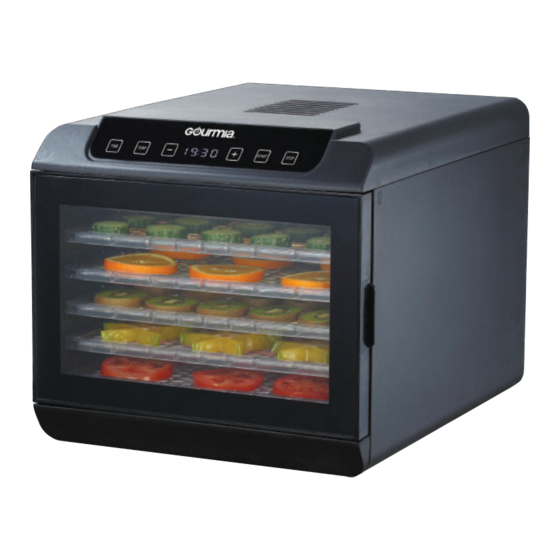
(IMAGES with LABELS) CUT + DRY DEHYDRATOR HOUSING (see reference A.) The Housing unit for the Cut + Dry Dehydrator holds the Drying Trays in integrated slots, the Automatic Fan and other interior workings. It also contains the removable Protective Food Sheet and Drip Pan. It is designed to securely hold foods on trays while drying. -
Page 6: Easyvue Door
EasyVue Door designed to hold very heavy foods. They An important feature of the Cut + Dry Dehydrator is are perforated thoroughly to allow air the EasyVue Door, which is transparent to circulate for drying and to allow any for quick viewing. The process of drying moisture or debris to fall to the Drip Pan. - Page 7 19:30 TIME TEMP START STOP TIMER TEMP DECREASE/— INCREASE/+ Start & Stop button button button Icon buttons The LED Control Panel holds all the electronic instructions for drying foods. Follow the simple Step-by-Step instructions below to successfully start and complete the drying process. Setting TIME and TEMP will begin automatically heating Settings to Start...
-
Page 8: Before First Use & Maintenance
BEFORE FIRST USE To change the drying time, WHILE (10:00) and Temp of 158°F, Press the IN PROCESS, Press the + button to STOP button to turn OFF. Press the increase the time or the — button START button to turn ON. The Cut + Dry to decrease the time. -
Page 9: Fruit
The drying time for any food is dependent on several factors, including the FOOD DEHYDRATING GUIDE thickness of the food, the amount of food in the dehydrator, the type of foods to be dried and the humidity levels of the weather. Because of these factors, you will Food Drying Times Temp (°F) -
Page 10: Meat
completely. Dry with a paper towel and Cutting & Slicing Vegetables sharp knife. Remove any bones, even Drying Herbs & Edible Flowers Hints & Tips Hints & Tips small ones, for best results. place in the dehydrator. • Rinse thoroughly in cold water and Create uniform pieces for drying;... -
Page 11: Warranty & Service
Product defects not covered under the Warranty provisions include normal wear and damage incurred from use or accidental negligence, misuse of company is not liable for any incidental or consequential damages incurred by such circumstances. For Customer Service or Questions, Please call: 888-552-0033 www.gourmia.com... - Page 12 www.gourmia.com...
Need help?
Do you have a question about the GFD1680 and is the answer not in the manual?
Questions and answers