Table of Contents
Advertisement
Advertisement
Table of Contents

Related Manuals for Cisco MERAKI MR18


Summary of Contents for Cisco MERAKI MR18
- Page 1 Meraki MR 18 Hardware Installation Guide...
- Page 2 Trademarks Meraki, Meraki MR18, Meraki Cloud Controller, and Meraki Mesh are trademarks of Cisco Systems, Inc. Other brand and product names are registered trademarks or trademarks of their respective holders. Statement of Conditions In the interest of improving internal design, operational function, and/or reliability, Cisco Systems reserves the right to make changes to the products described in this document without notice.
-
Page 3: Table Of Contents
4.2.1.3 Electrical Junction Box Mount Using Mount Plate 4.2.2 Power the MR18 4.2.2.1 Powering the MR18 with Meraki AC Adapter 4.2.2.2 Powering the MR18 with Meraki 802.3af Power over Ethernet Injector 4.2.2.3 Powering the MR18 with an 802.3af Power over Ethernet Switch 4.2.3 Mount the MR18 4.2.3.1 Assemble Security Hasp to the MR18... -
Page 4: Scope Of Document And Related Publications
Scope of Document and Related Publications The MR18 Hardware Installation Guide describes the installation procedure for the MR18 access point. Additional reference documents are available online at www.meraki.com/library/product. -
Page 5: Mr18 Overview
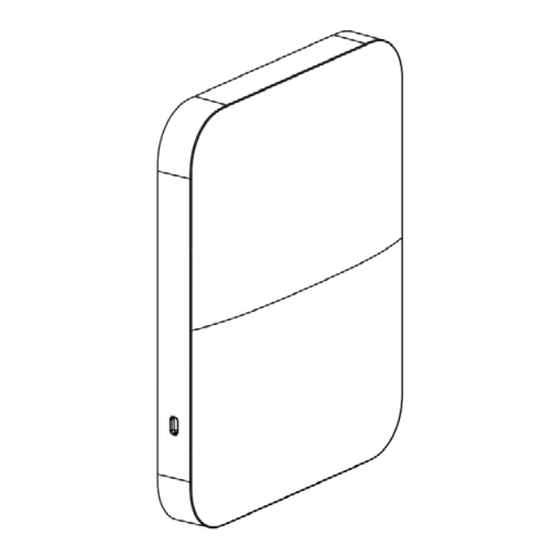
The Meraki MR18 is an enterprise-class, dual-concurrent 2x2 MIMO 802.11n access point designed for high- density deployments in offices, schools, hospitals and hotels. When connected to the Meraki Cloud Controller, the MR18 enables the creation of ultra-high speed, reliable indoor wireless networks quickly, easily and cost- effectively. - Page 6 Mount plate attachment slots (2x) Cable access bay Desk mount feet (4x) MR18 cable access bay Factory Reset Button Ethernet 0 port (10/100/1000) AC Adapter plug Your MR18 mount plate has the following features: Access point mounting posts (2x) Various mounting holes...
-
Page 7: Security Features
2.8 Factory Reset Button If the button is pressed and held for at least five seconds and then released, the MR18 will reboot and be restored to its original factory settings by deleting all configuration information stored on the unit. -
Page 8: Ul 2043 Plenum Rating
1. Attach your MR18 to power and a wired Internet connection. See p. 19 of this Hardware Installation Guide for details. 2. The MR18 will turn on and the Power LED will glow solid orange. If the unit does not require a firmware upgrade, the Power LED will turn white within thirty seconds. -
Page 9: Assigning Ip Addresses To Mr18S
AP) or over a wired connection. If using a wired connection, connect the client machine to the MR18 either through a PoE switch or a Meraki PoE Injector. If using a PoE switch, plug an Ethernet cable into the MR18’s Ethernet jack, and the other end into a PoE switch. -
Page 10: Collect Tools
3.5 Collect Tools You will need the following tools to perform an installation: Phillips Hammer Drill with 1/4” screwdriver (6.3mm) bits 3.6 Collect Additional Hardware for Installation 802.3af PoE power source (either PoE AC Adapter switch or Meraki 802.3af PoE Injector) Network cables with RJ45 connectors long enough for your particular mounting location... -
Page 11: Installation Instructions
2. Power over Ethernet supports a maximum cable length of 300 ft (100 m). 3. If being used in a mesh deployment, the MR18 should have line of sight to at least two other Meraki devices. For more detailed instructions regarding access point location selection, reference the Meraki Network Design Guide (meraki.com/library/product). -
Page 12: Wall Or Solid Ceiling Mount Using Mount Plate
4.2.1.1 Wall or Solid Ceiling Mount Using Mount Plate Using included screws, attach the mount plate to your mounting wall or ceiling. It is recommended that the MR18 be mounted to a wall or solid ceiling using the mount plate for physical security reasons. -
Page 13: Drop Ceiling Mount Using Mount Plate
4.2.1.2 Drop Ceiling Mount Using Mount Plate To mount your MR18 on a drop ceiling T-rail, use the included drop ceiling mounting accessory kit. The accessory kit can be used to mount to most 9/16”, 15/16” or 1 ½” T-rails. - Page 14 2. Using the dashed lines on the mount plate template as a guide, set the proper spacing of the T-rail clips on the T-rail 3. Tighten the set screws on the T-rail clips to secure the clips using a 5/64”(2 mm) hex key. Set screws (x4)
- Page 15 4. Attach the mount plate to the T-rail clips using the mount plate holes (marked with a “T“). To select the correct set of mounting hardware to use, first determine whether you are mounting to a “flush” or “recessed“ rail. (See below images for clarification) Flush T-rail Recessed T-rail T-rail...
-
Page 16: Electrical Junction Box Mount Using Mount Plate
4.2.1.3 Electrical Junction Box Mount Using Mount Plate The MR18 can be mounted to a 4” square cable junction box, a 3.5 or 4” round cable junction box, or various U.S. and European outlet boxes (mounting screws are not included). -
Page 17: Power The Mr18
If mounting to an electrical junction box, feed the Ethernet cable through the cable access hole in the Mount Plate: If mounting to a wall or ceiling, the Ethernet cable will feed through the cable slot on bottom of the MR18. -
Page 18: Powering The Mr18 With Meraki Ac Adapter
2. Plug an Ethernet cable that is connected to an active Ethernet connection into the “IN“ port on the injector. 3. Route Ethernet cable from the “OUT“ port on the injector to the Eth0 port in the cable bay of the MR18. -
Page 19: Powering The Mr18 With An 802.3Af Power Over Ethernet Switch
4.2.2.3 Powering the MR18 with an 802.3af Power over Ethernet Switch Route Ethernet cable from a port on an active 802.3af PoE switch to the Eth0 port in the bay of the MR18. The MR18 is Gigabit Ethernet-capable. To maximize device performance, a Gigabit-capable switch should be used. -
Page 20: Assemble Mr18 To The Mount Plate
4.2.3.2 Assemble MR18 to the Mount Plate (This section applies to wall and/or solid ceiling, drop ceiling or electrical junction box mount where you have already installed the mount plate.) Insert the top latch on the mount plate into the top mount plate attachment slots on the back of the device. Rotate the... -
Page 21: Desk Or Shelf Mount
4.2.3.3 Desk or Shelf Mount The MR18 can be placed on a desk or shelf resting on the non-scratch rubber feet. The mount plate is not necessary for a desk or shelf mounting. -
Page 22: Secure The Mr18
Depending on your mounting environment, you may want to secure the MR18 to its mount location. Your MR18 can be secured in several ways. If the MR18 has been installed using the mount plate, it can be secured via security screw (Torx and phillips head security screws are included;... -
Page 23: Verify Device Functionality And Test Network Coverage
Note: Your MR18 must have an active route to the Internet to check and upgrade its firmware. 2. Verify access point connectivity Use any 802.11 client device to connect to the MR18 and verify proper connectivity using the client’s web browser. 3. Check network coverage Confirm that you have good signal strength throughout your coverage area. - Page 24 Copyright © 2013 Cisco Systems, Inc. All rights reserved. Trademarks Cisco Systems® is a registered trademark of Cisco Systems, Inc.
- Page 25 www.ciscosystems.com Cisco Systems, Inc. 170 West Tasman Drive San Jose, CA 95134 USA...
Need help?
Do you have a question about the MR18 and is the answer not in the manual?
Questions and answers