Advertisement
Quick Links
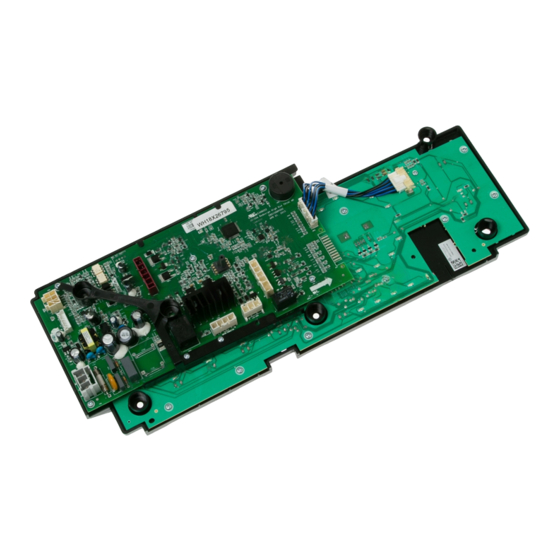
Part Install Instructions
WH18X26217, WH18X26234, WH18X26794, WH18X26795,
WH18X27754 And WH18X26796 Washer Control Boards
!
IMPORTANT SAFETY NOTICE
The information in this part instruction is intended for use by
individuals possessing adequate backgrounds of electrical,
electronic and mechanical experience. Any attempt to repair a
major appliance may result in personal injury and property damage.
The manufacturer or seller cannot be responsible for the
interpretation of this information, nor can it assume any liability in
connection with its use.
Parts Included:
•
Control Board
Overview – Procedure for programming new control boards
when all LED's are flashing.
1. Press Start button. LED's will stop flashing and the personality ID can be selected.
Models with seven segment display will show the personality ID number in the display.
Models without seven segment display will show the personality ID number on the
status LED's using binary coding. (See binary chart on reverse side)
2. Press and release the Start button to increment to the next personality ID number. The first
personality may be 0. All cycle status LED's will be off. When the end of the ID list is reached
the control will wrap around to the beginning of the personality ID number list.
3. When the correct personality ID number is in the display or if the correct status LED's are lit
for the personality ID number needed, press and hold the Start button for three seconds. This
will save the personality ID number and the control; will go to an idle state.
If an error is made in programming the control or if the LED's are not flashing, enter Field Service
Mode as shown on the back of these instructions and use service mode test 17 to correct.
Model Number
GTW220**K0 / K1 / K2
HTW240**K0 / K1
HTW200**K3 and higher
GTW220**K4 and higher
HTW240**K3 and higher
GTW490**J0 / J1
GTW330**K3 and higher
GTW680**J0 /J1 /J2
GTW460**J8 and higher
GTW680**J3 / J4
•
Instruction Sheet
Model Number
ID
GTW485**J4 and higher
00
GTW490**J2 and higher
GTW460**J0 / J2
GTW680**J5 and higher
01
GTW680**L0 and higher
HTW200**K0 / K1
MTW200**K0
02
GTW685**L0 and higher
GTW330**K0 / K1
03
GTW750**L0 and higher
!
WARNING
To avoid personal injury, disconnect power before servicing this
appliance. If electrical power is required for diagnosis or test
purposes, disconnect the power immediately after performing the
necessary checks. RECONNECT ALL GROUNDING DEVICES If
grounding wires, screws, straps, clips, nuts, or washers used to
complete a path to ground are removed for service, they must be
returned to their original position and properly fastened.
Model Number
ID
04
HTW200**K2
GTW220**K3
05
HTW240**K2
GTW485**J0 / J1
06
GTW330**K2
GTW460**J1 / J3 / J4 / J5 / J6
07
GTW460**J7
GTW755**M0 and higher
08
GTW485**J2 / J3
ID
09
10
11
12
13
14
WH00X26332
Advertisement

Related Manuals for Haier GE WH18X26217


Summary of Contents for Haier GE WH18X26217
- Page 1 Part Install Instructions WH18X26217, WH18X26234, WH18X26794, WH18X26795, WH18X27754 And WH18X26796 Washer Control Boards WARNING IMPORTANT SAFETY NOTICE To avoid personal injury, disconnect power before servicing this The information in this part instruction is intended for use by appliance. If electrical power is required for diagnosis or test individuals possessing adequate backgrounds of electrical, purposes, disconnect the power immediately after performing the electronic and mechanical experience.
- Page 2 FIELD SERVICE MODE ENTRY – Turning the knob to go to a different test will From an idle state only (all LEDs off), press terminate any current active state. and hold Start button while rotating the cycle • Once the test number is selected, pressing Start selection knob 180 degrees (7 clicks) and will begin the selected test.
Need help?
Do you have a question about the GE WH18X26217 and is the answer not in the manual?
Questions and answers