
Related Manuals for Axema VAKA A66 SOLO

Summary of Contents for Axema VAKA A66 SOLO
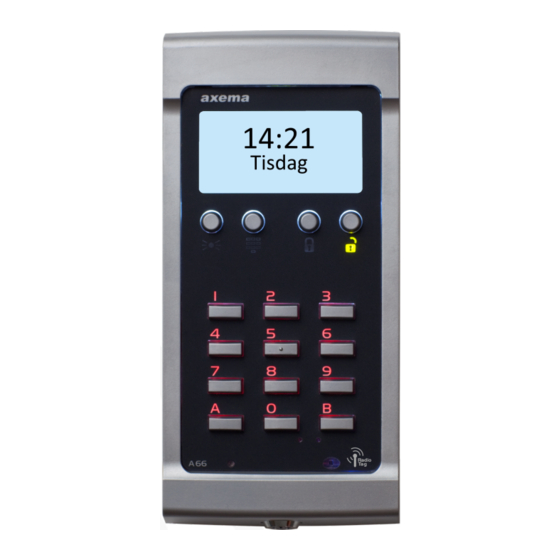
- Page 1 Manual Updated 11/20/2020 Reader VAKA A66 SOLO (offline) Axema Access Control AB | Box 90215 | 120 23 Stockholm, Sweden | +46 (0)8-722 34 40 | info@axema.se | www.axema.se...
-
Page 2: Table Of Contents
A66 SOLO (Off line) Introduction A66 SOLO Screw terminals Commissioning A66 Commissioning of a SOLO-system Maintenance/ administration of a SOLO-system Synchronisation of all readers. Programming To be programmed in the master reader To be programmed in each slave reader Initialization of a new slave reader Convert a slave reader to a master reader Replacement of a slave reader About MIFARE DESFire EV2 tags... -
Page 3: Introduction A66 Solo
Reader VAKA A66 and operation mode SOLO is available from version 3.00. With Axema SOLO, an off-line system consisting of 20 doors can be deployed, fully without phys- ical interconnecting cabling. One of the readers are set as Master and the other readers are set as Slaves. -
Page 4: Screw Terminals
Screw terminals Connector Function AUX relay (NO/NC) Supply voltage (12-35 VDC) Exit button 8, 10 Door monitoring sensor The 100 Ω resistor is only used in VAKA applications. Door monitoring deactivates the unlocking as soon as the door is opened, even if the unlocking time is longer. -
Page 5: Commissioning Of A Solo-System
Commissioning of a SOLO-system Commissioning of a SOLO-system requires a MIFARE DESFire EV2 card or tag. If data in the sys- tem should be spread by the cards/tags of the users, the Master reader should be the reader where most users passes. 1. -
Page 6: Maintenance/ Administration Of A Solo-System
10. Until a plus (+) sign is shown in the right corner in the display of the master reader i. Present the programming credential to the master reader. ii. Present the programming credential to all slave readers A plus sign (+) is shown in the upper right corner of the display when the master reader is synchronized with every slave reader. -
Page 7: Programming
Programming To be programmed in the master reader Time schedules Unlocking time (always 7 sec. in slave readers) Codes (distribution of codes can be inactivated, witch means that codes only works in the master reader). Daily unlocked function Exit button EM (on/off) Programming code Language... -
Page 8: Initialization Of A New Slave Reader
Initialization of a new slave reader A programming tag is referred to the DESFIRE EV2 tag that was added to the system after initially setting the master reader as master. 1. Connect and commission the reader. 2. If not already done, connect and commission the reader 3. -
Page 9: Replacement Of A Slave Reader
Replacement of a slave reader 1. Enter the programming mode of the slave reader to be replaced. The programming mode is entered by pressing the programming button (the rightmost round button) and entering of the programming code. (Default set to 112233). 2.
Need help?
Do you have a question about the VAKA A66 SOLO and is the answer not in the manual?
Questions and answers