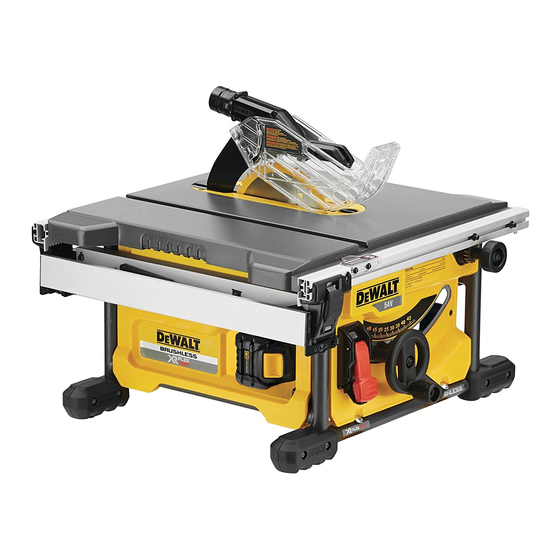
DeWalt DCS7485 Instruction Manual
Cordless table saw
Hide thumbs
Also See for DCS7485:
- Original instructions manual (223 pages) ,
- Original instructions manual (25 pages) ,
- Original instructions manual (25 pages)
Table of Contents
Advertisement
Quick Links
Instruction Manual
Guide D'utilisation
Manual de instrucciones
DCS7485
Cordless Table Saw
Scie de table sans fil
Sierra de banco inalámbrica
If you have questions or comments, contact us.
Pour toute question ou tout commentaire, nous contacter.
Si tiene dudas o comentarios, contáctenos.
1-800-4-D
WALT
e
final page size: 8.5 x 11 in.
Advertisement
Table of Contents

Summary of Contents for DeWalt DCS7485
- Page 1 Instruction Manual Guide D’utilisation Manual de instrucciones DCS7485 Cordless Table Saw Scie de table sans fil Sierra de banco inalámbrica If you have questions or comments, contact us. Pour toute question ou tout commentaire, nous contacter. Si tiene dudas o comentarios, contáctenos.
- Page 2 English (original instructions) Français (traduction de la notice d’instructions originale) Español (traducido de las instrucciones originales)
- Page 3 English (original instructions) Definitions: Safety Alert Symbols and Words This instruction manual uses the following safety alert symbols and words to alert you to hazardous situations and your risk of personal injury or property damage. WARNING! Read all safety warnings and DANGER: Indicates an imminently hazardous situation which, if not avoided, will result in death or serious injury.
-
Page 4: Save All Warnings And Instructions For Future Reference
SAVE ALL WARNINGS AND INSTRUCTIONS FOR OR MEDICATION. A moment of inattention while operating power tools may result in serious injury. FUTURE REFERENCE DO NOT ALLOW FAMILIARITY (gained from frequent use of this saw) TO REPLACE • IF YOU HAVE ANY QUESTIONS OR COMMENTS ABOUT THIS OR ANY D WALT TOOL, CALL US TOLL SAFETY RULES. -
Page 5: Batteries And Chargers
Terms: The following terms will be used throughout the manual e ) Plastic and composite (like laminate flooring) materials may be cut on this saw. These materials may have hard or slippery surfaces which limit the effectiveness of the anti- and you should become familiar with them. - Page 6 If battery liquid gets into the eye, rinse water over the open eye for 15 minutes (1-800-433-9258) or visit our website www.dewalt.com. or until irritation ceases. If medical attention is needed, the battery electrolyte is composed of a The RBRC®...
- Page 7 Do not operate the charger with a damaged cord or plug. Hot/Cold Pack Delay • Do not operate the charger if it has received a sharp blow, been dropped or otherwise When the charger detects a battery pack that is too hot or too cold, it automatically starts a •...
-
Page 8: Specifications
Specifications Fig. E Table Size 19 X 19" (485 x 485 mm) Miter Angle 30° left and right Bevel Angle -2° to 47° left Blade Size 8–1/4" (210 mm) Max. Cut Depth, 0° Bevel 2–9/16" (65 mm) Max. Cut Depth, 45° Bevel 1–3/4" (45 mm) RPM, no load 5800 Unpacking (Fig. -
Page 9: Assembly And Adjustments
Fig. G Fig. I Anti-Kickback Assembly (Fig. J) WARNING: To reduce the risk of serious personal injury, the anti-kickback assembly must be in place for all possible cuts. 1. Remove the anti-kickback assembly 14 from the storage position by depressing the stem. Refer to Storage. -
Page 10: Rip Scale Adjustment
Fence Alignment Adjustment (Fig. H, N) 3. Tighten the hex rod 40 until the spring on the locking system is more compressed, (not fully compressed) creating the desired tension on the rail lock lever. Retighten the jam nut against (Blade Parallel to Fence) the hex rod. -
Page 11: Operation
Blade body thickness and kerf width dimensions for all D WALT table saw blades are available at www.dewalt.com If a different blade is used and the body thickness and kerf width dimensions are not provided, use the following procedure to determine the correct riving knife thickness: 1. -
Page 12: Ripping Small Pieces
Guard Operating Feature (Fig. S) WARNING: Keep hands clear of the blade. WARNING: To reduce the risk of serious personal injury, turn unit off and remove the WARNING: Use a push stick to feed the workpiece if there is 2–6" (51–152 mm) between the battery pack before making any adjustments or removing/installing attachments fence and the blade. -
Page 13: Compound Mitering
operation must never be confined — it must be allowed to move away from saw blade to Fig. X prevent contact with blade resulting in a thrown workpiece and possibly injury. WARNING: Use caution when starting the cut to prevent binding of the blade guard assembly against the workpiece resulting in damage to saw and possible injury. -
Page 14: Maintenance
WALT Industrial Tool Co., 701 East Joppa Road, Towson, MD 21286, call 1–800–4-D WALT to the narrow rip auxiliary fence 69 (1–800–433–9258) or visit our website: www.dewalt.com. 3. Once the push block is in place, continue feeding the material until the cut is complete • Compatible Stands (DWE74911) making sure the push block remains flush to the narrow rip auxiliary fence at all times.


