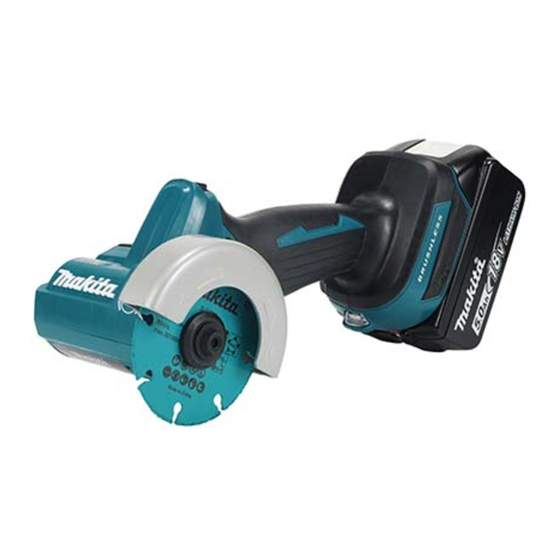
Makita DMC300 Instruction Manual
Cordless compact cut off
Hide thumbs
Also See for DMC300:
- Instruction manual (109 pages) ,
- Instruction manual (53 pages) ,
- Instruction manual (107 pages)
Table of Contents
Advertisement
Quick Links
Advertisement
Table of Contents

Related Manuals for Makita DMC300


Summary of Contents for Makita DMC300
- Page 1 INSTRUCTION MANUAL Cordless Compact Cut Off DMC300 Read before use.
-
Page 2: Specifications
SPECIFICATIONS Model: DMC300 Wheel outer diameter 76 mm Wheel inner (arbor) diameter 10.0 mm / 9.5 mm (3/8″) (country specific) Max. wheel thickness 1.0 mm Max. cutting capacities With dust collect cover 13.5 mm Without dust collect cover 16.0 mm... -
Page 3: Ec Declaration Of Conformity
Work area safety WARNING: Wear ear protection. Keep work area clean and well lit. Cluttered or WARNING: dark areas invite accidents. The noise emission during actual use of the power tool can differ from the declared Do not operate power tools in explosive atmo- value(s) depending on the ways in which the spheres, such as in the presence of flammable tool is used especially what kind of workpiece is... - Page 4 Do not overreach. Keep proper footing and Keep cutting tools sharp and clean. Properly balance at all times. This enables better control maintained cutting tools with sharp cutting edges of the power tool in unexpected situations. are less likely to bind and are easier to control. Dress properly.
- Page 5 Keep bystanders a safe distance away from Compact cut off safety warnings work area. Anyone entering the work area must wear personal protective equipment. The guard provided with the tool must be Fragments of workpiece or of a broken wheel may securely attached to the power tool and fly away and cause injury beyond immediate area positioned for maximum safety, so the least...
- Page 6 12. Use the batteries only with the products serious personal injury. specified by Makita. Installing the batteries to non-compliant products may result in a fire, exces- sive heat, explosion, or leak of electrolyte.
-
Page 7: Functional Description
Use of non-genuine Makita batteries, or batteries that have been altered, may result in the battery bursting causing fires, personal injury and damage. It will also void the Makita warranty for the Makita tool and charger. Tips for maintaining maximum... -
Page 8: Overheat Protection
25% to 50% ing the lock-off button. A switch in need of repair may result in unintentional operation and serious 0% to 25% personal injury. Return tool to a Makita service center for proper repairs BEFORE further usage. Charge the WARNING: NEVER defeat the lock-off button battery. -
Page 9: Wheel Selection
To prevent the switch trigger from being accidentally Wheel rotation can be changed in either forward or pulled, a lock-off button is provided. To start the tool, reverse direction. press and hold the lock-off button, and then pull the To set the forward rotation, slide the reversing switch to switch trigger. -
Page 10: Shaft Lock
Reverse rotation Positioning backwards Fig.8 ► 1. Wheel guard 2. Cutting wheel Shaft lock Press the shaft lock to prevent spindle rotation when installing and removing a cutting wheel. Fig.6 ► 1. Cut-off particles 2. Reactions Wheel guard CAUTION: Make sure that the wheel guard is correctly and firmly positioned behind the cutting wheel before operation. -
Page 11: Operation Lamp
Operation lamp Adjusting depth of cut CAUTION: CAUTION: Do not look in the light or see the After adjusting the depth of cut, source of light directly. always tighten the thumb screw securely. To turn on the operation lamp, press and hold the lock- With the dust collection cover installed, fine adjustments off button and pull the switch trigger. -
Page 12: Electronic Function
Optional accessory the tool. When you wish to perform clean cutting operation, connect a Makita vacuum cleaner to the dust nozzle in the dust collection cover using a front cuffs 22 (optional ASSEMBLY accessory). - Page 13 Removing and installing cutting wheel Installing and removing dust collection cover CAUTION: Use only the Makita hex wrench supplied to remove and install a cutting wheel. CAUTION: Make sure that the wheel guard CAUTION: is securely locked by the stopper inside the dust When installing a cutting wheel, be collection cover before operation.
- Page 14 Raise the tool handle slightly and place the front Raise the tool handle again to hook the rear edge half of the wheel guard at an angle into the dust col- of the wheel guard over the stopper inside the dust lection cover, throwing the bottom of the cutting wheel collection cover.
-
Page 15: Operation
Slide the release lever towards the thumb screw to Pull the front half of the wheel guard, at a slight unlock the wheel guard from the stopper inside the dust upward and outward angle, apart from the dust collec- collection cover. tion cover. -
Page 16: Straight Cutting
Position the wheel guard correctly to provide maximum Straight cutting protection from sparks and loose particles thrown from the cutting wheel. Place the tool over workpiece without CAUTION: the cutting wheel making any contact. Turn the tool on Be sure that a cutting wheel and wait until the cutting wheel attains full speed. -
Page 17: Maintenance
To maintain product SAFETY and RELIABILITY, repairs, any other maintenance or adjustment should be performed by Makita Authorized or Factory Service Centers, always using Makita replacement parts. Dressing diamond wheel If the cutting action of the diamond wheel begins to Fig.31... - Page 20 Makita Europe N.V. Jan-Baptist Vinkstraat 2, 3070 Kortenberg, Belgium Makita Corporation 3-11-8, Sumiyoshi-cho, Anjo, Aichi 446-8502 Japan 885963-225 www.makita.com 20211221...