
Related Manuals for John Lewis Anna


Summary of Contents for John Lewis Anna
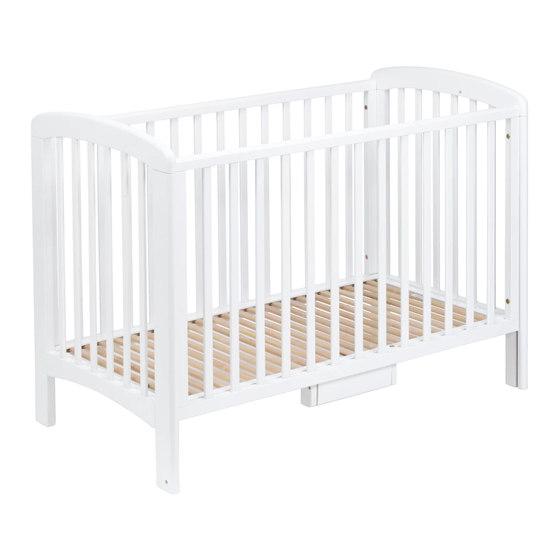
- Page 1 Anna cot Instruction manual IMAGE (LINE DRAWING) Important - Retain for future reference - please read carefully...
- Page 2 Thank you for purchasing this Anna cot. Please read the instructions and warnings Parts carefully before use to ensure safe and satisfactory operation of this product. Your child’s safety is your responsibility. If you have a query with this product or require replacement parts, please contact your nearest John Lewis department store.
- Page 3 Step 1 Part A Fixing 5 The cot has a choice of three mattress base positions. Screw four assembly dowels (fixing 5) into lower, middle or upper mattress base position on the inside of the cot ends (part A). Note the dropside is only functional when the mattress base is in its lowest position.
- Page 4 Step 3 Part A Part B Fixing 4 Part D Fixing 8 Part A Part E Fix the foot pedal (part E) to the mattress base (part D) using two 70mm bolts (fixing 4) and two barrel nuts (fixing 8) as shown. If necessary, use a flat-headed screwdriver to ensure that the slots in the barrel nuts (fixing 8) point towards the holes in the mattress base (part D).
- Page 5 Step 5 Part A Part C Fixing 6 Fixing 7 Part D Fixing 1 Part A Fix one 35mm bolt (fixing 1), rubber stopper (fixing 7) and sleeve nut (fixing 6) at the bottom of the channel in each of the cot ends (part A) as shown. Tighten all fixings fully. To lower the dropside, carefully lift and hold the dropside (part C) and apply pressure to the foot pedal (part E) to disengage.
- Page 6 Be aware of the risks of open fires and other such sources of strong heat, such as electric bar fires, gas fires, etc in the vicinity of the cot. Ensure the cot is positioned away from any cords on blinds or curtains to avoid risk of entanglement. John Lewis Partnership 171 Victoria Street London SW1E 5NN...
Need help?
Do you have a question about the Anna and is the answer not in the manual?
Questions and answers