Advertisement
Quick Links
CP4S
4 Channel HD Recorder
Installation Guide
Model #: CP4S-NA, CP4S-EU
v1.0.1
WARNING: SmartWitness installations should be performed by a qualified individual or installation professional
only. Working with a vehicle's power system can be dangerous to both you and your vehicle. This installation is
intended only to be a guide since vehicle designs and power/input sources can vary significantly
from vehicle to vehicle.
If you need to schedule a professional installation service in the USA for your
SmartWitness device(s), please visit
https://smartwitness.com/scheduleinstall
and submit the online form.
All cellular-enabled CP4S devices must use the installation wizard for proper onboarding and activation,
please visit
https://install.smartwitness.com
to register, login, and use the SmartInstall wizard.
Advertisement

Related Manuals for Smart Witness CP4S


Summary of Contents for Smart Witness CP4S
- Page 1 If you need to schedule a professional installation service in the USA for your SmartWitness device(s), please visit https://smartwitness.com/scheduleinstall and submit the online form. All cellular-enabled CP4S devices must use the installation wizard for proper onboarding and activation, please visit https://install.smartwitness.com to register, login, and use the SmartInstall wizard.
-
Page 2: Recording Features
CP4S features 4 camera inputs for connecting 1, 2, 3, or 4 cameras. A 6-Axis G- Sensor, Microphone, SD card (up to 256GB capacity), panic button, cellular modem, & GPS receiver are included. CP4S is powered up on vehicle ignition and automatically begins recording. - Page 3 Ø Package Contents Product Name Image CP4S Vehicle Recorder SD and SIM cards pre-inserted (if applicable) Power Cable BAT(+), IGN+, BAT(-) Remote Controller (Panic Button) with 3M adhesive Video Output Cable and I/O triggers Camera Input Cable (4x input) GPS Antenna Module Audio Microphone pg.
- Page 4 Torx Screw (x2) and Torx screwdriver Mounting Bracket and 4x self-tapping screws 2x 3G/LTE Stubby Antennas 2. CP4S Hardware Overview Watch 360° Hardware Overview Video here: https://youtu.be/cLmUPGLnqSM Ø Dimensions 3.55” Built-in microphone 4.75” pg. 4...
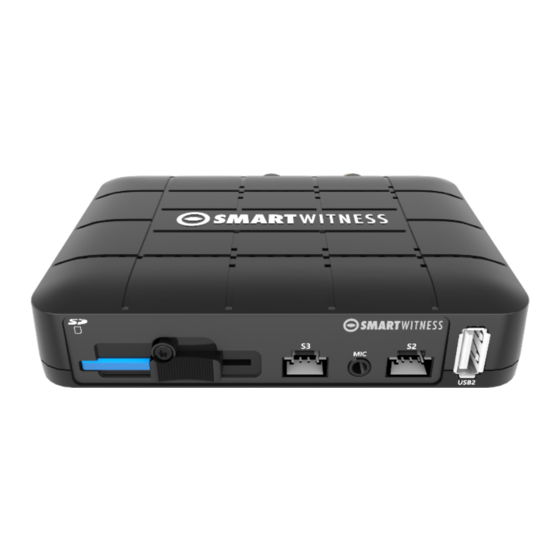
- Page 5 Ø Front View Ø Rear View pg. 5...
-
Page 6: Installation
3. Installation: Park the vehicle on a flat service. Turn of the engine before installing the CP4S. Ø The SD card and SIM is usually pre-inserted, but if it’s not, you should be notified by the service provider and have been provided SIMs/SDs separately. - Page 7 Ø Install all the interior and exterior cameras with 3M dual sided adhesive or hard mounting screws (confirm with customer as to the desired installation method). o All the four cameras will be connected to the CP4S recorder via the Camera Input Cable.
- Page 8 Ø Run camera cable(s) and secure in headliner and or other area so no cables are exposed. Use provided wire clips if necessary. Ø Connect all cables to CP4S Recorder. Secure the windshield mounted camera cables into the headliner and down the A-Pillar.
- Page 9 Ø Camera Types o CP4S has various camera models offered which should be installed in the appropriate location. Here is a reference guide for the common models. Model # Picture Installation Location Notes SVA055-AM Road + Driver Facing Dual Road facing camera is Camera 1080p.
- Page 10 Ø Camera Channel inputs o CP4S has some rules on which cameras can be connected to each input (1~4). Connecting one 1080p camera and 3x 720p cameras Resolution CH1 1080p 15 CH2 720p 10 CH3 720p 10 CH4 720p 10...
- Page 11 Ø Video Output Cable & I/O Harness (optional) Video output for connecting LCD monitor (BNC female) 5. Mounting Bracket Installation a. Place the CP4S inside the mounting bracket and secure to vehicle using the 4 provided self-tapping screws. pg. 11...
- Page 12 6. Locking Enclosure (Optional) a. Front View (open) Screw holes for mounting Security Lock b. Rear View (Closed) Holes for LTE Antenna Connectors Foam padding for securing cables and tension relief pg. 12...
- Page 13 7. Connecting LCD monitor with Video Output cable (optional) The following displays can only be seen when a monitor is connected. 1. Connect BNC/RCA cable (included with SmartWitness LCD monitor ) to CP4S Video output (BNC female) and LCD V1 input (RCA female) 2.
- Page 14 After installation of the CP4S and accessories into the vehicle you can turn on the ignition and CP4S recorder will power on. There will be a sequence of red, blue & green LED lights on the Remote/Panic Button during the boot-up process.
-
Page 15: Troubleshooting
9. Troubleshooting • The CP4S has a solid red light on as well as solid green and blue. o Solid red LED indicates that one of the connected cameras is not receiving view signal. Please check the camera’s connection. • The CP4S red LED is blinking o There is an SD card error/corruption. - Page 16 pg. 16...
Need help?
Do you have a question about the CP4S and is the answer not in the manual?
Questions and answers