Advertisement
Table of Contents
Examine all packaging material for small parts that may have come loose during shipment. Periodic checks are recommended to insure that all components
are in proper posi�on, �ght and free from damage. Keep this assembly instruc�on for future reference. Adult assembly is required.
CODE
QTY
1
8
M8 x 20mm Allen Bolts
2
2
M8 x 50mm Allen Bolts
3
10
M8 Spring Washers
4
10
M8 Flat Washers
5
8
M4 x 30 Wood Screws
6
1
Allen Wrench
WARNING
• Do not let any sharp objects touch or rub the surface of
the product.
• When assembling, do not let children play around the
working area.
• Please confirm all parts are correct before star�ng the
assembly process.
• Do not �ghten all bolts and screws completely un�l the
en�re unit has been assembled and set up.
• Be careful if using power tools as they can over �ghten
screws and strip threads.
CARE & MAINTENANCE: The touch of a so� cloth is all the maintenance the finish will ever need. Please do not use harsh or abrasive cleaners for polishing, as they may
cause damage to the finish. Periodic checks are recommended to make sure that all hardware is securely �ghtened.
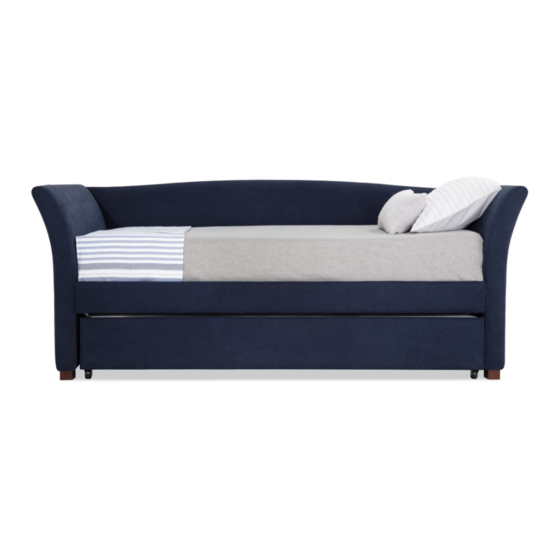
Maxwell Upholstered Daybed
HARDWARE
A
CODE
QTY
COMPONENTS
A
1
Left Side Rails
C
1
Right Side Rails
E
1
Front Rail
B
D
F
Date: 10-23-2018
Page 1 of 4
CODE
QTY
COMPONENTS
B
1
Back Panel
D
1
Rear Rail
14
Plywood Slats
F
C
E
Advertisement
Table of Contents

Related Manuals for Bob's Discount Furniture Maxwell Upholstered Trundle


Summary of Contents for Bob's Discount Furniture Maxwell Upholstered Trundle
- Page 1 Maxwell Upholstered Daybed Date: 10-23-2018 Page 1 of 4 Examine all packaging material for small parts that may have come loose during shipment. Periodic checks are recommended to insure that all components are in proper posi�on, �ght and free from damage. Keep this assembly instruc�on for future reference. Adult assembly is required. CODE HARDWARE CODE...
- Page 2 Maxwell Upholstered Daybed Date: 10-23-2018 Page 2 of 4 STEP 1 - Figure 1 Begin assembly by a�aching Rear Rail (D) and Front Rail (E) to the inside of each Side Panel (A,C) by aligning the holes and securing with 2 Allen Bolts (1), 2 Spring Washers (3) and 2 Flat Washers (4) per end.
- Page 3 Maxwell Upholstered Daybed Date: 10-23-2018 Page 3 of 4 FIGURE STEP 2 - Figure 2 & A�ach Back Panel (B) to the inside of each Side Panel (A,C) by aligning the holes and securing with 1 Allen Bolt (2), 1 Spring Washer (3), and 1 Flat Washer (4) from the backside per end.
- Page 4 Maxwell Upholstered Daybed Date: 10-23-2018 Page 4 of 4 STEP 3 - Figure 3 Insert both ends of each Plywood Slat (F) onto the Front and Rear Rails (D & E) and secure with 8 Wood Screws (5). The assembly is now complete. FIGURE 3 CARE &...
Need help?
Do you have a question about the Maxwell Upholstered Trundle and is the answer not in the manual?
Questions and answers