
Subscribe to Our Youtube Channel
Related Manuals for Avallon AIMG151GPRI


Summary of Contents for Avallon AIMG151GPRI
- Page 1 Owner’s Manual Gourmet Ice Maker Models: AIMG151GPRI, AIMG151PPRI, AIMG151GSSI, AIMG151PSSI, AIMG151PSSO www.avallon.com V1.0 07082021...
- Page 2 THIS PAGE INTENTIONALLY LEFT BLANK...
-
Page 3: Important Safety Information
Important Safety Information Improper handling can cause serious damage to the Avallon ice maker and / or injury to the user. With the exception of models AIMG151PSSORH and AIMG151PSSOLH, this ice maker series is designed for domestic indoor use only. Models AIMG151PSSORH and AIMG151PSSOLH are designed for indoor or outdoor use. Do not use the unit for industrial or commercial use. - Page 4 Important Safety Information General Safety • To prevent injuries, use at least two people to move and install the ice maker. • This appliance is not intended for use by persons, including children, with reduced physical, sensory or mental capabilities, unless they have been given supervision or instruction concerning the use of the appliance by the person(s) responsible for their safety.
-
Page 5: Table Of Contents
Table of Contents Important Safety Information ..........................3 First-Time Operating Instructions ........................... 6 Introduction ................................6 Parts Identification ..............................7 Installation ................................9 Unpacking the Ice Maker ..........................9 Types of Installation ............................9 Clearance Requirements ..........................10 Electrical Requirements ..........................11 Recommended Grounding Method ...................... -
Page 6: First-Time Operating Instructions
The instruction manual should be read before use. Introduction Thank you for purchasing this Avallon ice maker. We hope that this purchase will be the beginning of a lasting and rewarding relationship between you and Avallon. We will provide the customer support and exemplary products necessary to nurture that relationship. -
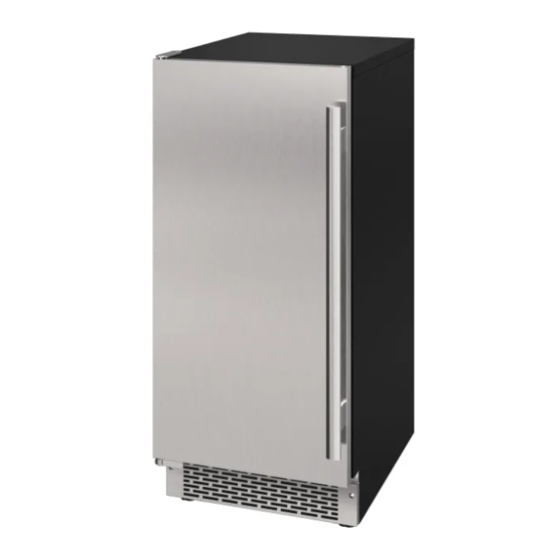
Page 7: Parts Identification
Parts Identification Closed View: Door Handle Door Open View: Ice Scoop Holder Ice Curtain Water Reservoir Reservoir Drain Ice Full Sensor Ice Bin Ice/Off/Wash Switch Front Panel Kick Plate... - Page 8 Back View: Back Panel Water Inlet Drain Hose Power Cord Note: Drawings are for illustration purposes. Your unit may differ slightly.
-
Page 9: Installation
Installation The ice maker should be installed by a licensed plumber in accordance with local electrical and plumbing code requirements. The ice maker should also be placed in a location that is strong enough to support its total weight. Before you plug the ice maker into a power supply, be sure to let it stand upright for at least 24 hours to allow the compressor’s oils to settle. -
Page 10: Clearance Requirements
Clearance Requirements Notes: • To ensure proper service access and ventilation, at least 2 inches of clearance at the back as shown in the diagram. • The installation should allow the unit to be pulled forward for servicing, if necessary. •... -
Page 11: Electrical Requirements
Electrical Requirements ELECTRIC SHOCK HAZARD! • Plug into a grounded 3-prong outlet. • Never remove the grounding prong from the plug. • Never use an adapter to bypass the grounding prong. • DO NOT use an extension cord. • Failure to follow these instructions can result in fire, electrical shock, or death. Before you move your ice maker into its final location, it is important to make sure you have the proper electrical connection: •... -
Page 12: Leveling The Ice Maker
Leveling the Ice Maker The ice maker should be installed on a firm and level surface that will be able to support the entire weight of a fully loaded unit. It is important for the ice maker to be leveled in order to work properly. It can be raised or lowered by rotating the feet on the bottom of the machine. -
Page 13: Connecting The Water Supply And Drain Lines
There are two options for drain operation: One that drains by gravity and one that utilizes an internal drain pump. Follow the instructions below for your model’s configuration. Gravity Draining (AIMG151GPRI, AIMG151GSSI) 1. Locate the floor drain near the ice maker. Your drain line must be long enough to reach the floor drain and must slope downward 1/4”... -
Page 14: Operation
3. Connect a drain hose to the installed adapter, then securely connect the other end of the drain line into the desired drain location. 4. Connect power and turn on the ice maker. 5. Pour 2-4 quarts of water into the ice bin to check for proper drainage. Operation Installation Checklist before Operation 1. -
Page 15: Normal Sounds
Normal Sounds Your new ice maker may make noise during normal operation. Most of these sounds are normal. Hard surfaces like the floor and walls can make the sounds seem louder than they actually are. The following describes several sounds you may hear and what may be making them: •... -
Page 16: Cleaning And Maintenance
Cleaning and Maintenance Periodic cleaning and proper maintenance will ensure efficiency, top performance, and long life. The exterior of the unit should be cleaned, as necessary. The interior of the unit and the condenser should be cleaned monthly. Exterior Cleaning The door and cabinet may be cleaned with a mild detergent and lukewarm water solution such as 2 tablespoons of baking soda to 1 quart of water. - Page 17 Routine Cleaning of Interior Parts 1. Turn the ice maker’s switch to “OFF” and allow the unit to finish the current ice making cycle and harvest the ice from the evaporator. DO NOT forcefully remove the ice from the evaporator as this may damage the unit.
- Page 18 6. Clean each water nozzle on the spray bar with a brush or sponge and the solution. Remove all buildup in each nozzle opening to assure proper water flow. The spray bar may be removed to facilitate cleaning. If necessary, vinegar may be used to help remove mineral build-up from the water nozzles. 7.
- Page 19 9. Remove the filter screens from the water reservoir and the ice bin. The ice bin filter screen consists of two parts: A bottom and top. Move the drain hose slightly to access the ice bin filter screen. Clean the filter screens in the solution and rinse under running water.
- Page 20 Condenser Cleaning The condenser should be cleaned monthly to remove dust and hair in order to maintain proper air flow. Clean the condenser with a household or portable vacuum cleaner with a brush attachment. 1. Open the door and remove the two screws on the bottom of the front panel with a Phillips screwdriver. Remove the front panel to expose the condenser.
- Page 21 Deep Cleaning and Sanitizing the Ice Maker It is necessary to remove mineral build-up and sanitize the ice maker at least every 6 months to maintain proper operation of the unit and keep it free from slime and bacteria so the ice is safe for consumption. Minerals that are removed from the water during ice making will eventually form hard, scaly deposits in the system, which will affect the unit’s performance.
- Page 22 Deep Cleaning Steps 1. Turn the ice maker’s switch to “OFF” and allow the unit to finish the current ice making cycle and harvest the ice from the evaporator. DO NOT forcefully remove the ice from the evaporator as this may damage the unit.
-
Page 23: Troubleshooting
Troubleshooting Before Calling for Help: If the unit appears to be malfunctioning, read through the “Operation” section of this manual first. If the problem persists, check the Troubleshooting Guide below and on the following page. The problem may be something that can easily be solved or explained. - Page 24 Symptoms Possible Causes Solutions The ice maker is making strange Certain sounds are normal. Read the “Normal Sounds” section. noises. The unit is not level or is Check to make sure that the ice maker touching another appliance. is level, and that it is not in contact with another appliance or furniture.
-
Page 25: Specifications
Specifications Note: Technical data and performance information are provided for reference only. Specifications are subject to change. Check the rating label on the ice maker for the most accurate information. Product Type Automatic Gourmet Ice Maker AIMG151GPRILH, AIMG151GPRIRH, AIMG151GSSILH, AIMG151GSSIRH, AIMG151PPRILH, AIMG151PPRIRH, Models AIMG151PSSILH, AIMG151PSSIRH, AIMG151PSSOLH, AIMG151PSSORH... -
Page 26: Product Warranty
WHAT IS COVERED: One Year Parts and Labor: For one year from the date of original retail purchase, Avallon will repair or replace any part free of charge including labor that fails due to a defect in materials or workmanship. Avallon will be responsible for all transportation costs for the first 90 days from original purchase date, after 90 days the consumer will be responsible. - Page 27 THIS PAGE INTENTIONALLY LEFT BLANK...
- Page 28 ©2021 Avallon...
Need help?
Do you have a question about the AIMG151GPRI and is the answer not in the manual?
Questions and answers
I have a Avalon I’ve making machine it run water into machine but won’t freeze
I have a Avalon ice making machine model aimg151gssilh water runs into machine but it won’t freeze
Won’t freeze water in machine only run