Advertisement
Quick Links
Item # 1000 389 161
Model # 61821-CPY
USE AND CARE GUIDE
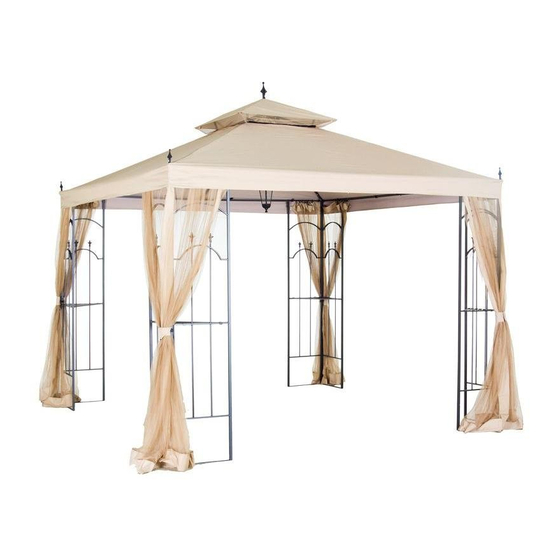
REPLACEMENT CANOPY 10 FT X 10FT ARROW GAZEBO
Questions, problems, missing parts? Before returning to the store,
call Hampton Bay Customer Service.
8 a.m. - 7 p.m., EST, Monday - Friday, 9 a.m. - 6 p.m., EST, Saturday
1-855-HD-HAMPTON
HAMPTONBAY.COM
THANK YOU
Hampton Bay through the purchase of this gazebo canopy. We strive to continually create
quality products designed to enhance your home. Visit us online to see our full line of products available for your home improvement needs.
Thank you for choosing Hampton Bay!
Advertisement

Summary of Contents for HAMPTON BAY 61821-CPY
- Page 1 HAMPTONBAY.COM THANK YOU Hampton Bay through the purchase of this gazebo canopy. We strive to continually create quality products designed to enhance your home. Visit us online to see our full line of products available for your home improvement needs.
- Page 2 Table of Contents Table of Contents ............2 Package Contents ..............3 Safety Information ..............2 Assembly ............... 4 Safety Warnings ................2 Care and Cleaning ............9 Warranty ................ 2 What is Covered ..............2 What is Not Covered ..............2 Pre-Assembly ..............
- Page 3 Pre-Assembly PACKAGE CONTENTS Part Description Quantity Small fabric cover c i r HAMPTONBAY.COM Please contact 1-855-HD-HAMPTON for further assistance.
- Page 4 Assembly Replacing the large fabric cover Place the large fabric cover (L) loosely on top of the frame.
- Page 5 Assembly (continued) Reassembling the small canopy Insert the three short canopy spokes (G) into the upper canopy hub (J). See figure 1. Install the small fabric cover (K) on the three short canopy spokes (G) and pull the three corresponding pouches of the small fabric cover (K) onto the ends of the three short canopy spokes (G).
- Page 6 Assembly (continued) Reattaching the small canopy Attach the four short canopy spokes (G) to each of the regular canopy spokes (D) by inserting the connecting pieces of (G) into (D). Ensure all push pins are secure.
- Page 7 Assembly (continued) Reattaching the canopy to the top of the panel structure Place the assembled canopy structure on top of the assembled panel structure. Insert the four canopy spokes (D) into the four corner connectors (I). Ensure all push pins are in place. Secure the metal pieces on the ends of each canopy frames (E) onto the four beams (C) using M6x15 combination bolts (AA).
- Page 8 Assembly (continued) Reattaching the track tubes Connect the end of a track tube (F) to the corner connector (I). Insert the other end of the track tube (F) into the bracket on the end of the canopy frame (E), and secure them together using M6x10 combination bolts and nuts (BB).
- Page 9 Assembly (continued) Reattaching the large fabric cover Pull the large fabric cover (L) onto the corner connectors (I). Attach all the velcro of the large fabric cover (L) on the frames and the top bars of the panels (A and B). Screw the four corner arrows (Q) onto the four corner connectors (I).
- Page 10 Questions, problems, missing parts? Before returning to the store, call Hampton Bay Customer Service 8 a.m. - 7 p.m., EST, Monday - Friday, 9 a.m. - 6 p.m., EST, Saturday 1-855-HD-HAMPTON HAMPTONBAY.COM Retain this manual for future use.


Need help?
Do you have a question about the 61821-CPY and is the answer not in the manual?
Questions and answers