Table of Contents
Advertisement
Quick Links
Advertisement
Table of Contents

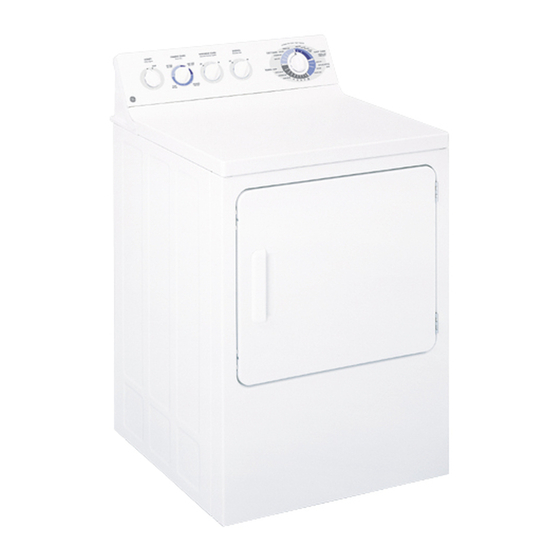
Summary of Contents for GE DTSR495EF
- Page 1 Safety Instructions Operating Instructions Troubleshooting Tips Consumer Support Write the model and serial numbers here: Model # __________________ Serial # __________________ 500A374P025 175D1807P532 49-90264 11-05 JR Owner’s Manual DBB5000 DHDSR48 DTSR495 DWSR405 DWXR485 EED6500 EGD6500...
-
Page 2: What To Do If You Smell Gas
PROPER INSTALLATION This dryer must be properly installed and located in accordance with the Installation Instructions before it is used. If you did not receive an Installation Instructions sheet, you can receive one by visiting ge.com or by calling 800.GE.CARES (800.432.2737). - Page 3 WARNING! WHEN USING YOUR DRYER s Never reach into the dryer while the drum is moving. Before loading, unloading or adding clothes, wait until the drum has completely stopped.
- Page 4 See the Loading and Using the Dryer section. s If yours is a gas dryer, it is equipped with an automatic electric ignition and does not have a pilot light. DO NOT ATTEMPT TO LIGHT WITH A MATCH.
-
Page 5: About The Dryer Control Panel
About the dryer control panel. You can locate your model number on the label on the front of the dryer behind the door. Throughout this manual, features and appearance may vary from your model. Models DWSR405, DBB5000 and DTSR495 Model DWXR485... - Page 6 Provides 10 minutes of no-heat tumbling. Start — Close the dryer door. Select START. Opening the door during operation will stop the dryer. To restart the dryer, close the door and select START to complete the cycle. NOTE: Drying times will vary according to the type of heat used (Electric, Natural or LP gas), size of load, types of fabrics, wetness of clothes and condition of exhaust ducts.
- Page 7 Hook the rack over the lint filter so the rack extends into the dryer drum. If WRINKLE CARE is not ON, the dryer will stop once the timer reaches the WRINKLE CARE mark on the cycle dial. NOTE: s Remove garments promptly at the sound of the signal.
-
Page 8: About Reversing The Door
(where you removed the filler plugs). Apply firm pressure to get the screw started in new holes. Loosen top screw from each hinge on the dryer face half way. With one hand holding the top of the door and the other hand holding the bottom, remove the door from the dryer by lifting it UP and OUT. -
Page 9: Fabric Care Labels
They may cause fabric softener stains. Bounce Fabric Conditioner Dryer Sheets ® have been approved for use in all GE Dryers when used in accordance with the manufacturer’s instructions. Care and Cleaning of the Dryer The Exterior: Wipe or dust any spills or washing compounds with a damp cloth. - Page 10 Carefully follow the details on Exhausting in the Installation Instructions. s Use only rigid metal 4 ″ diameter ductwork inside the dryer cabinet. Use only rigid metal or flexible metal 4″ diameter ductwork for exhausting to the outside.
-
Page 11: Troubleshooting Tips
Before you call for service… Troubleshooting Tips Save time and money! Review the charts on the following pages, or visit ge.com. You may not need to call for service. Problem Possible Causes Dryer doesn’t start Dryer is unplugged Fuse is blown/circuit breaker is tripped Dryer doesn’t heat... - Page 12 • Replace fuses or reset circuit breakers. Since most dryers use 2 fuses/breakers, make sure both are operating. • Do not put more than one washer load in the dryer at a time. • If you are drying only one or two items, add a few items to ensure proper tumbling.
- Page 13 You can rest easy, knowing that all your valuable household products are protected against expensive repairs. Place your confidence in GE and call us in the U.S. toll-free at for more information. *All brands covered, up to 20 years old, in the continental U.S.
-
Page 14: Serial Number
Check here if you do not want to receive communications from GEA’s carefully selected partners. FAILURE TO COMPLETE AND RETURN THIS CARD DOES NOT DIMINISH YOUR WARRANTY RIGHTS. For more information about GEA’s privacy and data usage policy, go to ge.com and click on “Privacy Policy” or call 800.626.2224. Read your Owner’s Manual carefully. - Page 15 This warranty is extended to the original purchaser and any succeeding owner for products purchased for home use within the USA. If the product is located in an area where service by a GE Authorized Servicer is not available, you may be responsible for a trip charge or you may be required to bring the product to an Authorized GE Service location.
-
Page 16: Consumer Support
Caution must be exercised, since improper servicing may cause unsafe operation. Contact Us If you are not satisfied with the service you receive from GE, contact us on our Website with all the details including your phone number, or write to: General Manager, Customer Relations Register Your Appliance Register your new appliance on-line—at your convenience! Timely product registration will allow for...

