Advertisement
Quick Links
Advertisement

Related Manuals for Mueller DW-2400 Professional


Summary of Contents for Mueller DW-2400 Professional
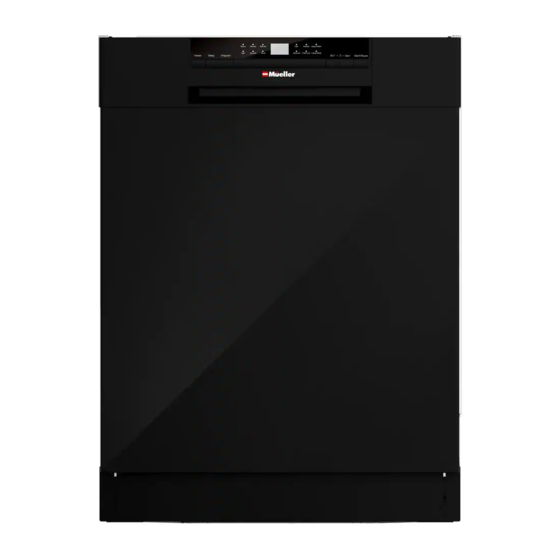
- Page 1 Professional Series 24” Built-In Dishwasher Model DW-2400 INSTALLATION MANUAL...
-
Page 2: Table Of Contents
CONTENTS IMPORTANT SAFETY INSTRUCTIONS........................1 INSTALLATION REQUIREMENTS..........................2 LOCATION REQUIREMENTS............................4 DRAIN REQUIREMENTS...............................5 ELECTRICAL REQUIREMENTS.............................6 WATER SUPPLY REQUIREMENTS..........................7 INSTALLATION ...............................8-12... -
Page 3: Important Safety Instructions
• Check the dishwasher for any damage before trying to install it. If you find any damage to the dishwasher, contact the Mueller Customer Service. • This dishwasher must be connected to a hot water supply between 120°F (49°C) and 150°F (65°C). This temperature range provides the best washing results and the shortest cycle time. -
Page 4: Installation Requirements
INSTALLATION REQUIREMENTS TOOLS AND PARTS Gather the required tools and parts before starting installation. PARTS SUPPLIED 4 x #8 wood screws 5/8" long and hole plugs to secure the dish- Water supply hose with screws washer to the countertop or the side (packed inside the tub) cabinet (packed inside the tub) TOOLS YOU WILL NEED (not supplied) - Page 5 MATERIALS YOU WILL NEED TOOLS FOR NEW INSTALLATION ONLY (not supplied) (not supplied) Thread Seal 11⁄2”-2” Tubing Drill Hole Saw Set Tape Screw Type Cutter Hose Clamp MATERIALS FOR NEW INSTALLATION ONLY (not supplied) Waste Tee Hand Shut-Off Coupler Valve...
-
Page 6: Location Requirements
LOCATION REQUIREMENTS • Any built-in dishwasher must be fully enclosed on the top, sides, and back and must not support any part of the enclosure. Therefore, the cabinet space below your countertop is the best location. • The cabinet opening must be at least 23'' (58.4 cm) deep and 23.6'' (60 cm) wide and 32.5''-34.5'' (82.5 cm – 87.5 cm) high as shown in Figure A. -
Page 7: Drain Requirements
DRAIN REQUIREMENTS WARNING! THESE INSTALLATION INSTRUCTIONS ARE INTENDED FOR USE BY QUALIFIED PROFESSIONALS. One end of the Drain hose is already attached to your dishwasher. The type of drain installation depends on answers to the following questions: 1. Do local codes or ordinances require an air gap? 2. -
Page 8: Electrical Requirements
ELECTRICAL REQUIREMENTS WARNING! THESE INSTALLATION INSTRUCTIONS ARE INTENDED FOR USE BY QUALIFIED PROFESSIONALS. CABINET PREPARATION Ensure that the electrical installation is adequate and in conformance with all national and local codes and Drill a 1 4⁄5 " diameter hole in the cabinet (Figure E) ordinances. -
Page 9: Water Supply Requirements
WATER SUPPLY REQUIREMENTS • The Water supply line pressure must be 6-145 psi. • The Water heater should be set to deliver 120°F (49°C) to 150°F (65°C) water temperature to the dishwasher. • The Water supply hose may enter from either side, within the shaded area shown in Figure F. CABINET PREPARATION Installing the water supply line Drill a 14⁄5"... -
Page 10: Installation
INSTALLATION WARNING ELECTRICAL SHOCK HAZARD • DISCONNECT ELECTRICAL POWER AT THE CIRCUIT BREAKER BOX OR FUSE BEFORE INSTALLING THE DISHWASHER. • ELECTRICALLY GROUND THE DISHWASHER. • FAILURE TO DO SO CAN RESULT IN DEATH, FIRE, OR ELECTRICAL SHOCK. STEP 1 Disconnect electrical power at the fuse box or circuit breaker box before installing the dishwasher. - Page 11 STEP 4 Reposition • Slide the dishwasher into the opening a few inches at Dishwasher a time. DO NOT PUSH AGAINST FRONT PANEL WITH KNEES. IT WILL CAUSE DAMAGE TO THE DOOR. STEP 6 The dishwasher must be level for proper dish rack operation and wash performance.
- Page 12 STEP 8 The drain hose molded end will fit 5/8" (1.6 cm), 3/4” (1.9 cm), or 1" (2.5 cm) diameter connections on the air gap, waste tee, or disposer. Cut on the marked line as required for your installation. IMPORTANT: Do not cut the corrugated portion of the Adjust the front feet Adjust the back feet hose.
- Page 13 Water Line Connection IMPORTANT: Connect drain line to the air gap, waste tee, or When connecting the drain line to the disposer, disposer using one of the previously determined check to be sure that the drain plug has been methods. removed.
- Page 14 STEP 10 STEP 11 Perform a PRE-TEST by reviewing this list after install- Perform the WET-TEST by following these instruc- ing your dishwasher: tions: • Check to be sure the power is OFF. • Plug the power cord into the outlet. •...
- Page 16 Müeller USA 168 Mason Way Unit #4A, City of Industry, CA 91746 Telephone: (888) 632-9981 E-mail: support@muellerdirect.com Web: www.muellerdirect.com...
Need help?
Do you have a question about the DW-2400 Professional and is the answer not in the manual?
Questions and answers