Advertisement
Quick Links
■
Please read this instruction carefully for correct use of the product and preserve it
for reference purpose.
■
Please read this instruction carefully for correct use of the product and preserve it
for reference purpose. There may be several technically incorrect places or printing
errors in this manual. The updates will be added into the new version of the manual.
The contents of this manual are subject to change without notice.
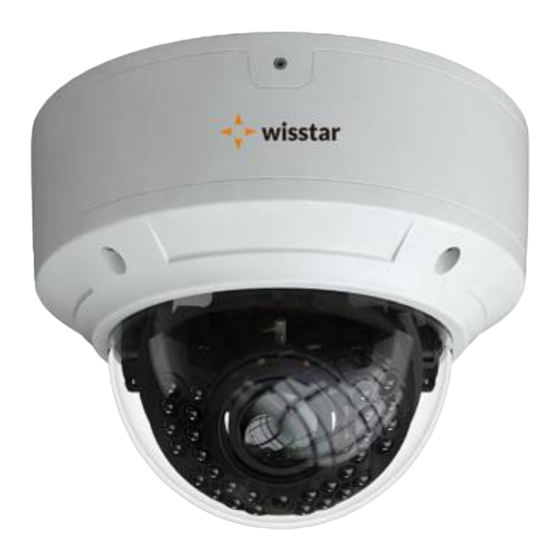
HD Network Dome Camera
Quick Start Guide
Advertisement

Summary of Contents for casmar WS-5446-I
- Page 1 HD Network Dome Camera Quick Start Guide ■ Please read this instruction carefully for correct use of the product and preserve it for reference purpose. ■ Please read this instruction carefully for correct use of the product and preserve it for reference purpose.
- Page 2 1 Package After you receive your device, please check the following accessories. The pictures here are for reference only. Drill Screws & & DC CVBS Quick Start Water-proof Screwdriver Camera Template Spiles IN Cables Guide 2 Overview (Fig 2-1) Network Cable RS485 Cable Microphone Cable Power Cable...
- Page 3 3 Connections (Fig 3-1) Network Cable Router Internet Network Cable Computer Network Cable Modem MIC IN Headphone ALM-COM ALM-NO ALM-IN ALM-GND RS485T+ DC12V RS485T- ◆ Alarm Connection Alarm Input: There is one independent alarm input port (ALM-IN) and one grounding port (ALM-GND).There are no type requirements for sensors. NO and NC are both available.
-
Page 4: Network Cable Connection
◆ Network Cable Connection (Fig 3-2) 4 Installation Before start, please make sure that the wall or ceiling is strong enough to withstand 3 times the weight of the camera. Please install and use the camera in the dry environment. You'd better install back the lower dome less than 4 hours after removing it. - Page 5 ② Attach the drill template to the place where you want to fix the camera and then drill 4 screw holes and 1 cable hole (if you want to route the cables through the mounting base) according to the drill template. (Fig 4-2) ③...
-
Page 6: Pendent Mounting
⑤ Three-axis adjustment. Before adjustment, preview the image of the camera on a monitor and then adjust the camera according to the figure below to get an optimum angle. ⑥ Adjust the Focus and Zoom screw to get a clear image (if the model don’t support this function, please skip this step). - Page 7 ③ Route the cables and connect these cables. Then fix the camera to the mounting base with the lock screw. (Fig 4-7) ④ Adjust the view angle and the Focus and Zoom screw of the camera according to the Fig 4-5 to get an optimum angle and clear image. ⑤...
-
Page 8: Wall Mounting
◆ Wall Mounting Here we only take the following wall mounting bracket for example. ① Loosen the screws to open the lower dome and then loosen the lock screw to remove the mounting base as shown in Fig 4-1. ② Secure the pendent mounting bracket to the ceiling and then fix the mounting base to the pendent mounting bracket with the screws. - Page 9 5 IE Network Connections Here we take accessing IP camera via LAN for example. In LAN, there are two ways to access. 1. Access through IP-Tool; 2. Directly Access through IE Browser ►Access the camera through IP-Tool ① Make sure that the camera and the PC are well connected to the LAN. ②...
- Page 10 Modify Network Parameter CE :98 :23 :75 :35 :22 Mac Address IP Address 192 .168 . 1 . 201 Subnet Mask 255 . 255 . 255 . 0 192 .168 . 1 . 1 Gateway Modify For example, the IP address of your computer is 192.168.1.4. So the IP address of the camera shall be changed to 192.168.1.X.
- Page 11 ① Set the IP address of the PC and make sure the network segment should be as the same as the default settings of the IP-CAM. Open the network and share center. Click “Local Area Connection” to pop up the following window. Select “Properties”...
- Page 12 450043000235 A0...
Need help?
Do you have a question about the WS-5446-I and is the answer not in the manual?
Questions and answers